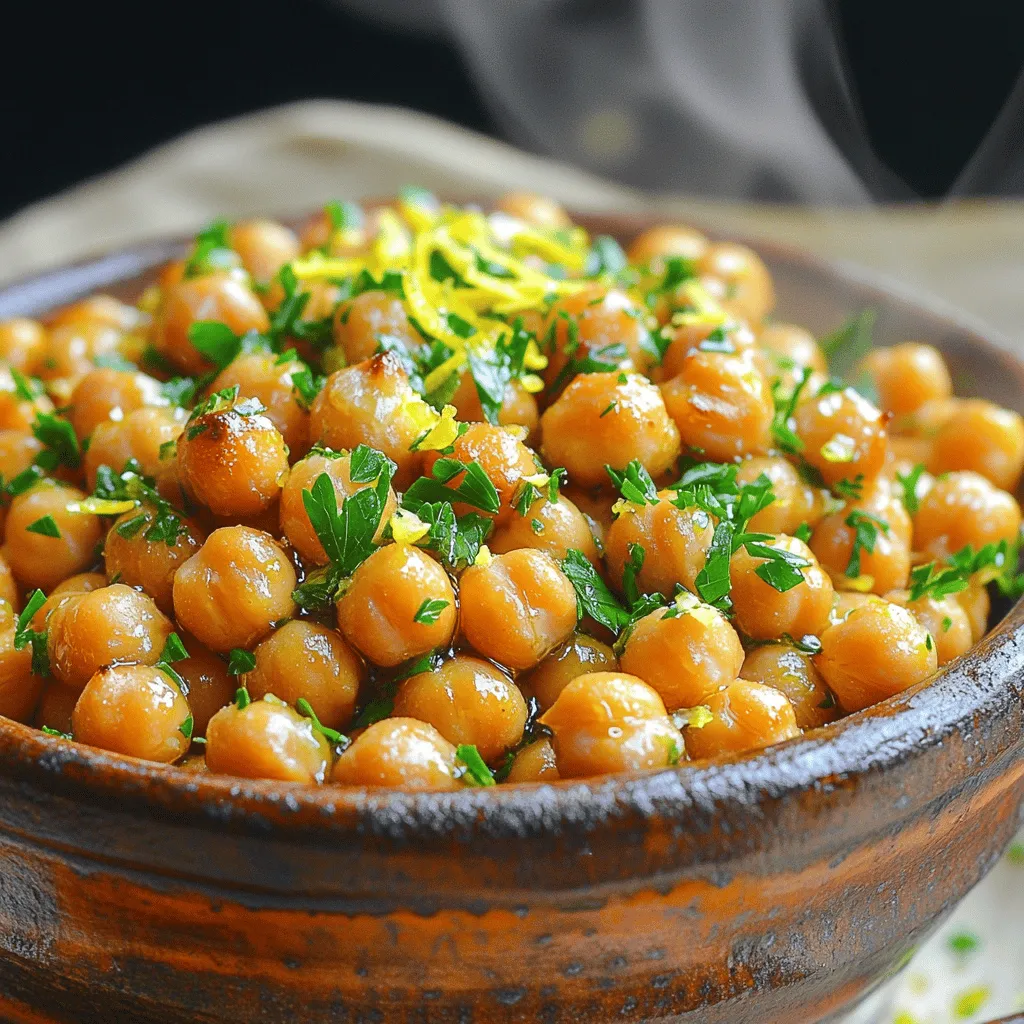
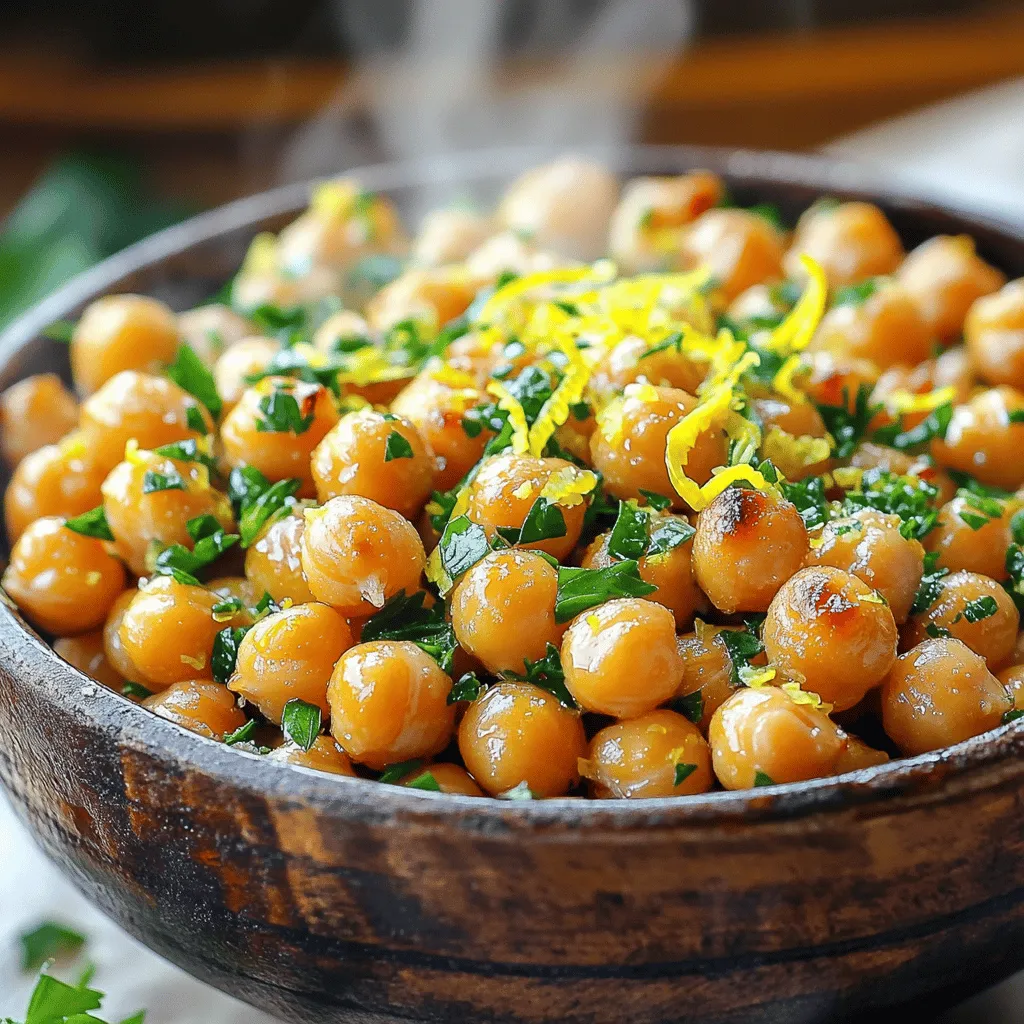
If you’re craving a snack that’s both crunchy and full of flavor, look no further than these Lemon Garlic Roasted Chickpeas! Packed with zesty lemon and fragrant garlic, this easy recipe transforms a simple can of chickpeas into a delicious treat. Whether you’re snacking on them solo or serving as a side, these chickpeas are a must-try. Let’s dive into the simple steps and key ingredients for this mouthwatering dish!
Ingredients
Main Ingredients
– 1 can (15 oz) of chickpeas
– 2 tablespoons olive oil
– Zest of 1 lemon
– 2 tablespoons fresh lemon juice
– 3 cloves garlic, minced
Chickpeas form the base of this dish. They are packed with protein and fiber. When roasted, they turn crunchy and tasty. Olive oil adds richness to the mix. The lemon zest and juice give a bright, fresh taste. Fresh garlic brings depth and fragrance to each bite.
Spices and Seasonings
– 1 teaspoon smoked paprika
– 1/2 teaspoon cayenne pepper
– Salt and pepper to taste
Smoked paprika adds a warm, smoky flavor. The cayenne pepper brings a kick of heat. You can adjust the cayenne to fit your taste. Salt and pepper are key to enhancing the flavors in this dish.
Garnishing Ingredients
– Fresh parsley, chopped for garnish
Chopped parsley adds a pop of color and freshness. It also brightens up the dish, making it look more appealing. I love to sprinkle it on top right before serving.
Step-by-Step Instructions
Preparing the Oven and Chickpeas
First, I preheat the oven to 400°F (200°C). This heat helps to make the chickpeas crisp. Next, I drain and rinse the chickpeas from the can. Rinsing removes the canning liquid, which can taste salty. I place the chickpeas on a paper towel and pat them dry. This step helps them roast better.
Making the Flavor Mixture
In a small bowl, I whisk together the olive oil, lemon zest, lemon juice, minced garlic, smoked paprika, cayenne pepper, salt, and pepper. This mixture gives the chickpeas a bright and bold flavor. The lemon zest adds freshness. The garlic brings depth, and the spices add warmth. You can taste the mixture before adding it to the chickpeas for a flavorful boost.
Roasting Process
Now, I drizzle the flavor mixture over the chickpeas, coating them evenly. I make sure every chickpea gets a good amount. Then, I spread them out on a baking sheet in a single layer. This ensures they roast evenly. I roast them in the oven for 25-30 minutes. Halfway through, I shake the baking sheet to promote even cooking. Once they are golden and crispy, I take them out and let them cool for a few minutes. You can adjust the seasoning if needed and garnish with fresh parsley before serving.
Tips & Tricks
Achieving a Crispy Texture
To make your lemon garlic roasted chickpeas extra crispy, start by patting them dry. This step removes moisture that can make them soggy. After drying, spread the chickpeas in a single layer on the baking sheet. This ensures they roast evenly and get that perfect crunch.
Seasoning Enhancements
For spice lovers, adjust the cayenne pepper to your taste. More cayenne brings heat, while less keeps it mild. If you want a brighter flavor, add more lemon zest. It lifts the dish and adds fresh notes that pair well with garlic.
Presentation Suggestions
Serving is part of the fun! Place the roasted chickpeas in a bowl or on a platter. You can sprinkle extra lemon zest or fresh parsley on top for a pop of color. This little touch makes your dish look more appealing and appetizing. Enjoy these crunchy bites as a snack or as a topping on your favorite salads.
Variations
Flavor Profile Adjustments
You can change the taste of your roasted chickpeas with different spices. Try adding curry for warmth or cumin for a smoky note. You might enjoy a sweet version, too! Mix in some cinnamon and sugar for a tasty twist.
Dietary Modifications
These chickpeas are already vegan and gluten-free. If you want to cut down on salt, use low-sodium options. This way, you can enjoy them guilt-free while still getting great flavor.
Serving Ideas
Roasted chickpeas make a perfect snack. They are crunchy and full of flavor. You can also serve them as a side dish. Try pairing them with dips like hummus or adding them to salads. They add a nice crunch and boost the nutrition.
Storage Info
Short-Term Storage
To keep your lemon garlic roasted chickpeas fresh, use an airtight container. Glass jars or plastic containers with tight lids work best. Store them at room temperature. Avoid warm places to keep them crunchy longer.
Long-Term Storage
If you want to save some for later, you can freeze them. Spread the cooled chickpeas on a baking sheet in a single layer. Freeze until solid, then transfer to a freezer bag. To reheat, bake them straight from the freezer at 400°F (200°C) for about 10-15 minutes. This keeps them crispy.
Shelf Life
In the fridge, roasted chickpeas last 3-5 days. Check for any off smells or soft texture. If you see these signs, it’s best to toss them. Always trust your senses; they help you know when food is not good anymore.
FAQs
Can I use dried chickpeas instead?
Yes, you can use dried chickpeas! First, soak them overnight in water. Then, cook them until tender. This can take about 1-2 hours. After cooking, drain and rinse them. Follow the same steps in the recipe. This will give you a fresh taste.
How do I make them spicier or milder?
To adjust the heat, add more or less cayenne pepper. Start with a small amount. You can always add more later. For a milder taste, reduce the cayenne. You can also use sweet paprika instead of smoked paprika. This will keep the flavor, but lower the heat.
What can I substitute for lemon?
If you need a lemon substitute, try lime juice. It offers a similar tangy flavor. You can also use vinegar, like apple cider or white wine vinegar. Just use less than the lemon juice amount. This will keep your dish bright and tasty.
How do I reheat leftover roasted chickpeas?
For reheating, the oven is the best option. Preheat your oven to 375°F (190°C). Spread the chickpeas on a baking sheet. Heat for about 10-15 minutes until crispy. You can also use an air fryer for a quick and even reheat.
What other dishes pair well with Lemon Garlic Roasted Chickpeas?
These chickpeas work great in many dishes! Try adding them to salads for crunch. They also make a tasty topping for soups. You can mix them into grain bowls for extra protein.They are crunchy, zesty, and packed with flavor. You will love how easy they are to make and enjoy. Here’s how you can create this tasty treat.
Ingredients:
– 1 can (15 oz) of chickpeas, drained and rinsed
– 2 tablespoons olive oil
– Zest of 1 lemon
– 2 tablespoons fresh lemon juice
– 3 cloves garlic, minced
– 1 teaspoon smoked paprika
– 1/2 teaspoon cayenne pepper (adjust to taste)
– Salt and pepper to taste
– Fresh parsley, chopped for garnish
Instructions:
1. Preheat your oven to 400°F (200°C).
2. Spread the rinsed chickpeas on a baking sheet. Pat them dry with a paper towel.
3. In a bowl, mix olive oil, lemon zest, lemon juice, garlic, smoked paprika, cayenne, salt, and pepper.
4. Pour this mix over the chickpeas and toss gently.
5. Roast them for 25-30 minutes. Shake the sheet halfway for even cooking.
6. Once they are golden and crispy, remove from the oven.
7. Cool for a few minutes, then adjust seasoning. Garnish with parsley before serving.
These chickpeas are not just tasty; they also add a healthy crunch. They are perfect for snacking or topping salads. The bright lemon flavor pairs well with the garlic and spices.Enjoy your cooking!
These Lemon Garlic Roasted Chickpeas are easy and fun to make. We covered the main ingredients, spices, and step-by-step instructions. You learned tips for crispy texture and various serving ideas. Experiment with your favorite flavors to keep things exciting. Store them properly to enjoy later. Whether as a snack or a side, these chickpeas are a tasty choice. Get creative with your seasonings and pairings. Enjoy making and sharing this healthy dish!


