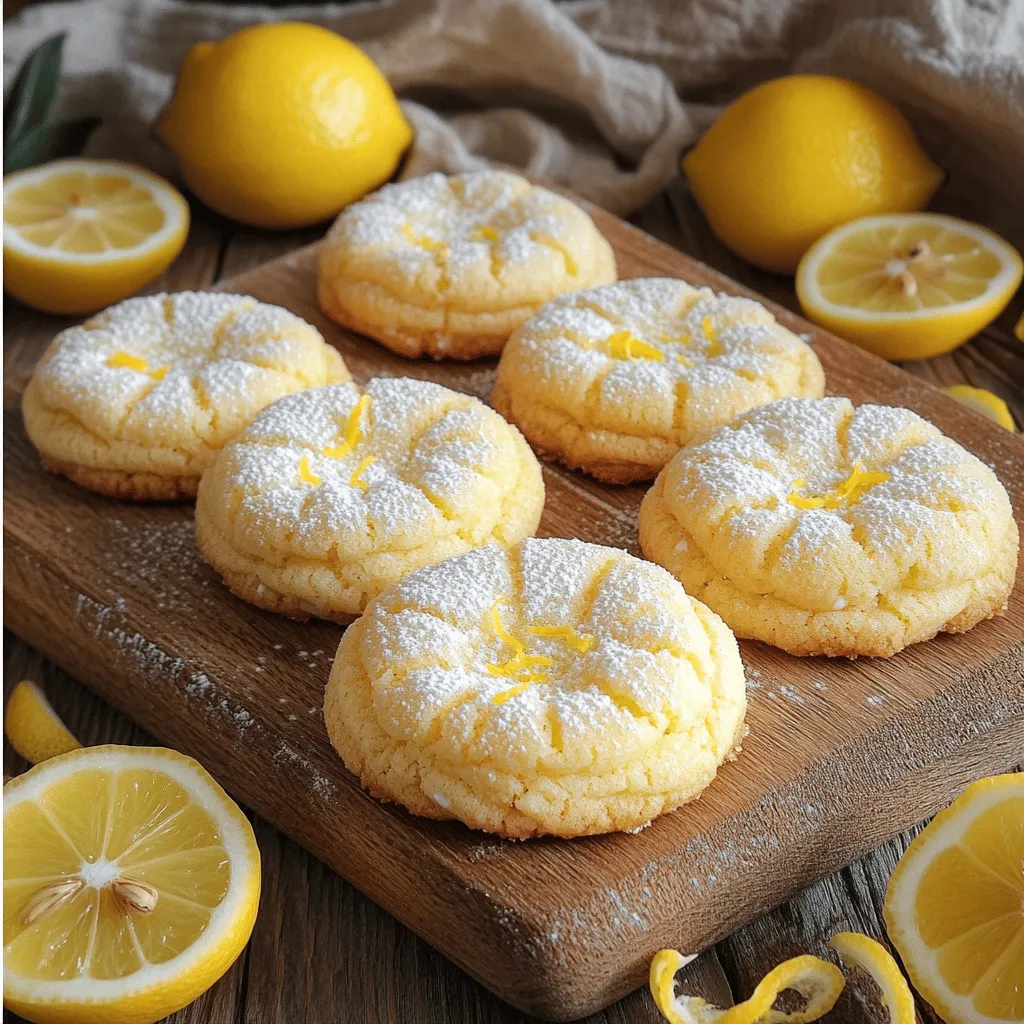
Looking for a cookie recipe that’s both tasty and easy? You’ve found it! Lemon Ricotta Cookies are light, soft, and bursting with zest. I’ll guide you through the simple steps to bake these delightful treats. You’ll learn about the best ingredients, expert baking tips, and creative twists. Say goodbye to dry cookies and hello to a fresh dessert that everyone will love! Let’s start baking!
Ingredients
Complete List of Ingredients for Lemon Ricotta Cookies
To make Lemon Ricotta Cookies, gather these simple items:
– 1 cup ricotta cheese
– 1/2 cup unsalted butter, softened
– 1 cup granulated sugar
– 1 large egg
– 2 teaspoons lemon zest
– 2 tablespoons lemon juice
– 2 cups all-purpose flour
– 1 teaspoon baking powder
– 1/2 teaspoon baking soda
– 1/4 teaspoon salt
– Powdered sugar for dusting
Importance of Each Ingredient
Each ingredient plays a key role in making these cookies special.
– Ricotta cheese adds creaminess and keeps the cookies soft.
– Unsalted butter brings richness and flavor.
– Granulated sugar sweetens the cookies and helps them brown.
– Egg helps to bind the dough and adds moisture.
– Lemon zest gives a bright, fresh taste.
– Lemon juice adds tanginess and enhances flavor.
– All-purpose flour forms the structure of the cookies.
– Baking powder and baking soda help the cookies rise.
– Salt balances the sweetness and enhances the flavors.
– Powdered sugar adds a lovely, sweet finish.
Possible Ingredient Substitutions
You can swap some ingredients if needed. Here are some ideas:
– Use cottage cheese instead of ricotta for a lighter option.
– Replace unsalted butter with coconut oil for a dairy-free choice.
– Try brown sugar in place of granulated sugar for a deeper flavor.
– Substitute flour with almond flour for a gluten-free version.
– Use egg replacer or flaxseed meal to make it vegan.
Feel free to explore and adjust as you like!
Step-by-Step Instructions
Detailed Preparation Steps for Lemon Ricotta Cookies
To bake your lemon ricotta cookies, start by preheating your oven to 350°F. This step ensures even baking. Next, grab a large mixing bowl. In this bowl, mix the ricotta cheese and softened butter until they are smooth. Use an electric mixer for the best results. Then, gradually add the granulated sugar while mixing. This combination creates a sweet base for your cookies. After that, crack in the large egg, and add the lemon zest and juice. Mix until everything is well combined.
In another bowl, whisk together the flour, baking powder, baking soda, and salt. This step helps to evenly distribute the leavening agents. Slowly add this dry mix to the wet ingredients. Stir until just combined. Be careful not to overmix, as this can make your cookies tough. Now, use a spoon or cookie scoop to drop rounded tablespoons of dough onto a lined baking sheet. Leave some space between each cookie. Bake them for 12 to 15 minutes. You want the edges to be golden, but the centers should stay soft. Let the cookies cool for five minutes on the baking sheet, then transfer them to a wire rack. Finally, dust with powdered sugar for a lovely finish.
Tips for Measuring Ingredients Accurately
Measuring your ingredients correctly is key to great cookies. Use dry measuring cups for flour and sugar. Level off the top with a straight edge for accuracy. For sticky ingredients like ricotta, use a liquid measuring cup. This way, you can see the measurement clearly. When measuring flour, fluff it first with a spoon. Then, spoon it into your cup without packing it down. This keeps your cookies light and fluffy.
Baking Tips for Perfect Cookies
Baking cookies can be tricky, but a few tips can help. Make sure your oven is fully preheated. This step helps cookies bake evenly. Rotate your baking sheet halfway through baking. This ensures even browning. Check your cookies a minute or two early. Ovens can vary, and you don’t want them to overbake. Let them cool on the sheet before moving them. This helps them set nicely. Follow these tips, and you will have perfect lemon ricotta cookies every time!
Tips & Tricks
Achieving the Best Texture and Flavor
To get the best texture, use fresh ricotta cheese. It adds a creamy taste. Make sure to soften your butter well. This helps the mix blend smoothly. When mixing, do not overmix the dough. Overmixing can make cookies tough. Aim for a soft, slightly sticky dough. This will make your cookies light and fluffy. Adding zest from fresh lemons boosts the flavor. It gives a bright, citrusy taste.
How to Store Cookies for Freshness
Store your lemon ricotta cookies in an airtight container. This keeps them soft and fresh for days. If you have extra cookies, layer them with parchment paper. This prevents them from sticking together. Keep the container in a cool place. If you want to enjoy them later, freeze the cookies. Wrap them tightly in plastic wrap or foil. They can stay fresh in the freezer for up to three months.
Serving Suggestions and Pairings with Lemon Ricotta Cookies
These cookies are perfect for tea time or dessert. Pair them with a hot cup of tea or coffee. A scoop of vanilla ice cream also goes well. You can serve them with fresh berries for added sweetness. For a fun twist, drizzle a lemon glaze on top. This makes them even more delicious!

Variations
Creative Twists on the Classic Recipe
You can have fun with Lemon Ricotta Cookies! Try adding a splash of vanilla extract for extra flavor. Almond extract also works well. Want a colorful touch? Fold in some blueberries or raspberries. These fruits add sweetness and a pop of color.
Incorporating Other Flavors or Ingredients
Think about spices! A pinch of cinnamon or cardamom can give your cookies a warm twist. You might also consider adding chopped nuts. Walnuts or pistachios add crunch and flavor. If you love coconut, try adding shredded coconut for a tropical vibe.
Gluten-Free or Dairy-Free Alternatives
To make these cookies gluten-free, use almond or coconut flour. They give a nice texture and flavor. For a dairy-free version, swap the ricotta with a plant-based cream cheese. You can use coconut cream or cashew cream. Both options will keep your cookies soft and tasty.
Storage Info
Best Practices for Storing Lemon Ricotta Cookies
To keep your Lemon Ricotta Cookies fresh, store them in an airtight container. This helps prevent them from drying out. You can stack the cookies with parchment paper between layers. This keeps them from sticking together. Always let the cookies cool completely before storing. Warm cookies can create steam and make them soggy.
How Long Do They Stay Fresh?
Lemon Ricotta Cookies stay fresh for about five days at room temperature. If you keep them in the fridge, they last about a week. You can also check for any signs of spoilage. If they start to smell odd or look dry, it’s best to throw them out.
Freezing Instructions for Long-Term Storage
If you want to save them for later, freezing is a great option. First, freeze the cookies on a baking sheet for about an hour. Once they are firm, transfer them to a freezer-safe bag or container. Make sure to label the bag with the date. They can stay in the freezer for up to three months. When you’re ready to enjoy them, let them thaw at room temperature. You can also reheat them in the oven for a few minutes to restore their soft texture.
FAQs
What makes Lemon Ricotta Cookies unique?
Lemon Ricotta Cookies stand out because they use ricotta cheese. This cheese makes them soft and moist. The lemon zest adds a bright flavor, making each bite refreshing. Unlike regular cookies, these have a rich texture and a tender crumb. Their unique taste comes from balancing the creaminess of ricotta and the zing of lemon.
Can I make Lemon Ricotta Cookies ahead of time?
Yes, you can make Lemon Ricotta Cookies ahead of time. You can prepare the dough and chill it in the fridge. This helps the flavors blend well. Chill the dough for at least an hour before baking. You can also bake the cookies and store them in an airtight container for later.
How can I make these cookies vegan?
To make Lemon Ricotta Cookies vegan, swap the egg for a flax egg. Mix one tablespoon of ground flaxseed with three tablespoons of water. Let it sit until thickened. Use dairy-free ricotta cheese instead of regular ricotta. Replace the butter with coconut oil or a vegan butter alternative.
What is the best way to keep cookies soft?
To keep your cookies soft, store them in an airtight container. Adding a slice of bread can help keep them moist. Avoid overbaking the cookies; they should be lightly golden on the edges. Let them cool on a wire rack, but don’t leave them too long on the baking sheet.
Can I add chocolate chips to the recipe?
Yes, adding chocolate chips is a great idea! They add a sweet touch to the cookies. Mix in about half a cup of chocolate chips into the dough before baking. This gives you a delightful contrast of flavors. You can use dark, milk, or even white chocolate chips based on your preference.
Lemon ricotta cookies stand out for their bright flavor and unique texture. We talked about all the ingredients, their roles, and how to swap them out. I shared step-by-step instructions to help you bake perfectly. With my tips, you can store and serve them best. You can also try fun variations, like gluten-free or vegan twists. Remember, baking is an art, and each cookie can be special. Enjoy these cookies and make them your own. Happy baking!


