Looking for a fun and tasty meal? Try my Loaded Sweet Potato Nacho Skillet! This dish packs bold flavors and is easy to make. You’ll love how simple it is to customize based on your taste. Whether you want it vegan or loaded with cheese, this skillet dish fits the bill. Ready to dive into the details and get cooking? Let’s get started!
Ingredients
List of Ingredients
To make Loaded Sweet Potato Nacho Skillet, gather these items:
– 2 large sweet potatoes, peeled and diced
– 1 tablespoon olive oil
– 1 teaspoon smoked paprika
– 1 teaspoon garlic powder
– Salt and pepper to taste
– 1 cup black beans, drained and rinsed
– 1 cup corn (fresh or frozen)
– 1 cup diced tomatoes (canned or fresh)
– 1 cup shredded cheddar cheese
– ½ jalapeño, thinly sliced (optional)
– 2 green onions, sliced
– ½ avocado, diced
– Fresh cilantro for garnish
– Sour cream or Greek yogurt for topping (optional)
Optional Ingredients for Customization
Feel free to change up the recipe with these fun options:
– Use sweet corn salsa instead of plain corn.
– Swap out cheddar for pepper jack cheese for extra heat.
– Add cooked chicken or beef for more protein.
– Try different beans like pinto or kidney beans.
– Use lime juice for a zesty kick.
Nutritional Information per Serving
Each serving of Loaded Sweet Potato Nacho Skillet is packed with goodness:
– Calories: 400
– Protein: 15g
– Carbohydrates: 55g
– Fiber: 10g
– Fat: 15g
This dish is not only tasty but also nutrient-rich. It offers a good balance of carbs, protein, and healthy fats. You get fiber from the sweet potatoes and beans, which is great for digestion. Enjoy this meal guilt-free!
Step-by-Step Instructions
Preparation Steps
To begin, gather all your ingredients. You need two large sweet potatoes, olive oil, smoked paprika, garlic powder, salt, and pepper. Also, have black beans, corn, diced tomatoes, cheddar cheese, jalapeños, green onions, avocado, cilantro, and sour cream ready.
1. First, preheat your oven to 400°F (200°C). This helps cook the sweet potatoes just right.
2. Next, peel and dice the sweet potatoes into small cubes.
3. Place them in a large bowl. Add one tablespoon of olive oil, one teaspoon of smoked paprika, one teaspoon of garlic powder, and a pinch of salt and pepper. Toss until the sweet potatoes are well coated.
Cooking Method
Now, let’s cook the sweet potatoes.
1. Spread the sweet potato mixture on a baking sheet. Make sure they are in a single layer.
2. Roast them in the oven for 20-25 minutes. Stir them halfway through. You want them tender and a bit caramelized.
3. While the sweet potatoes roast, heat a large skillet over medium heat.
4. Once the sweet potatoes finish roasting, add them to the skillet.
5. Gently mix in one cup of black beans, one cup of corn, and one cup of diced tomatoes. Stir well to combine.
6. Sprinkle one cup of shredded cheddar cheese over the mixture. Let it melt for about 3-5 minutes.
Final Touches and Serving Suggestions
Your dish is almost ready!
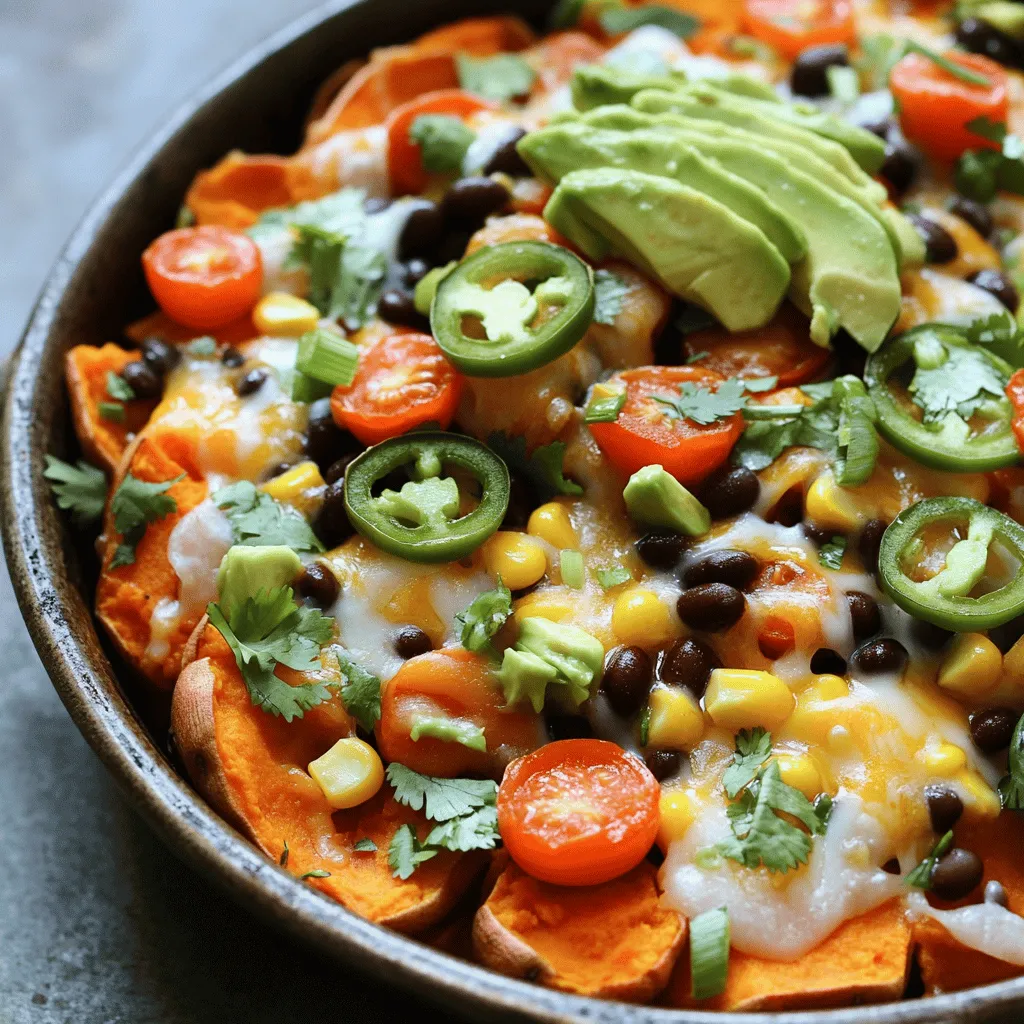
1. Once the cheese melts, add thinly sliced jalapeños, sliced green onions, and diced avocado on top.
2. Garnish with fresh cilantro for a nice touch. If you like, add a dollop of sour cream or Greek yogurt.
3. Serve your loaded sweet potato nacho skillet warm from the stove. Enjoy this hearty, shareable dish with family and friends!
Tips & Tricks
Best Practices for Roasting Sweet Potatoes
Roasting sweet potatoes is easy. Start by cutting the sweet potatoes into even cubes. This way, they cook at the same time. Toss them in a bowl with olive oil, smoked paprika, garlic powder, salt, and pepper. Make sure each piece is coated. Spread them out on a baking sheet. Avoid crowding the pan; this helps them roast well. Roast at 400°F for 20-25 minutes. Stir halfway through for even cooking. Look for a golden color and soft texture. These steps bring out their natural sweetness.
Cheese Melting Techniques
Melting cheese should be simple and fun. For the best results, use shredded cheese. It melts faster and more evenly than slices. Sprinkle the cheese over the sweet potato mixture in the skillet. Cover it with a lid for a few minutes. The steam helps the cheese melt nicely. If you want a crispy top, broil it for a minute or two. Keep an eye on it to avoid burning. The goal is a gooey, cheesy layer that pulls apart perfectly.
Ways to Enhance Flavor Profiles
To boost the flavor of your nacho skillet, think about adding spices. You can use chili powder or cumin for extra warmth. Fresh herbs like cilantro add brightness. For a kick, add diced jalapeños, as mentioned in the recipe. You can also mix in lime juice for a zesty twist. If you like a creamier texture, sour cream or Greek yogurt works great. Lastly, don’t forget about the toppings! Sliced avocado and green onions add freshness and crunch. These tips will make your dish truly standout.

Variations
Vegetarian and Vegan Adaptations
You can easily make this dish vegetarian or vegan. If you want a vegan version, skip the cheese and sour cream. Use a plant-based cheese instead. You can also add more veggies. Try bell peppers or zucchini to boost flavors. For protein, use lentils or chickpeas. These swaps keep the dish hearty and tasty.
Ingredient Swaps for Dietary Needs
If you have dietary needs, there are simple swaps. Instead of sweet potatoes, you could use regular potatoes or zucchini. For cheese, try vegan cheese or nutritional yeast for a cheesy flavor. If you’re gluten-free, make sure any added sauces are gluten-free. You can also use quinoa instead of beans for a different texture.
Different Toppings and Sides
Toppings can vary based on your taste. Some great choices are jalapeños, olives, or diced red onion. You can add a squeeze of lime for a fresh kick. Serve your nachos with sides like salsa, guacamole, or even a green salad. Each option adds new flavors to the dish and makes it more fun to eat!
Storage Info
How to Store Leftovers
To store your loaded sweet potato nacho skillet, let it cool first. Use an airtight container to keep it fresh. You can store it in the fridge for up to three days. Be sure to separate the toppings, like avocado and sour cream, to keep them fresh.
Reheating Instructions
When you’re ready to eat, reheat the dish on the stove or in the oven. If using the stove, place it in a skillet over low heat. Stir it gently until warm. If using the oven, preheat to 350°F (175°C) and bake for about 10-15 minutes. This keeps the cheese melty and the flavors strong.
Freezing Guidelines
You can freeze the loaded nacho skillet if you want to save it for later. Let it cool completely, then place it in a freezer-safe container. It can stay in the freezer for up to three months. To eat, thaw it in the fridge overnight. Reheat it as mentioned above. This way, you can enjoy this delicious dish anytime!
FAQs
How to make Loaded Sweet Potato Nacho Skillet?
To make Loaded Sweet Potato Nacho Skillet, you start by roasting sweet potatoes. Preheat your oven to 400°F (200°C). Toss diced sweet potatoes with olive oil, smoked paprika, garlic powder, salt, and pepper. Spread them on a baking sheet. Roast for 20-25 minutes until soft. In a skillet, mix roasted sweet potatoes with black beans, corn, and diced tomatoes. Sprinkle shredded cheddar cheese on top. Let it melt for 3-5 minutes. Finish by adding jalapeños, green onions, and avocado. Serve warm and enjoy!
Can I prepare this dish in advance?
Yes, you can prepare this dish in advance. You can roast the sweet potatoes a day ahead. Store them in the fridge in an airtight container. When you’re ready to cook, combine the roasted sweet potatoes with the other ingredients in your skillet. Heat everything until warm, then add cheese. This makes your cooking time shorter and easier.
What are the best toppings for nachos?
The best toppings for nachos include a mix of fresh and flavorful options. Consider adding:
– Jalapeños for heat
– Green onions for crunch
– Diced avocado for creaminess
– Fresh cilantro for brightness
– Sour cream or Greek yogurt for tanginess
Feel free to mix and match to suit your taste!
This blog post shared everything you need to make a delicious loaded sweet potato nacho skillet. We covered the key ingredients and some optional ones for your taste. You learned step-by-step instructions, including cooking methods and serving tips. I also shared tricks for roasting and melting cheese, plus variations for any diet.
In the end, enjoy experimenting with flavors and toppings. This dish is fun to customize and perfect for sharing. Try it, and you’ll find a new favorite meal!


