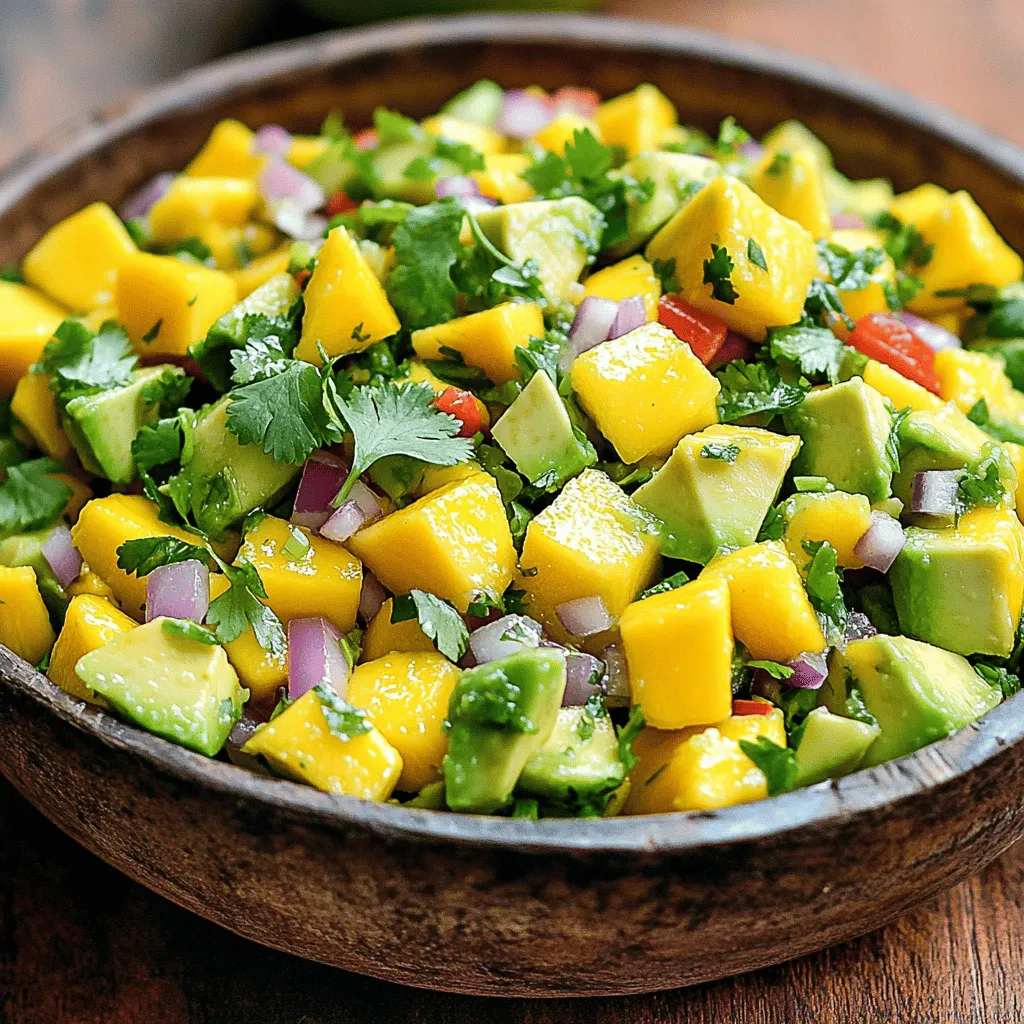
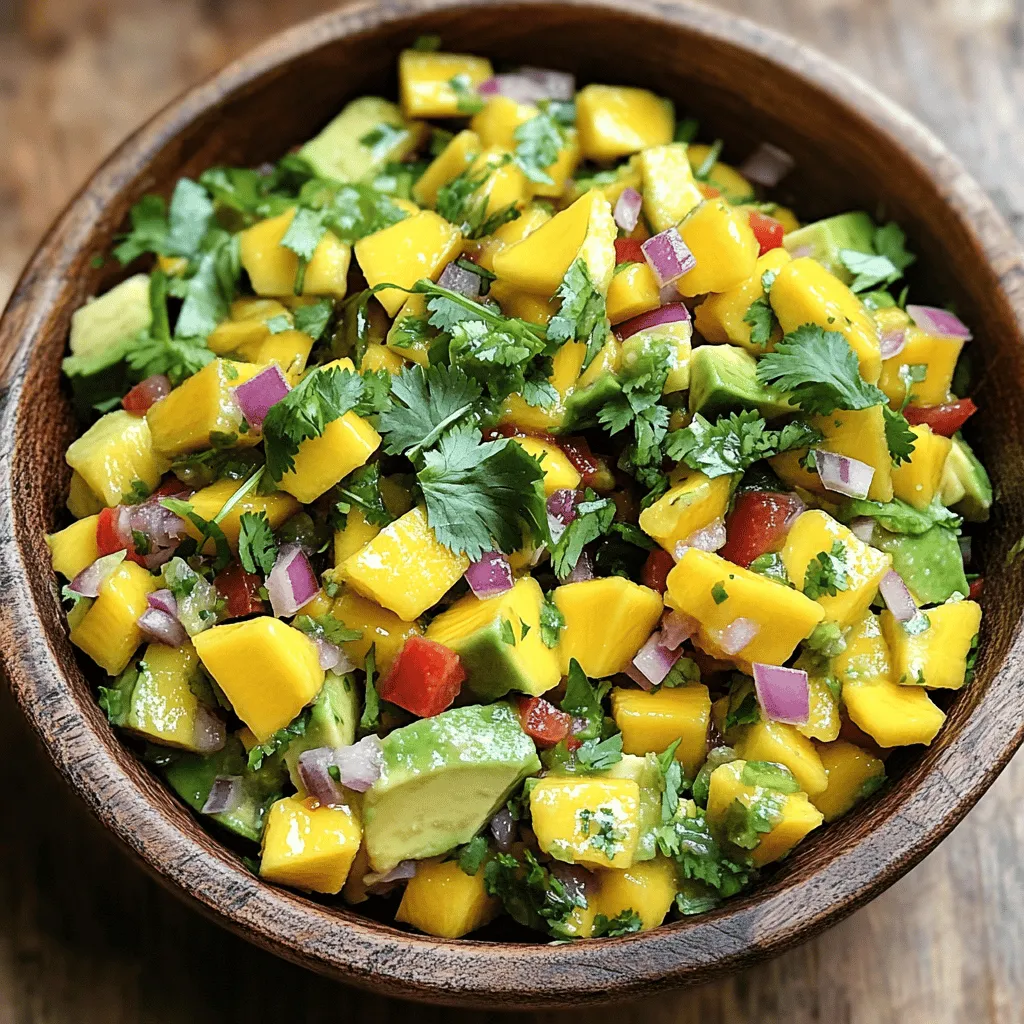
Welcome to the vibrant world of Mango Avocado Salsa! This fresh and tasty treat brings tropical flavors to your table. You’ll love how easy it is to make, perfect for snacks or meals. In this post, I’ll guide you through each step and share tips for the best taste. Get ready to impress your family and friends with this burst of flavor that’s both healthy and delicious!
Ingredients
List of Required Ingredients
To make Mango Avocado Salsa, gather these ingredients:
– 1 ripe mango, diced
– 2 ripe avocados, diced
– 1/2 red onion, finely chopped
– 1 red bell pepper, diced
– 1 jalapeño, deseeded and minced (adjust for spice preference)
– Juice of 2 limes
– 1/4 cup fresh cilantro, chopped
– Salt and pepper to taste
Notes on Ingredient Quality
Choose ripe fruits for the best flavor. A ripe mango feels soft when you press it gently. It should smell sweet near the stem. For avocados, look for ones that yield slightly to pressure. Fresh cilantro should be bright green and not wilted. Using fresh ingredients makes a big difference in taste.
Tips for Freshness
To keep your salsa fresh, lime juice is key. It helps prevent browning in the avocados. Mix your salsa right before serving to keep it crisp. If you have leftovers, store them in an airtight container. Add extra lime juice to help maintain freshness. Enjoy your tasty salsa within two days for the best quality!
Step-by-Step Instructions
Preparation of Ingredients
Start by peeling the ripe mango. Cut it into small, bite-sized pieces. Next, take the avocados and cut them in half. Remove the pit and scoop the flesh into a bowl. Dice the avocados into similar-sized pieces as the mango. This helps with even flavor in every bite. Chop the red onion finely and dice the red bell pepper. If you like some heat, take a jalapeño. Cut it open, remove the seeds, and mince it finely.
Combining Ingredients in a Bowl
In a large mixing bowl, add the diced mango and avocados. Next, toss in the chopped red onion, red bell pepper, and minced jalapeño. This mix creates a colorful and fresh base for the salsa.
Seasoning and Flavor Adjustment
Now it’s time to add the zest! Squeeze the juice of two limes into the bowl. This not only adds flavor but also helps keep the avocado from browning. Gently fold in the chopped cilantro next. Be careful not to mash the avocado. Finally, season the salsa with salt and pepper. Taste it as you go, adjusting to your liking.
Allowing Flavors to Meld
Let the salsa sit for about 10 to 15 minutes. This time allows all the flavors to blend beautifully. The wait is worth it, as the taste becomes more vibrant. Enjoy your fresh and tasty Mango Avocado Salsa!
Tips & Tricks
Best Practices for Dicing Fruit
Dicing fruit well makes your salsa look great and taste fresh. Start with a sharp knife. A dull knife can slip and cause cuts. For mangoes, peel the skin first. Cut the mango along the pit. Dice the flesh into small cubes. For avocados, cut them in half and remove the pit. Scoop out the flesh with a spoon. Dice it gently. This keeps the pieces intact and pleasing.
Variations for Different Flavor Profiles
You can change the salsa’s flavor easily. Try adding diced pineapple for a sweet twist. If you like heat, add more jalapeño or some habanero peppers. For a tangy kick, mix in diced tomatoes. If you want a tropical flair, add coconut flakes. Each twist gives the salsa a new life.
How to Adjust Spice Levels
Spice level is key in salsa. If you want it mild, remove all seeds from the jalapeño. You can also use a smaller amount. For more heat, add more jalapeño or mix in red pepper flakes. Taste as you go to find your perfect heat level. This makes your salsa just right for your taste buds.
Serving Suggestions
Ideal Pairings and Dishes
Mango avocado salsa shines when served with grilled meats. Try it with chicken or fish. The sweet and tangy flavors balance well. It also pairs nicely with tacos. You can use it as a topping for soft or hard-shell tacos.
Creative Serving Ideas
You can enjoy this salsa with tortilla chips for a fresh snack. Simply scoop it up and savor the flavors. Use it as a filling for quesadillas or wraps. It brings a burst of flavor to any dish. You can even serve it on top of rice or quinoa for a healthy meal.
Garnishing Tips for Presentation
Presentation matters! Use a clean bowl to serve your salsa. Add a few whole cilantro leaves on top for color. You can also sprinkle lime zest over it for extra flair. Use a colorful plate to make the dish pop. A well-presented salsa is sure to impress your guests!
Nutritional Information
Health Benefits of Ingredients
Mango Avocado Salsa is not just tasty; it is also good for you. Each ingredient brings unique health benefits:
– Mango: Rich in vitamins A and C. It helps boost your immune system.
– Avocado: Packed with healthy fats. It is great for heart health and keeps you full.
– Red onion: Contains antioxidants. It can help reduce inflammation and improve heart health.
– Red bell pepper: High in vitamins C and A. It supports healthy skin and eyes.
– Jalapeño: Adds a spicy kick. It may help boost your metabolism.
– Cilantro: Full of vitamins and minerals. It can help detoxify your body.
Caloric and Nutritional Breakdown
A typical serving of this salsa (about 1/2 cup) has roughly:
– Calories: 120
– Fat: 8g
– Carbohydrates: 12g
– Fiber: 5g
– Protein: 2g
This salsa is low in calories and high in nutrients. It makes for a great snack or side dish.
Diet-Friendly Adaptations
You can easily adapt this salsa for different diets:
– Low-carb: Skip the mango for a more savory dish.
– Vegan: This recipe is already vegan and plant-based.
– Gluten-free: All ingredients are naturally gluten-free.
– Paleo: Use fresh, organic ingredients to fit this lifestyle.
Feel free to mix and match ingredients based on your dietary needs!
FAQs
Can I make Mango Avocado Salsa ahead of time?
Yes, you can make Mango Avocado Salsa ahead of time. Prepare it a few hours before serving. This gives flavors time to blend. However, the avocado may brown. To slow this, add lime juice right away. Store it in an airtight container. This helps keep it fresh for a short time.
How can I store leftovers properly?
To store leftovers, place the salsa in a clean, airtight container. Make sure to press plastic wrap against the top layer. This reduces air exposure and slows browning. Keep it in the fridge for up to two days. If it looks brown, just mix it well before eating. The taste will still be good!
What can I substitute for jalapeño if I want less heat?
If you want less heat, use a mild pepper. Bell peppers work well as a substitute. They add color and crunch without spice. You can also skip the jalapeño altogether. This will make the salsa mild but still tasty. Enjoy the sweet mango and creamy avocado flavors!
This blog post covered how to make delicious Mango Avocado Salsa. We reviewed key ingredients, tips for freshness, and how to prepare them. You learned about combining flavors, adjusting spice levels, and creative serving ideas. We also explored the health benefits of this tasty dish.
Remember, enjoying this salsa is all about creativity and personal flavor. Feel free to experiment and make it your own. Share it with friends, and enjoy every bite!


