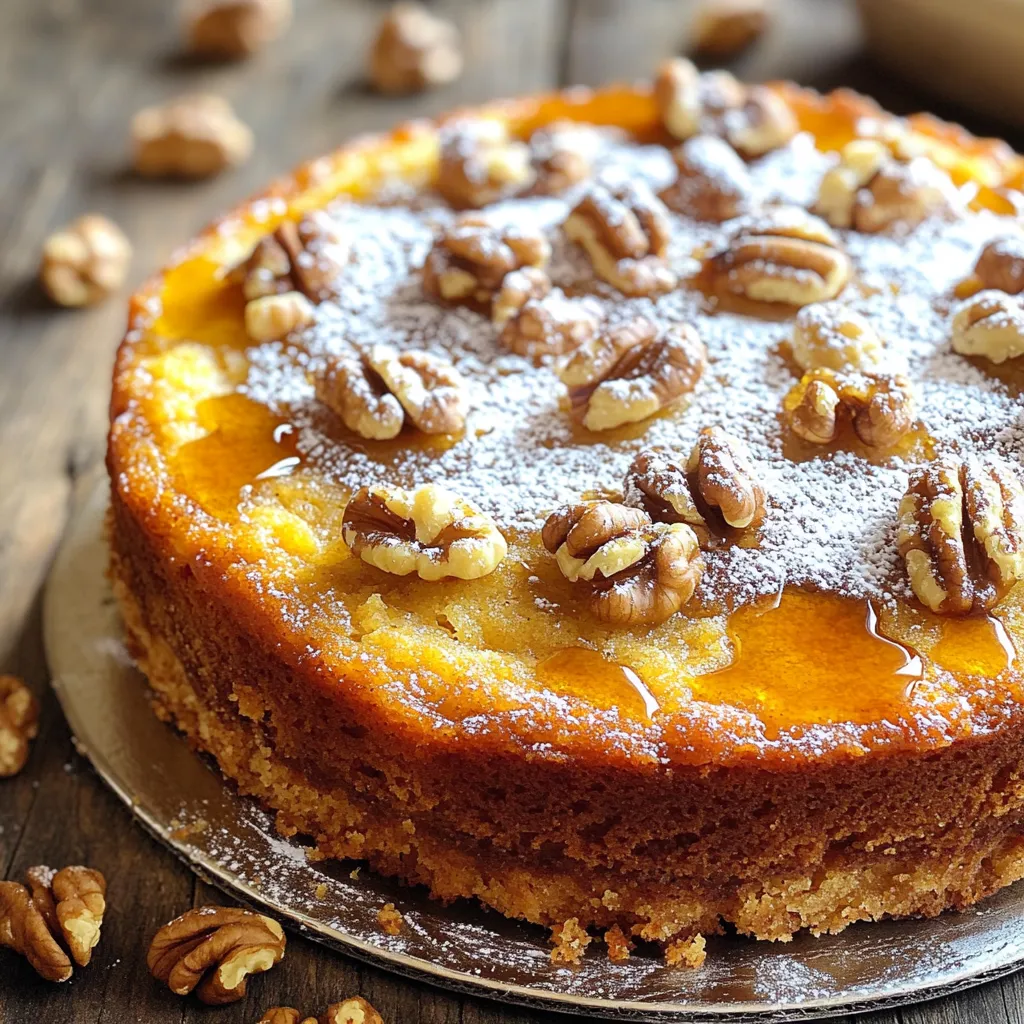
Imagine the smell of warm maple syrup and nuts filling your kitchen. That’s the magic of Maple Walnut Coffee Cake! This simple recipe lets you whip up a delightful treat that’s perfect for any occasion. You’ll find it easy to make and enjoy. In this article, I’ll guide you through every step, from mixing the batter to serving it warm. Get ready to impress your friends and family with this delicious cake!
Ingredients
List of Ingredients
– 2 cups all-purpose flour
– 1 cup granulated sugar
– 1/2 cup unsalted butter, softened
– 1 cup maple syrup
– 1/2 cup milk
– 2 large eggs
– 1 teaspoon vanilla extract
– 1 tablespoon baking powder
– 1/2 teaspoon baking soda
– 1/4 teaspoon salt
– 1 cup walnuts, chopped (plus extra for topping)
– 1/2 teaspoon ground cinnamon
I love gathering my ingredients for this Maple Walnut Coffee Cake. It’s so easy to find all of them at your local store. You need flour, sugar, and butter to start. Maple syrup adds that sweet, warm flavor we all love. You’ll also need milk and eggs for moisture and structure.
The vanilla extract enhances the taste, making it richer. Baking powder and baking soda help the cake rise. Salt brings out the sweet flavors in the cake. Walnuts add a nice crunch. Don’t forget to save some for the topping! Finally, ground cinnamon gives a cozy hint of spice.
Having everything ready makes baking fun and stress-free. Trust me, once you have these ingredients, you are on your way to making something delicious!
Step-by-Step Instructions
Preheat the Oven
Set your oven to 350°F (175°C). This helps the cake bake evenly. Grease a 9-inch round cake pan or line it with parchment paper. This step keeps the cake from sticking.
Creaming the Butter and Sugar
In a mixing bowl, add 1/2 cup softened butter and 1 cup granulated sugar. Mix them together until the mixture is light and fluffy. This process adds air to the batter, making the cake soft.
Incorporating Eggs and Maple Syrup
Next, add 2 large eggs, one at a time. Beat well after each egg. Then, add 1 teaspoon vanilla extract and 1 cup maple syrup. Mix until everything is combined. This adds flavor and moisture to your cake.
Mixing Dry Ingredients
In another bowl, whisk together 2 cups all-purpose flour, 1 tablespoon baking powder, 1/2 teaspoon baking soda, 1/4 teaspoon salt, and 1/2 teaspoon ground cinnamon. This step ensures the dry ingredients are well mixed.
Combining Wet and Dry Mixtures
Now, add the dry ingredients to the wet mixture. Do this gradually while alternating with 1/2 cup milk. Start and end with the dry mix. Stir until just combined. Avoid overmixing to keep the cake light.
Folding in Walnuts
Gently fold in 1 cup chopped walnuts into the batter. Save some walnuts for the top of the cake. This adds a nice crunch and flavor.
Baking the Cake
Pour the batter into your prepared cake pan. Spread it evenly and sprinkle the reserved walnuts on top. Bake in the preheated oven for 25-30 minutes. Check with a toothpick. It should come out clean when done.
Cooling Instructions
Once baked, remove the cake from the oven. Let it cool in the pan for about 10 minutes. Then, transfer it to a wire rack to cool completely. This step helps the cake set and makes it easy to slice.
Tips & Tricks
Perfecting the Texture
To make a moist and fluffy coffee cake, follow these steps:
– Use room temperature ingredients: Let butter, eggs, and milk sit out for 30 minutes before use. This helps them mix better.
– Don’t over-mix: When combining wet and dry ingredients, mix until just combined. Over-mixing can make the cake tough.
– Add extra moisture: You can add a bit more milk if the batter seems too thick. The batter should be smooth but not runny.
– Check for doneness: Insert a toothpick into the center. If it comes out clean, the cake is ready.
Serving Suggestions
To make your Maple Walnut Coffee Cake look great, try these ideas:
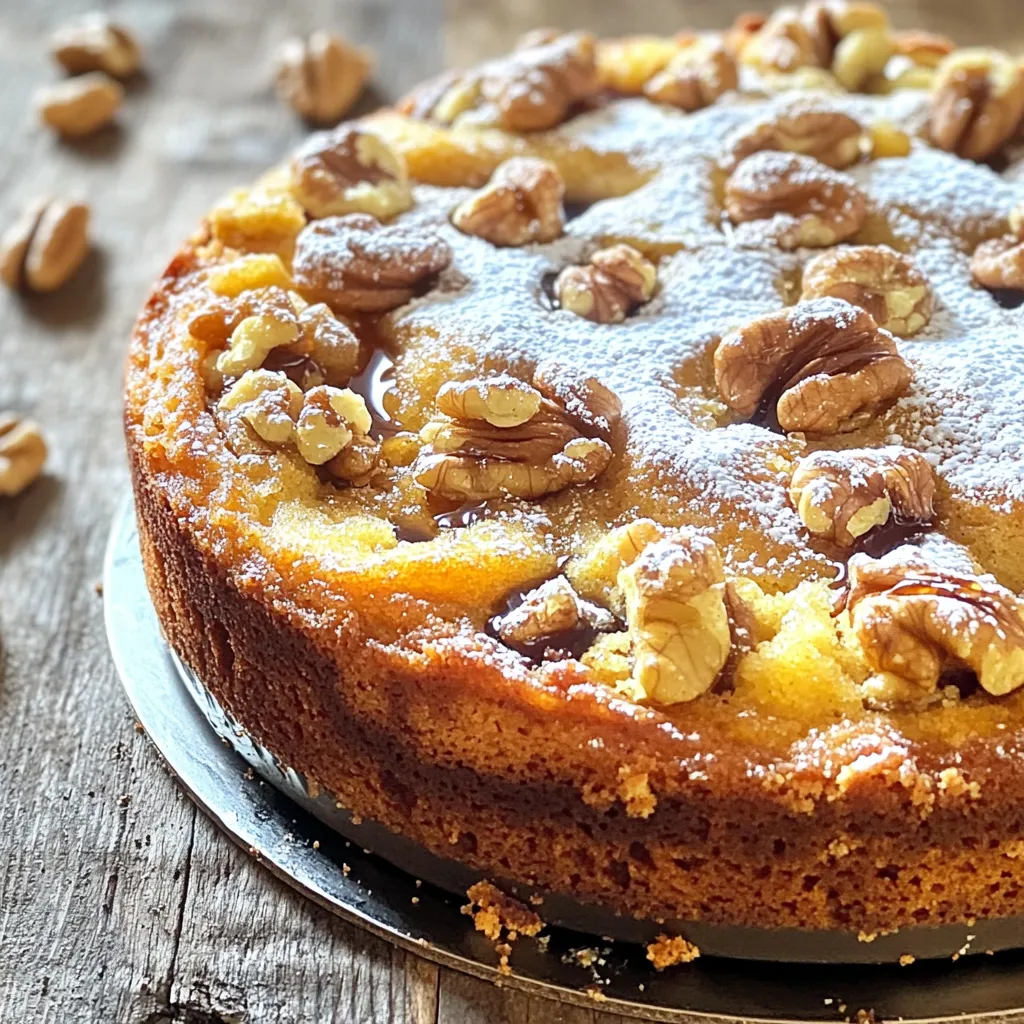
– Dust with powdered sugar: This adds a sweet touch and makes it look fancy.
– Drizzle maple syrup: Warm maple syrup adds flavor and shine.
– Garnish with walnuts: Sprinkle whole walnuts around the plate for a nice touch.
– Serve warm: Enjoy the cake warm for the best taste and texture.
Common Mistakes to Avoid
Here are some tips to help you avoid common errors:
– Don’t skip the greasing: Always grease your pan or use parchment paper. This ensures the cake releases easily.
– Measure flour correctly: Use a spoon to fill your measuring cup, then level it off. Too much flour can make the cake dry.
– Watch the baking time: Every oven is different. Start checking for doneness a few minutes early.
– Cool properly: Let the cake cool in the pan for 10 minutes. This helps it set before moving to a wire rack.
Variations
Adding Other Nuts
You can change the flavor by adding other nuts. Pecans work well for a buttery taste. Almonds add a nice crunch and a light sweetness. Both nuts can enhance the overall flavor of your cake. Just chop them up and mix them in with the walnuts. You can even use a mix of all three for a nutty twist.
Flavoring Options
Want to add some fun to your cake? Try adding chocolate chips or spices. Semi-sweet chocolate chips give a rich taste that pairs well with maple. You can also add a pinch of nutmeg or ginger for warmth. These spices bring out the maple flavor even more. Don’t be afraid to experiment. It’s all about what you enjoy!
Glazes and Frosting Ideas
To make your cake even better, consider adding a glaze or frosting. A simple maple glaze is easy to make. Just mix powdered sugar with maple syrup until smooth. Drizzle it on top of the cooled cake. If you prefer frosting, try a cream cheese frosting. It adds a creamy texture and balances the sweetness. You can even top the cake with a mix of chopped walnuts and glaze for a beautiful finish.
Storage Info
Best Storage Practices
To keep your Maple Walnut Coffee Cake fresh, store it in an airtight container. This helps seal in moisture and keeps it soft. You can leave it at room temperature for up to three days. If you want to keep it longer, consider refrigerating it. Just remember to wrap it well to avoid drying out.
Freezing Instructions
For long-term storage, freezing is a great option. First, let the cake cool completely. Then, slice it into pieces. Wrap each slice in plastic wrap to prevent freezer burn. Place the wrapped slices in a freezer bag or container. This way, you can enjoy a slice whenever you crave it. The cake can last up to three months in the freezer.
Reheating Tips
When you’re ready to enjoy your cake, reheating is easy. Take a slice from the fridge or freezer. For best results, use the microwave. Heat it for 15 to 30 seconds until warm. If you prefer, you can warm it in the oven at 350°F for about 10 minutes. Serve it with a drizzle of maple syrup on top for extra flavor.
FAQs
How long does Maple Walnut Coffee Cake last?
Maple Walnut Coffee Cake can last for about 3 to 5 days at room temperature. To keep it fresh, store it in an airtight container. If you want it to last longer, you can refrigerate it for up to a week. Just remember, refrigeration may change its texture a bit.
Can I substitute ingredients in this recipe?
Yes, you can! Here are some common substitutions:
– Use coconut oil instead of butter for a dairy-free option.
– Swap maple syrup with honey for a different sweetness.
– If you lack eggs, try using flaxseed meal mixed with water as a binder.
– For a nut-free version, replace walnuts with sunflower seeds.
What is the best way to serve Maple Walnut Coffee Cake?
I enjoy serving this cake warm with a drizzle of maple syrup. You can also dust it with powdered sugar for a nice touch. Pair it with fresh fruit or a scoop of vanilla ice cream. This cake goes great with coffee or tea, making it perfect for brunch or afternoon snacks.
Is it possible to make this cake gluten-free?
Absolutely! To make this cake gluten-free, use a gluten-free flour blend. Look for a mix that includes xanthan gum for better texture. You can also use almond flour, but you may need to adjust the liquid amounts. This way, you can enjoy the same great flavor without gluten.
You learned how to make a delicious Maple Walnut Coffee Cake. From gathering ingredients to baking and serving, each step is key. Remember to adjust based on your taste, like adding nuts or spices. Store it well and reheat properly for the best flavor. This cake is a joy to share and enjoy. With practice, you’ll master this recipe and impress others with your skills. Happy baking!


