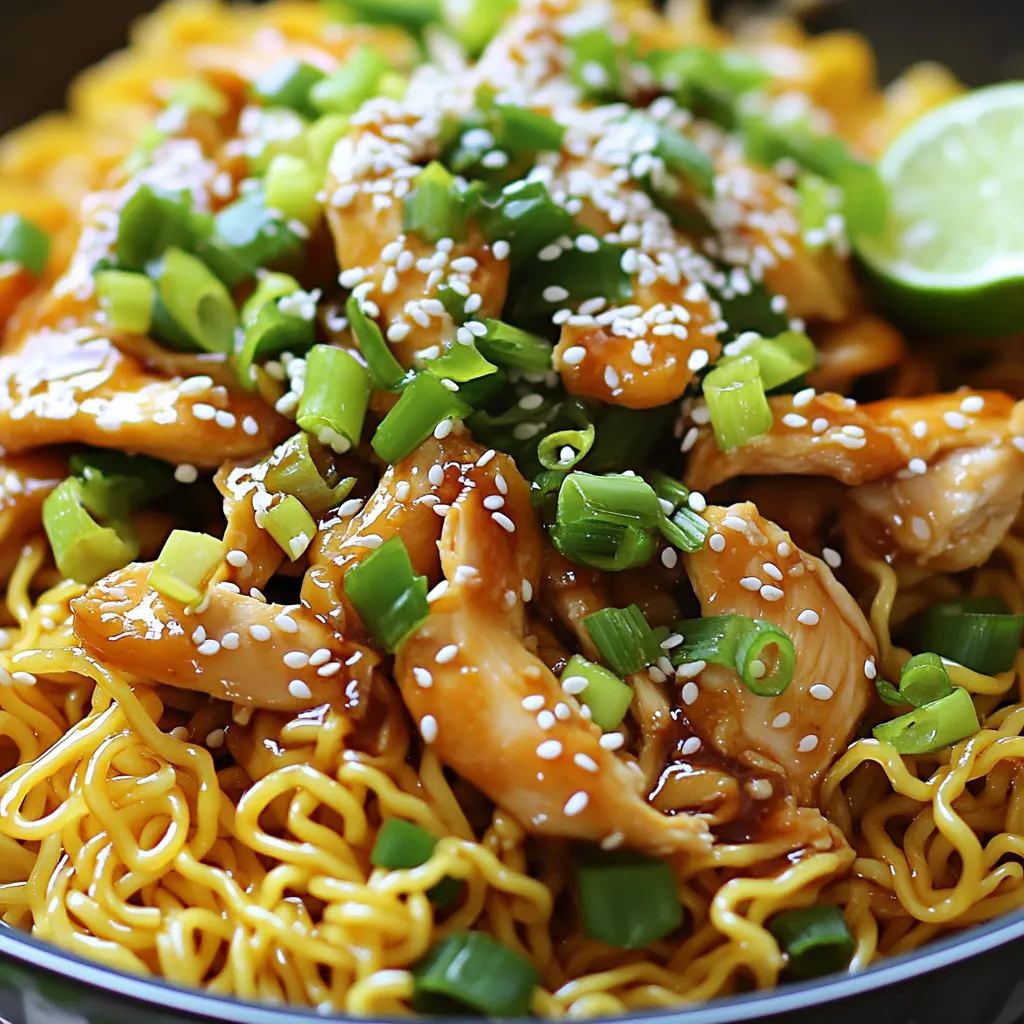
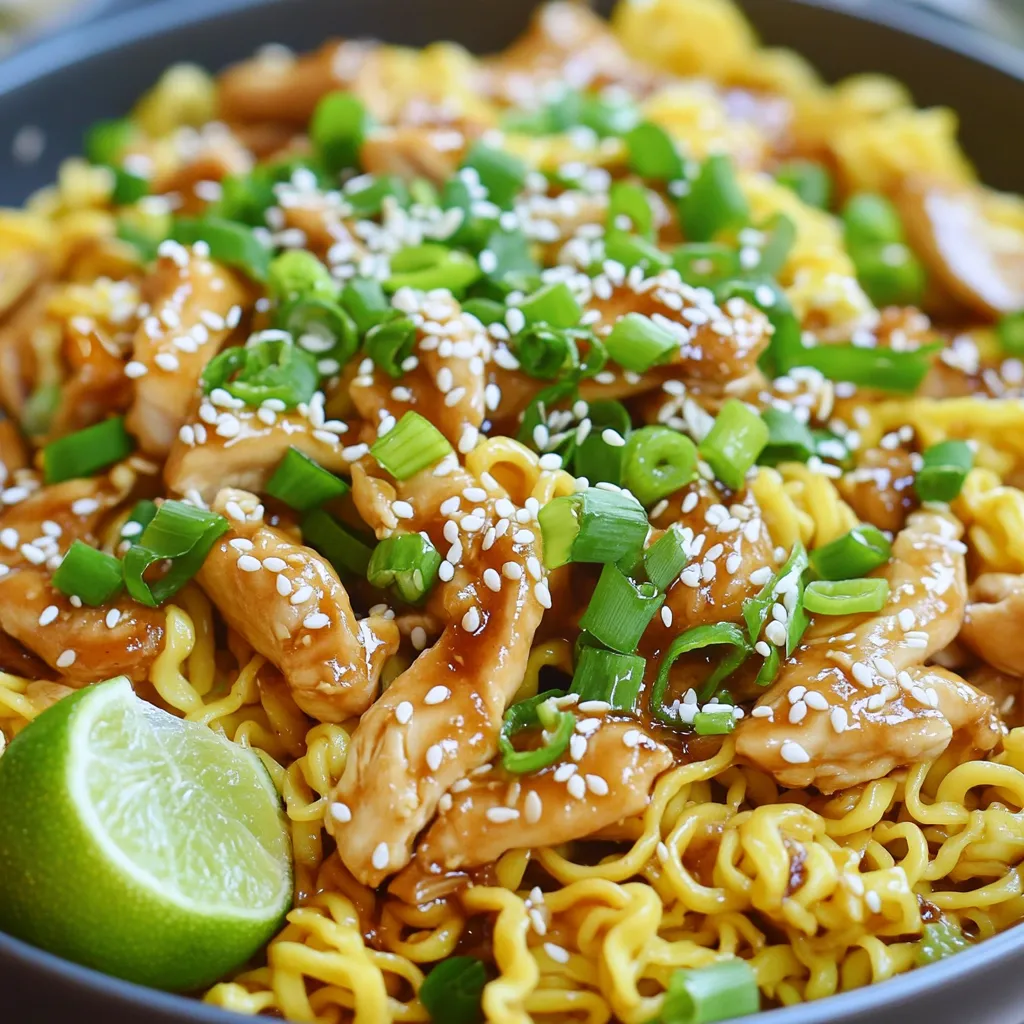
Looking for a quick meal that bursts with flavor? You’re in luck! My Minute Sesame Garlic Chicken Noodles are not just easy to whip up; they taste amazing too. In just a few simple steps, I’ll show you how to cook tasty chicken and noodles that everyone will love. Whether you’re cooking for yourself or a crowd, this dish is sure to impress! Let’s dive into the recipe.
Ingredients
Key Ingredients for Minute Sesame Garlic Chicken Noodles
– 2 boneless, skinless chicken breasts, thinly sliced
– 200g egg noodles
– 3 tablespoons sesame oil
– 4 cloves garlic, minced
– 2 tablespoons soy sauce (or tamari for gluten-free)
– 2 tablespoons rice vinegar
– 1 tablespoon honey
– 1 teaspoon grated ginger
– 2 green onions, sliced
– 1 tablespoon sesame seeds (white or black)
– Salt and pepper to taste
– Fresh cilantro or parsley for garnish
These ingredients create a balanced mix of flavors. The chicken adds protein, while the egg noodles serve as a hearty base. Sesame oil gives a rich depth, and garlic brings an aromatic touch.
Optional Ingredients for Customization
– Sliced bell peppers
– Broccoli florets
– Snow peas
– Red pepper flakes for heat
– Lime wedges for a zesty kick
You can add vegetables to boost nutrition and flavor. For spice, red pepper flakes work well. Lime wedges add a fresh burst that enhances the dish.
Equipment Needed
– Large skillet or wok
– Pot for boiling noodles
– Colander for draining
– Small mixing bowl for the sauce
– Whisk or fork for mixing
This equipment ensures you cook the dish efficiently. A skillet or wok is perfect for stir-frying. A pot is needed to boil the noodles, and a colander helps drain them quickly.
Step-by-Step Instructions
Cooking the Egg Noodles
Start by boiling a pot of salted water. The water should be bubbling. Once it boils, add the egg noodles. Cook them as per the package guide until they are al dente. This usually takes just a few minutes. After cooking, drain the noodles and rinse them with cold water. This stops the cooking and keeps them firm. Set the noodles aside, ready to join the chicken.
Stir-Frying the Chicken
Grab a large skillet or wok and heat 2 tablespoons of sesame oil on medium-high heat. Once hot, add the thinly sliced chicken. Season it with salt and pepper. Stir-fry the chicken for about 5-7 minutes. You want it to turn golden and cook all the way through. When the chicken is done, add minced garlic and grated ginger. Sauté these for 1-2 minutes. You’ll love the aroma, but don’t let the garlic burn!
Preparing and Adding the Sauce
In a small bowl, mix the soy sauce, rice vinegar, honey, and the last tablespoon of sesame oil. Whisk them together until smooth. Pour this sauce over the chicken in the skillet. Stir well to make sure the chicken is fully coated. The sauce will add a rich flavor, making each bite exciting.
Combining Everything and Serving
Now it’s time to bring it all together! Add the cooked noodles to the skillet with the chicken and sauce. Toss everything together gently. Make sure the noodles are covered with the sauce and heated through. This should take about 2-3 minutes. When ready, remove from heat and sprinkle sliced green onions and sesame seeds on top. For a pop of color, you can add fresh cilantro or parsley. Serve the noodles in bowls, and enjoy every bite!
Tips & Tricks
Best Practices for Cooking Chicken
To get juicy chicken, slice the breasts thinly. This helps them cook fast. Use a hot skillet with sesame oil. Cook the chicken until it turns golden. Make sure to season with salt and pepper. This adds great flavor. Stir-frying takes about 5-7 minutes. Always check that the chicken is fully cooked. You can cut a piece to see if it’s no longer pink inside.
Tips for Perfectly Cooking Noodles
Start with boiling salted water for the noodles. This makes them taste better. Cook the egg noodles until they are al dente. This means they should still have a bit of bite. After cooking, drain and rinse them with cold water. This stops the cooking and keeps them from getting mushy. Set them aside until you mix them with the chicken.
How to Enhance Flavor with Toppings
Toppings bring your dish to life. Slice green onions and sprinkle them on top. They add a nice crunch and freshness. Sesame seeds also add a nutty flavor. You can use white or black seeds. For more color, add fresh cilantro or parsley. A lime wedge on the side adds a zesty kick. These small touches make your meal look and taste great!
Variations
Vegetarian/Vegan Alternatives
If you want a vegetarian twist, replace chicken with firm tofu. Press and cube the tofu. Sauté it in sesame oil until golden. For a vegan version, swap honey for maple syrup or agave nectar. This keeps it sweet and plant-based.
Gluten-Free Substitutions
To make this dish gluten-free, use rice noodles instead of egg noodles. Also, choose tamari in place of soy sauce. This keeps the flavor strong while avoiding gluten. Always check the labels to ensure other ingredients are gluten-free.
Flavor Combinations to Try
Experiment with flavors by adding vegetables. Broccoli, bell peppers, or snap peas work well. You can also mix in some chili paste for heat. Try adding lime juice for a zesty kick, or sprinkle some crushed peanuts for crunch. Each twist makes the dish unique.
Storage Info
How to Store Leftovers
To store leftovers, let the chicken noodles cool down first. Place them in an airtight container. This helps keep the flavors fresh. You can store them in the fridge for up to three days. Make sure to label the container with the date. This way, you won’t forget when you made them!
Reheating Instructions
When you are ready to eat your leftovers, you can reheat them easily. Use a microwave-safe bowl. Add a splash of water to keep the noodles moist. Cover the bowl with a lid or microwave-safe wrap. Heat for about 1-2 minutes or until hot. Stir halfway through to ensure even heating. You can also reheat in a pan over low heat, adding a bit of sesame oil for flavor.
Freezing Options
If you want to save your chicken noodles for later, freezing is a great option. Place the cooled noodles in a freezer-safe container. Make sure to remove as much air as possible. You can also use freezer bags. Just be sure to flatten them for easier storage. They will last for up to three months in the freezer. When ready to eat, thaw overnight in the fridge and reheat as mentioned above.
FAQs
Can I use different types of noodles?
Yes, you can use many types of noodles. Rice noodles, udon, or even whole wheat noodles work well. Each type gives a different texture and taste. Try what you have at home. Just check the cooking time to avoid overcooking them.
How can I make this dish spicier?
To add spice, use chili flakes or sriracha. You can mix them into the sauce. Another option is to add sliced fresh chili peppers when cooking the chicken. Adjust the amount based on your heat preference.
What can I serve with sesame garlic chicken noodles?
These noodles pair nicely with a fresh salad or steamed veggies. You can also serve them with egg rolls or dumplings for a full meal. Add a light soup for a comforting touch.
How long does it take to prepare this recipe?
This recipe takes about 10 minutes to prep and 20 minutes to cook. In just 30 minutes, you can have a tasty meal ready to serve. It’s quick and perfect for busy nights!
This blog post shows you how to make tasty Minute Sesame Garlic Chicken Noodles. We covered key ingredients, step-by-step cooking, and helpful tips. You can easily tweak the dish to fit your taste. Don’t forget about storage tips for leftovers and ways to heat them up.
Cooking can be fun and creative. I hope you feel ready to try this recipe. Enjoy your meal and share it with friends!


