No-Bake Chocolate Chip Cookie Dough Bars Delight

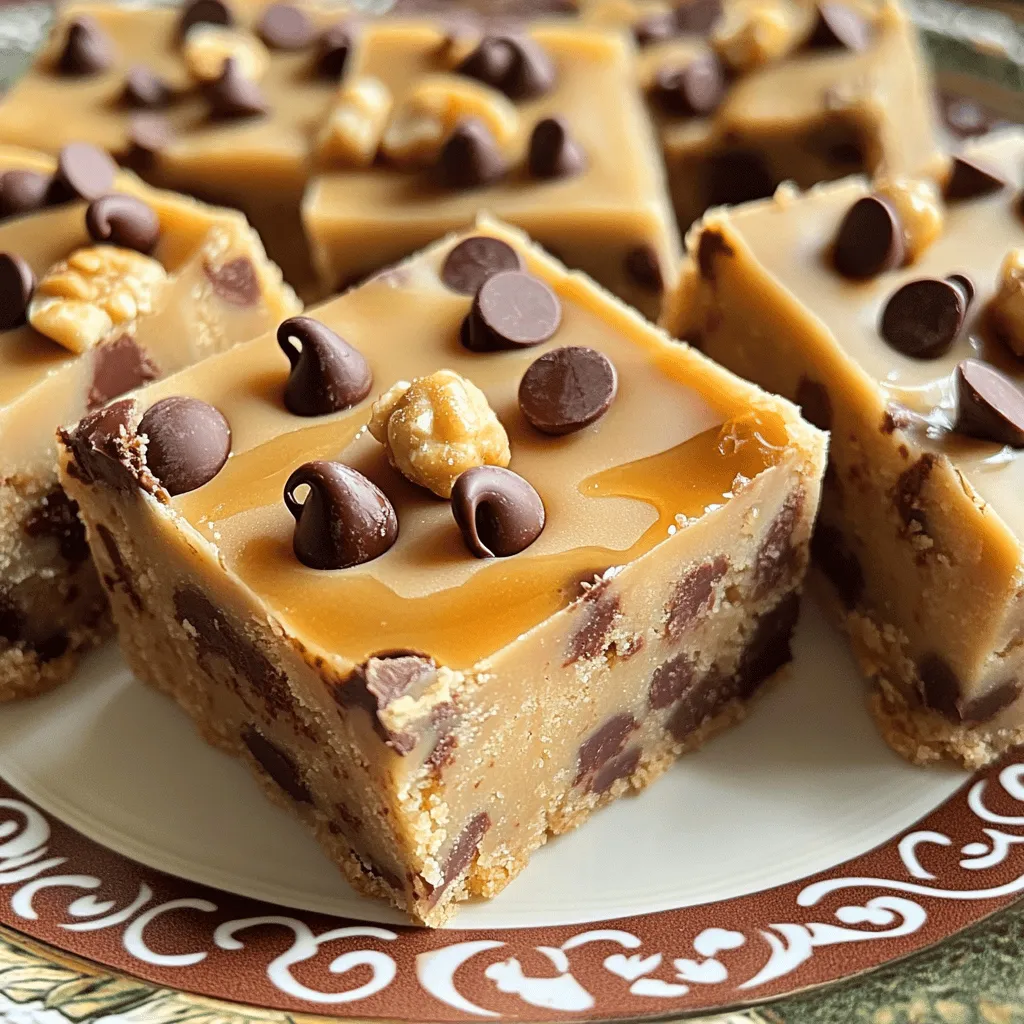
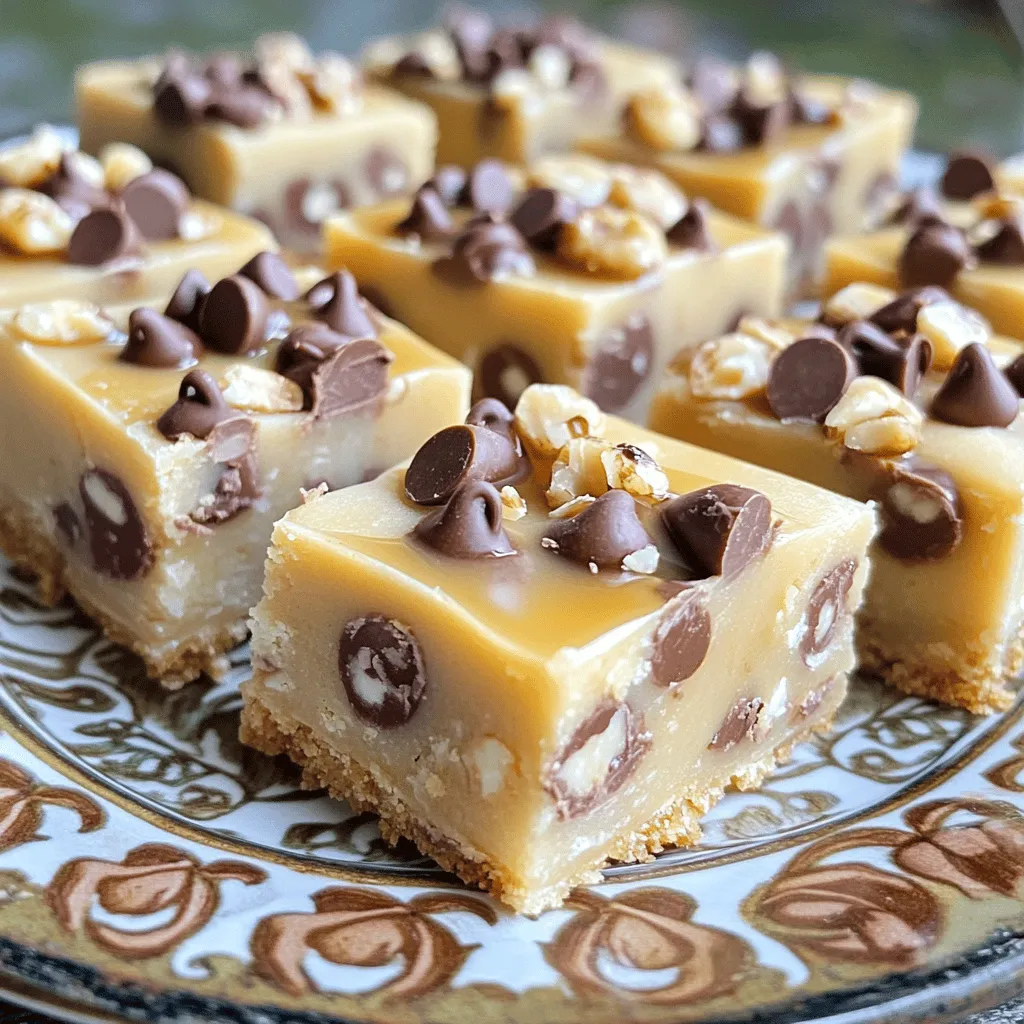
Craving a sweet treat that’s easy and quick? You’re in for a treat with these No-Bake Chocolate Chip Cookie Dough Bars! They combine simple ingredients like almond flour and oats to create a chewy, delicious dessert. I’ll guide you step-by-step to craft this tasty snack without turning on the oven. Let’s dive into the fun of making these bars that will wow friends and family alike!
Ingredients
List of Ingredients
– 1 cup almond flour
– 1/2 cup rolled oats
– 1/3 cup maple syrup
– 1/4 cup peanut butter (or any nut butter)
– 1 teaspoon vanilla extract
– 1/2 teaspoon salt
– 1/3 cup mini chocolate chips
– 1/3 cup chopped walnuts (optional)
These ingredients make up the base for the bars. Almond flour gives a nice texture. Rolled oats add heartiness. Maple syrup sweetens the mix naturally. Nut butter binds it all together. Vanilla extract brings warmth, while salt enhances flavor. Chocolate chips add sweetness and fun. Walnuts add crunch if you like.
Ingredient Substitutions
You can swap almond flour with other flours. Try oat flour or coconut flour instead. For nut butter, use cashew or sunflower seed butter. These options cater to different tastes. If you need gluten-free oats, look for certified gluten-free labeled oats. This way, you can enjoy these bars without worry.
Step-by-Step Instructions
Preparation Overview
First, we need to mix the dry ingredients. In a large bowl, combine 1 cup of almond flour, 1/2 cup of rolled oats, and 1/2 teaspoon of salt. Stir the mixture well until all the dry ingredients blend together.
Next, we will combine the wet ingredients. In a separate bowl, whisk together 1/3 cup of maple syrup, 1/4 cup of peanut butter, and 1 teaspoon of vanilla extract. Make sure the mixture is smooth and well mixed.
Detailed Instructions
1. Pour the wet ingredients into the dry ingredients.
2. Stir until a thick and doughy mixture forms.
3. Fold in 1/3 cup of mini chocolate chips and 1/3 cup of chopped walnuts if you want.
4. Line an 8×8 inch baking dish with parchment paper.
5. Press the cookie dough mixture firmly into the dish.
6. Refrigerate for at least 30 minutes or until the mixture is set.
7. After it sets, remove the bars using the parchment paper and cut into squares.
Tips for achieving the right consistency:
– Make sure to mix well, so no dry spots remain.
– If the mixture feels too loose, add a bit more almond flour.
Importance of refrigeration time:
Refrigeration helps the bars firm up. It makes them easy to cut and gives a nice texture. Don’t skip this step!
Tips & Tricks
Making Perfect No-Bake Bars
To make the best no-bake chocolate chip cookie dough bars, start with a clean bowl. Mix the dry ingredients well. This helps to blend the almond flour, oats, and salt. Use a whisk or fork for even mixing.
When adding wet ingredients, combine the maple syrup, peanut butter, and vanilla in another bowl. Stir until smooth. Pour this mixture into the dry mix. Use a spatula to fold it gently. This keeps the mixture from getting too sticky.
To avoid a sticky mess, keep your hands slightly damp while pressing the dough into the dish. You can also use the back of a spatula. This method helps shape the bars without sticking.
For tools, I recommend using:
– Large mixing bowls
– A whisk or fork
– A spatula
– An 8×8 inch baking dish
– Parchment paper
Enhancing Flavor and Texture
To boost flavor, try adding cocoa powder. Just a couple of tablespoons will create a rich chocolate taste. You can also swap nut butters. Almond, cashew, or sunflower seed butter work well.
For toppings, sprinkle extra mini chocolate chips on top. Chopped nuts or shredded coconut also make great choices. These additions add crunch and flavor.
Experiment with dried fruits like cranberries or apricots. They give a sweet and chewy texture. Don’t be afraid to mix and match!

Variations
Flavor Variations
You can easily change the taste of these bars. Adding cocoa powder gives a rich chocolatey twist. Just mix in two tablespoons of cocoa powder with the dry ingredients. This small change creates a whole new flavor.
You can also use different nut butters. If you love almond butter, go for it! Cashew butter also works well. Each nut butter adds its unique taste. This way, you can make these bars your own.
Add-Ins
Want to make your bars even more fun? You can add dried fruits or seeds. Dried cranberries or raisins add sweetness and color. Chia seeds or flaxseeds boost nutrition. These add-ins bring texture and flavor to each bite.
You can also swap nuts for other crunchy options. Try pumpkin seeds or sunflower seeds. They give a nice crunch without the nutty flavor. This way, you can cater to different tastes and dietary needs.
Storage Info
How to Store
To keep your No-Bake Chocolate Chip Cookie Dough Bars fresh, choose the right container. Use an airtight container to seal in flavor and moisture. Glass or plastic containers work well. If you plan to stack the bars, place parchment paper between layers to avoid sticking.
Now, let’s talk about refrigeration versus freezing. You can store these bars in the fridge for up to a week. If you want them to last longer, freeze them. Just wrap each bar in plastic wrap and place them in a freezer-safe bag. They will stay good for about three months in the freezer.
Shelf Life
These delicious bars can last about a week in the fridge. Look for signs of spoilage, such as a change in smell or texture. If they feel sticky or have a strange odor, it’s best to throw them out. Always check for freshness before enjoying your bars!
FAQs
Common User Questions
How to make these bars vegan?
To make these bars vegan, swap the honey for maple syrup. Use a plant-based nut butter, like almond or cashew butter. All the other ingredients are already vegan-friendly.
Can I use a different sweetener?
Yes, you can. Agave syrup or brown rice syrup are good options. Just keep the amount similar to maple syrup for the right taste and texture.
What if I don’t have almond flour?
If you lack almond flour, try using oat flour or even ground oats. They work well and keep the bars gluten-free. Just ensure to blend them finely for the best results.
Troubleshooting and Tips
What to do if the mixture is too dry?
If your mixture feels dry, add a little more nut butter or maple syrup. Start with one tablespoon at a time until it reaches the right doughy texture.
How to cut bars without crumbling?
To cut the bars cleanly, use a sharp knife. Run it under hot water first, then dry it off. This helps the knife glide through the bars without crumbling.
Can I skip refrigeration?
Skipping refrigeration is not ideal. Refrigerating helps the bars set properly. If you’re in a hurry, you can chill them for just 15 minutes, but the texture might be softer.
You learned about a tasty no-bake bar recipe with simple ingredients. We discussed swaps for allergies and how to store these bars safely. Your variations can make each batch unique and fun.
Stick to my tips for mixing and consistency. If the mixture feels off, I shared troubleshooting advice. Enjoy making these bars for snacks or desserts. You can impress friends and family with your skills.


![- 1 cup all-purpose flour - 1 cup whole wheat flour - 2 tablespoons brown sugar - 2 teaspoons baking powder - 1 teaspoon baking soda - 1 teaspoon ground cinnamon - 1 teaspoon ground nutmeg - 1/2 teaspoon ground ginger - 1/4 teaspoon ground cloves - 1/4 teaspoon salt - 1 cup pumpkin puree - 1 1/2 cups milk (dairy or non-dairy) - 2 large eggs - 1/4 cup melted butter or coconut oil - 1 teaspoon vanilla extract - Maple syrup - Whipped cream - Powdered sugar - Extra cinnamon To make perfect Pumpkin Spice Waffles, you need to gather all the right ingredients. Start with your flours. I use both all-purpose and whole wheat flour for a nice texture. Brown sugar adds a touch of sweetness that balances the spices well. Next, you have your leavening agents. Baking powder and baking soda work together to create fluffy waffles. The spices make this dish special. Ground cinnamon, nutmeg, ginger, and cloves give that warm, cozy taste we love in fall. Don’t forget the salt; it helps enhance all the flavors. Pumpkin puree is the star here. It adds moisture and that lovely pumpkin flavor. I prefer using fresh puree, but canned works just fine too. For the liquid, milk brings everything together; you can use dairy or a non-dairy option. Eggs bind the batter and add richness. Butter or coconut oil adds fat, making the waffles tender. Lastly, vanilla extract gives a lovely aroma. Don't skip the toppings! Maple syrup is a must, and whipped cream makes it feel special. A dusting of powdered sugar or cinnamon can take it to the next level. With these ingredients ready, you can follow the Full Recipe for a delightful breakfast treat. Preheat your waffle iron according to the manufacturer’s instructions. This step helps your waffles cook evenly and become crispy. In a large bowl, whisk together the following dry ingredients: - 1 cup all-purpose flour - 1 cup whole wheat flour - 2 tablespoons brown sugar - 2 teaspoons baking powder - 1 teaspoon baking soda - 1 teaspoon ground cinnamon - 1 teaspoon ground nutmeg - 1/2 teaspoon ground ginger - 1/4 teaspoon ground cloves - 1/4 teaspoon salt This mix gives your waffles their warm, spice flavor. In another bowl, mix the wet ingredients until smooth: - 1 cup pumpkin puree - 1 1/2 cups milk (dairy or non-dairy) - 2 large eggs - 1/4 cup melted butter or coconut oil - 1 teaspoon vanilla extract The pumpkin puree adds moisture and a rich taste. Pour the wet ingredients into the dry mix. Stir gently until just combined. A few lumps are okay; overmixing makes the waffles tough. Lightly grease the waffle iron if needed. Pour an appropriate amount of batter into the preheated iron. Cook until golden brown. This usually takes a few minutes. Serve your waffles hot. Drizzle with maple syrup, add whipped cream, and sprinkle cinnamon for extra flavor. Don't forget to check out the Full Recipe for more details! To make your waffles light and fluffy, follow these tips: - Use fresh baking powder and baking soda. This gives your waffles the lift they need. - Mix the batter until just combined. A few lumps are okay; overmixing can make them tough. - Let the batter rest for a few minutes before cooking. This helps the waffles rise better. - Preheat your waffle iron well. A hot iron ensures a crispy outside and soft inside. You can add fun twists to your pumpkin spice waffles. Here are some ideas: - Fold in chocolate chips for a sweet surprise. They melt and create a lovely gooey texture. - Add chopped nuts like walnuts or pecans for crunch. They bring a nice contrast to the soft waffles. - Mix in dried fruit, such as cranberries or raisins, for extra sweetness and chewiness. - Try a splash of maple extract for a deeper flavor. It pairs perfectly with pumpkin. Taking care of your waffle iron is key for great results. Here are some best practices: - Always preheat your waffle iron according to the manufacturer’s instructions. A hot iron cooks evenly. - Lightly grease the iron with butter or oil if needed. This prevents sticking and ensures a clean release. - Don't open the waffle iron too soon. Wait until the steam stops before checking for doneness. - Clean your waffle iron after each use. This keeps it in good shape and ready for your next batch. For the full recipe, check out the [Full Recipe]. {{image_2}} To make gluten-free pumpkin spice waffles, you can swap out the all-purpose flour. Use a gluten-free all-purpose flour blend instead. Make sure it has xanthan gum for the right texture. You can also add a bit of almond flour for extra flavor. This will give the waffles a nice nutty taste. Check the baking powder to ensure it is gluten-free as well. This simple change makes your breakfast safe for everyone. Want to make these waffles vegan? It's easy! Replace the eggs with flax eggs. Mix one tablespoon of ground flaxseed with three tablespoons of water for each egg. Let it sit for five minutes to thicken. Use almond milk or any other non-dairy milk instead of regular milk. Swap the butter for coconut oil or a vegan butter alternative. These changes keep the flavor while making it plant-based. You can add more fun to your pumpkin spice waffles. Try mixing in chocolate chips for a sweet twist. Nuts like walnuts or pecans add a crunchy texture. You can also use different spices. Try cardamom for a unique taste or allspice for a warm flavor. Adding a splash of maple extract can make it even more delicious. Feel free to experiment and find your favorite flavors! To keep your leftover waffles fresh, place them in an airtight container. You can also wrap them in plastic wrap or aluminum foil. Store them in the fridge for up to three days. When you want to eat them, just warm them up in the toaster or microwave. If you want to save waffles for later, freezing is a great option. First, let the waffles cool completely. Then, place a piece of parchment paper between each waffle. This prevents them from sticking together. Store them in a freezer bag or container. They can last up to three months in the freezer. To reheat, pop them in a toaster or bake them in the oven. This keeps them crispy. Waffles stored in the fridge last about three days. If frozen, they remain good for three months. After that, they may lose flavor and texture. Always check for any signs of spoilage before enjoying your waffles. Enjoy them fresh for the best taste! You can use several options if you don't have pumpkin puree. Here are some ideas: - Sweet potato puree: It has a similar texture and flavor. - Butternut squash puree: This option is also sweet and creamy. - Homemade pumpkin puree: Just roast fresh pumpkin until soft, then blend. Using these alternatives may change the flavor slightly, but they still taste great. To get your waffles nice and crispy, follow these tips: - Preheat your waffle iron: Make sure it’s hot before adding batter. - Use a little extra oil: Adding a bit more oil to the batter can help. - Don't overmix the batter: A few lumps are fine; this helps keep them light. - Cook longer: If they are not crispy enough, cook them a little longer. These tricks will help you achieve that perfect crunch. Yes, you can prepare the batter ahead of time. Here’s how: - Store in the fridge: Keep the batter in an airtight container for up to 24 hours. - Stir before use: Give it a gentle stir if it separates. Keep in mind that letting the batter sit too long may affect the rise. You can find pre-made pumpkin spice waffles in many stores. Check these places: - Supermarkets: Look in the frozen breakfast section. - Health food stores: They often carry organic or gluten-free options. - Online retailers: Websites like Amazon may have several brands available. Brands like Eggo and Nature's Path often sell great options. Toppings can enhance your pumpkin spice waffles. Here are some ideas: - Maple syrup: A classic choice that complements the spices well. - Whipped cream: Adds creaminess and sweetness. - Powdered sugar: A light dusting makes them look fancy. - Extra cinnamon: Sprinkle some on top for added flavor. These toppings will take your waffles to the next level! In this article, we explored how to craft perfect pumpkin spice waffles from scratch. We covered ingredient lists, step-by-step instructions, and tips for the best flavor and texture. I also shared ways to vary the recipe for gluten-free or vegan options, plus storage advice. Enjoying homemade waffles can be simple and fun. You can impress your family with these warm, delicious treats at breakfast or brunch. Give them a try, and savor every bite!](https://dailydishly.com/wp-content/uploads/2025/06/28ffe532-610a-4fe8-ab83-510bf8d3c6f3-768x768.webp)


