Get ready to indulge in a warm bowl of One-Pot Creamy Roasted Garlic Alfredo Pasta! This dish is simple yet packed with flavor. You’ll learn how to roast garlic to perfection and make the creamiest sauce, all in one pot. Whether you’re cooking for a busy weeknight or a special dinner, this recipe is sure to impress. Let’s dive into the delicious details!
Ingredients
Pasta and Garlic
For this dish, you need 12 oz of fettuccine pasta. This pasta shape holds creamy sauces well. Next, grab 1 bulb of garlic. Roasting garlic brings out its sweet flavor. You’ll love the rich taste it adds.
Liquids and Seasonings
You will need 3 cups of vegetable broth. This broth gives a nice base for the sauce. Add 1 cup of heavy cream for creaminess. Don’t forget 1 cup of grated Parmesan cheese. This cheese makes the sauce rich and cheesy. Season with salt and black pepper to taste. You can also add 1 teaspoon of Italian seasoning for extra flavor. If you want a bit of brightness, add the zest of 1 lemon.
Optional Garnishes
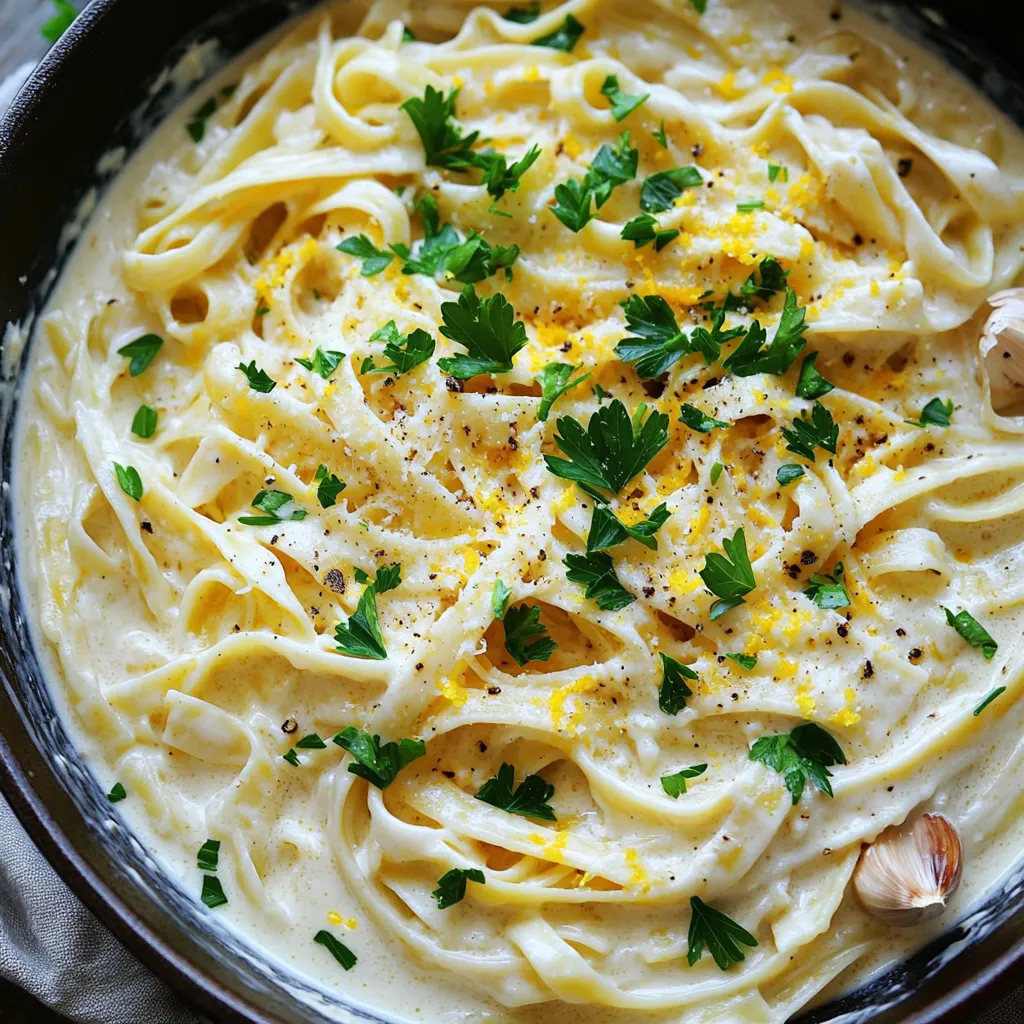
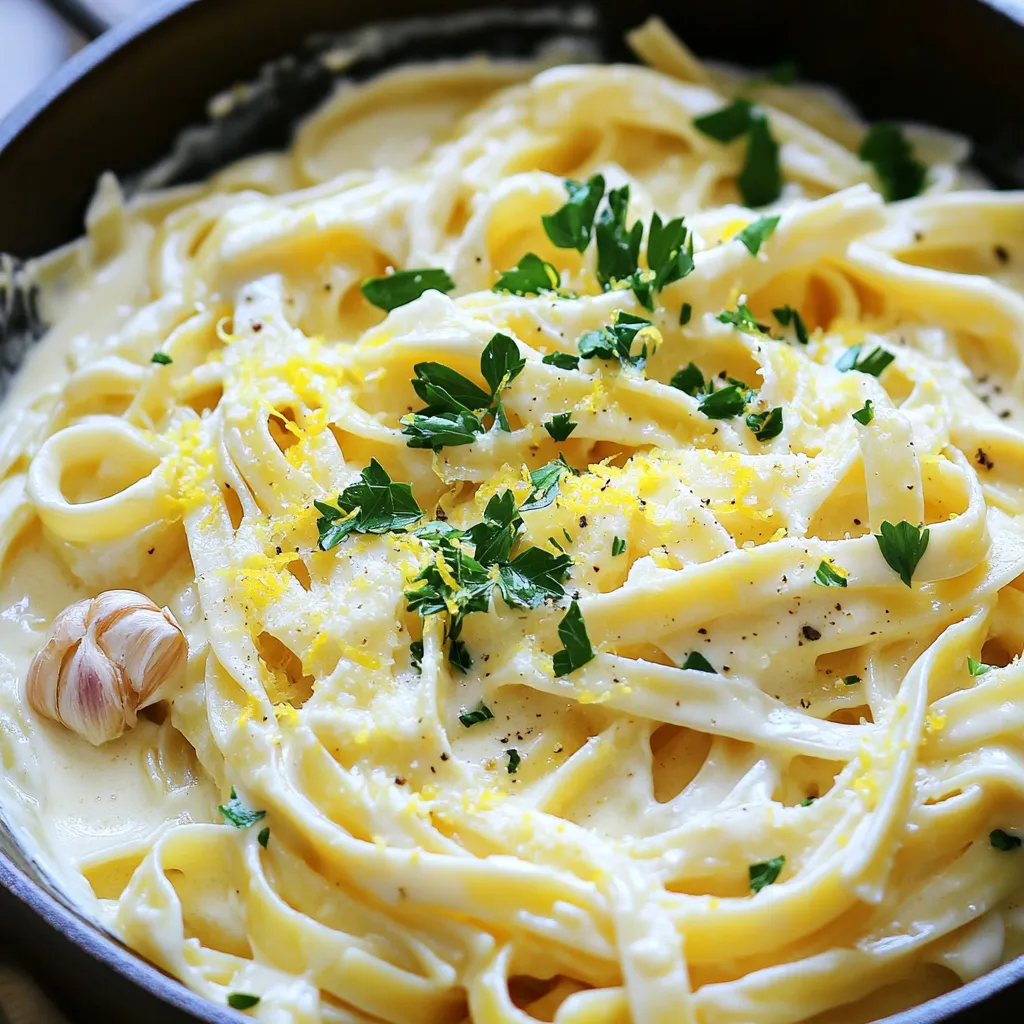
For a fresh touch, use freshly chopped parsley. This will add color and a hint of flavor. You can also sprinkle more Parmesan on top if you like. These garnishes make your dish look and taste even better.
Step-by-Step Instructions
Preparing the Roasted Garlic
Start by preheating your oven to 400°F (200°C). Take one bulb of garlic and slice off the top. This exposes the cloves inside. Drizzle 1 tablespoon of olive oil over it. Wrap the bulb in aluminum foil. Place it in the oven for about 30 to 35 minutes. The garlic will become soft and sweet. After roasting, let it cool before handling. You can squeeze the cloves out of their skins easily.
Cooking the Fettuccine
In a large pot or deep skillet, heat 1 tablespoon of olive oil over medium heat. Pour in 3 cups of vegetable broth and 1 cup of heavy cream. Add 1 teaspoon of Italian seasoning for flavor. Bring this mixture to a gentle simmer. Once it’s simmering, add 12 oz of fettuccine pasta. Stir it well to make sure all pasta is under the liquid. Cook the pasta for 10 to 12 minutes. Stir occasionally until it’s al dente, or tender but firm.
Combining Ingredients for Creamy Sauce
When the pasta is ready, take the roasted garlic. Squeeze the softened cloves into a bowl and mash them with a fork. Reduce the heat to low in your pot. Add 1 cup of grated Parmesan cheese and the mashed garlic to the pasta. Stir until the cheese melts and the sauce becomes creamy. Taste and adjust the seasoning with salt and black pepper. If you want a fresh twist, add lemon zest. Let it rest for a couple of minutes. This helps the sauce thicken. Now it’s ready to serve!
Tips & Tricks
Ensuring Creaminess
To get that rich, creamy texture, use heavy cream. It blends well with the cheese and garlic. Stir the sauce well after adding the cheese. This helps it melt smoothly. If you want it creamier, add a bit more cream. Let the dish sit for a couple of minutes before serving. This allows the sauce to thicken.
Perfecting the Flavor
Start with high-quality Parmesan cheese. Freshly grated cheese melts better than pre-grated. Roasting the garlic adds a sweet, deep flavor. Don’t skip the lemon zest! It brightens the sauce and balances the richness. Taste your sauce as you cook. Adjust salt and pepper to fit your taste. If you like more herbs, add a bit more Italian seasoning.
Serving Suggestions
Serve this pasta hot, straight from the pot. Garnish with fresh parsley for color and flavor. Add more Parmesan on top for a cheesy finish. Pair it with a crisp green salad or garlic bread. This dish is great for sharing with friends or family. Enjoy it with a glass of white wine for a special touch.
Variations
Protein Additions
You can boost your One-Pot Creamy Roasted Garlic Alfredo Pasta with protein. Chicken is a popular choice. Cooked chicken breast adds a nice texture. Just shred it and stir it in at the end. Shrimp is another great option. Add peeled shrimp during the last few minutes of cooking. They cook fast and soak up the garlic flavor. If you prefer beef, sliced steak works well too. Just cook it separately and mix it in before serving.
Vegetarian Alternatives
For a vegetarian twist, you can swap out the pasta or add veggies. Spinach or kale adds color and nutrients. Toss them in during the last minute of cooking. You can also use mushrooms for a meaty feel. Sauté them in olive oil before adding them to the pot. For an extra layer of flavor, add sun-dried tomatoes. They bring a sweet and tangy taste that pairs well with garlic.
Dairy-Free Options
If you want a dairy-free version, there are easy swaps. Use coconut cream instead of heavy cream. It gives a rich texture while keeping it light. For cheese, try nutritional yeast. It adds a cheesy flavor without dairy. You can also use cashew cream for a creamy texture. Just blend soaked cashews with water until smooth. These options keep the dish tasty and creamy while meeting your dietary needs.
Storage Info
How to Store Leftovers
After enjoying your One-Pot Creamy Roasted Garlic Alfredo Pasta, let it cool. Transfer the pasta to an airtight container. Make sure to seal it well to keep it fresh. Store it in the fridge. It will stay good for up to three days. If you want to enjoy it later, you can freeze it.
Reheating Tips
When you are ready to eat the leftovers, take them out of the fridge. You can reheat the pasta in the microwave. Add a splash of water or cream to keep it moist. Heat it in 30-second bursts, stirring in between. You can also reheat it on the stove. Use low heat and stir often to prevent sticking.
Freezing for Later
If you want to freeze the pasta, let it cool completely first. Place the pasta in a freezer-safe container. Leave some space at the top, as it may expand. It is best to use it within two months for the best taste. To thaw, move it to the fridge overnight before reheating. This method helps keep the flavors intact.
FAQs
How long does it take to make One-Pot Creamy Roasted Garlic Alfredo Pasta?
It takes about 50 minutes to make this dish from start to finish. You spend 10 minutes prepping and 40 minutes cooking. The garlic takes 30 to 35 minutes in the oven. While that’s happening, you can cook the pasta and finish the sauce. This makes timing easy and fun!
Can I use different types of pasta?
Yes, you can use different types of pasta! Fettuccine works great, but you can try penne, rotini, or even spaghetti. Just keep an eye on the cooking time. Different shapes cook at different speeds. Ensure the pasta is al dente for the best texture.
What can I substitute for heavy cream?
If you need a substitute for heavy cream, you have options. You can use whole milk with a bit of butter to mimic the creaminess. For a lighter touch, try half-and-half. If you want a dairy-free option, use coconut cream or cashew cream. Each will give a different flavor but will still work well in the dish.
This blog post covered how to make One-Pot Creamy Roasted Garlic Alfredo Pasta. We talked about the key ingredients like pasta, garlic, and liquids, plus optional garnishes. I shared step-by-step instructions to help you prepare this dish with ease. We also explored tips for flavor, serving suggestions, and variations for added protein or dairy-free options. Finally, I provided storage tips to keep leftovers fresh.
Now you can enjoy a tasty meal that’s easy to make and delicious. Happy cooking!


