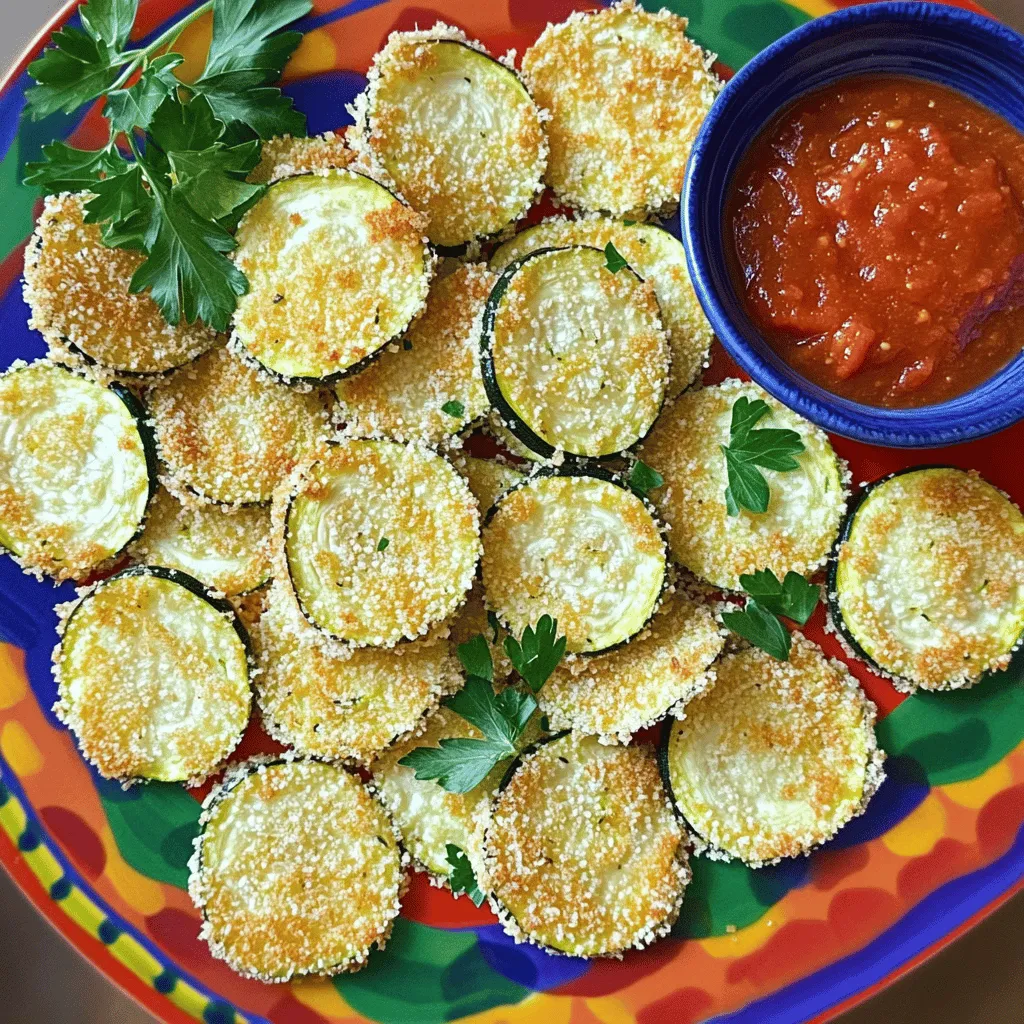
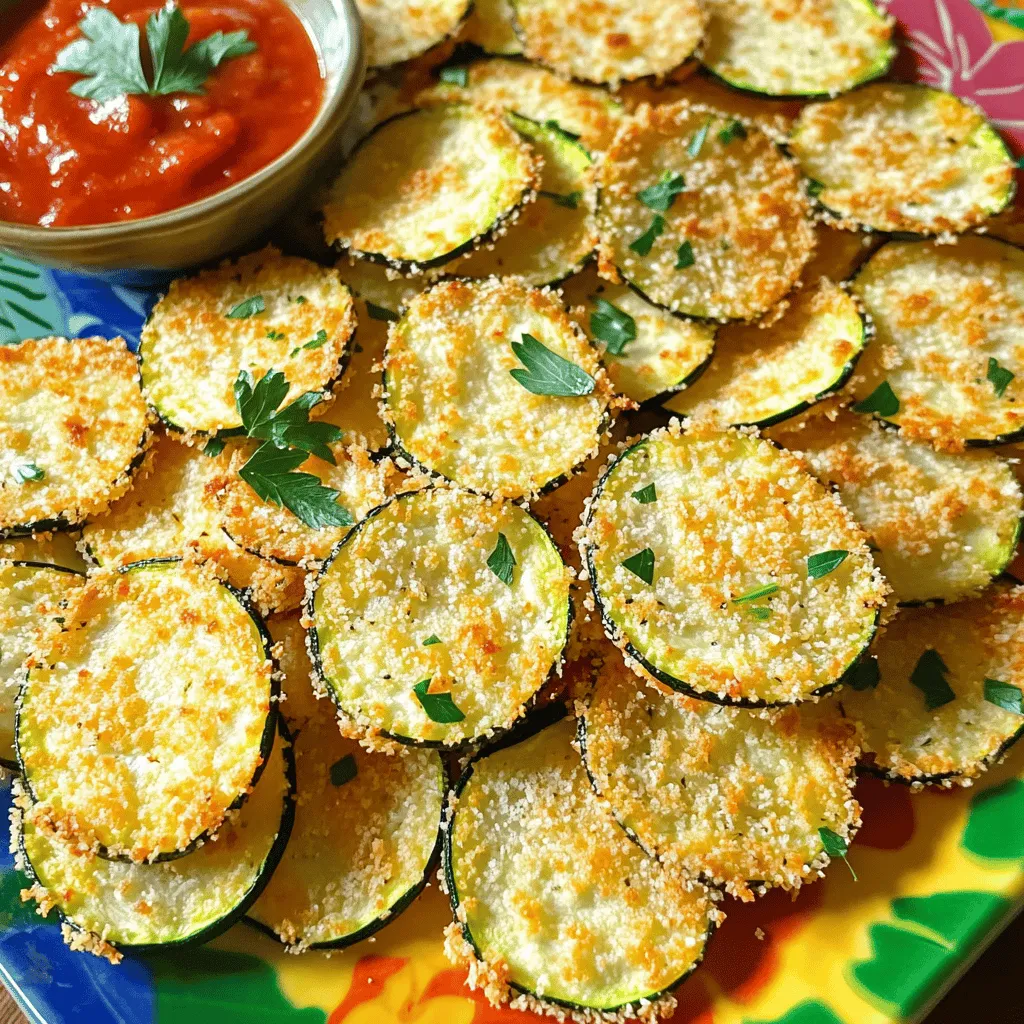
If you love tasty snacks that are easy to make, you’ve hit the jackpot! Parmesan Crusted Zucchini Chips are your new go-to treat. With a crispy outside and a burst of flavor, these chips are simple to whip up. I’ll guide you through every step, from picking the best ingredients to ensuring they turn out perfect. Let’s dive into this crunchy delight that will satisfy your snack cravings!
Ingredients
List of Ingredients
To make these tasty Parmesan crusted zucchini chips, you will need:
– 2 medium zucchinis, sliced into thin rounds
– 1 cup grated Parmesan cheese
– 1 cup breadcrumbs (preferably panko for extra crunch)
– 1 teaspoon garlic powder
– 1 teaspoon onion powder
– 1 teaspoon dried oregano
– 1 teaspoon dried basil
– Salt and pepper to taste
– 2 large eggs
– Cooking spray or olive oil for greasing
Measurements for Accurate Results
Using the right amounts of each ingredient is key. Too much cheese can make them salty. Too little breadcrumbs can lead to soggy chips. Stick to these measurements for the best results.
Optional Add-ons for Extra Flavor
Want to spice things up? Try adding:
– A pinch of red pepper flakes for heat
– Some grated lemon zest for brightness
– Fresh herbs like thyme or rosemary for a unique twist
These add-ons will enhance the flavor and make your chips even more special!
Step-by-Step Instructions
Preheating the Oven and Preparing Baking Sheet
First, set your oven to 425°F (220°C). This high heat helps the chips get crispy. While the oven heats, line a baking sheet with parchment paper. This keeps the chips from sticking and makes cleanup easy.
Mixing the Coating Ingredients
In a shallow bowl, mix the grated Parmesan and breadcrumbs. I prefer panko for a crunchier texture. Add garlic powder, onion powder, oregano, basil, salt, and pepper. Stir well to blend the spices evenly. This mix gives the chips their tasty crust.
Egg Dipping and Coating Technique
In another bowl, beat the eggs until mixed. Take each zucchini slice and dip it into the eggs. Let any extra egg drip off. Then, coat the slice in the Parmesan mixture. Press gently so the coating sticks well. This step is key for a crunchy finish.
Baking to Perfection
Arrange the coated zucchini slices in a single layer on the baking sheet. Lightly spray them with cooking spray or drizzle olive oil to help with crisping. Bake for 15-20 minutes, flipping them halfway through. Look for a golden brown color. This is your sign they are ready. After baking, let them cool for a few minutes before serving.
Tips & Tricks
Achieving Extra Crispiness
To make your zucchini chips super crispy, follow these steps. Slice the zucchinis thin. Thin slices help them cook faster and get crisp. Use panko breadcrumbs for the best crunch. They add a nice texture. Make sure to coat each slice well with the Parmesan mixture. Press it on firmly. This helps the coating stick during baking. Finally, don’t skip the cooking spray or olive oil. This step is key for that golden, crispy finish.
Common Mistakes to Avoid
Avoid using thick zucchini slices. They won’t crisp up well. Also, don’t rush the egg dipping. Ensure each slice is fully coated. If the coating falls off while baking, it’s likely too light. Make sure to flip the chips halfway through baking. This ensures both sides get nice and crispy. Lastly, don’t overcrowd the baking sheet. Give them space to breathe for the best results.
Serving Suggestions
These zucchini chips shine on their own or with dips. Try serving with marinara sauce for a classic touch. A yogurt dip adds a cool contrast. Garnish with fresh parsley or basil for a pop of color. Present them on a bright platter to impress your guests. They make a great snack or side dish for any meal. Enjoy the crunch and flavor!
Variations
Alternative Breading Options
You can switch up the breading for your zucchini chips. Try using crushed cornflakes or seasoned flour instead of breadcrumbs. For a gluten-free option, use almond flour or gluten-free breadcrumbs. Each choice gives a unique crunch. You can also mix in some finely chopped nuts for added texture and flavor.
Flavor Infusions with Spices
Spices can take your zucchini chips to the next level. Add smoked paprika for a smoky taste or cayenne for heat. Try adding Italian seasoning for a classic flavor. You can also experiment with curry powder for a fun twist. Just remember to adjust the salt based on your spice choice.
Zucchini Chips with a Twist
Get creative with your zucchini! Use a blend of veggies like carrots or sweet potatoes. This adds color and variety to your dish. You could also top the chips with fresh herbs like cilantro or dill after baking. This brightens up the flavors and makes them pop. Don’t be afraid to experiment; the options are endless!
Storage Info
How to Store Leftover Zucchini Chips
After enjoying your Parmesan crusted zucchini chips, you might have some left. To keep them fresh, place the leftover chips in an airtight container. Line the bottom with paper towels to absorb moisture. This helps prevent sogginess. Store the container in the fridge for up to three days.
Reheating Instructions for Optimal Crispiness
When you’re ready to enjoy your leftovers, reheating is key. Preheat your oven to 375°F (190°C). Spread the zucchini chips on a baking sheet in a single layer. This ensures they heat evenly. Bake for about 10 minutes, flipping them halfway. This method retains their crispiness and flavor.
Freezing Options and Tips
Freezing zucchini chips is a great way to enjoy them later. First, make sure they are completely cool. Then, place them in a single layer on a baking sheet. Freeze them for about an hour. Once frozen, transfer the chips to a freezer bag. Remove as much air as possible. They can last up to three months in the freezer. When you’re ready to eat, bake them straight from the freezer for an easy snack!
FAQs
Can I use larger zucchini for this recipe?
Yes, you can use larger zucchini. However, larger zucchini may have more moisture. This can make your chips less crunchy. I recommend slicing them thinly. Aim for about 1/4 inch thick. This helps them cook evenly and stay crispy.
What can I substitute for Parmesan cheese?
If you need a substitute for Parmesan cheese, try nutritional yeast. It gives a cheesy flavor without dairy. You can also use pecorino Romano for a sharper taste. Another option is to use vegan cheese if you want a dairy-free version.
How do I make these zucchini chips gluten-free?
To make these zucchini chips gluten-free, use gluten-free breadcrumbs. You can find many brands at stores. Some people use crushed cornflakes or ground nuts as alternatives. Ensure all your spices are gluten-free too.
Can I bake these zucchini chips in an air fryer?
Yes, you can use an air fryer for these zucchini chips. Preheat your air fryer to 400°F (200°C). Arrange the chips in a single layer in the basket. Cook them for about 10-12 minutes, flipping halfway through. This gives you a great crunch without needing to bake.
This blog post covered all the key steps for making tasty zucchini chips. From choosing the right ingredients to perfecting your baking technique, you now have the skills to create a crunch everyone will love. Remember, use the tips to avoid mistakes and add your favorite flavors. With proper storage, your chips stay fresh. Enjoy your delicious creations, and feel free to experiment with variations. Happy baking!


