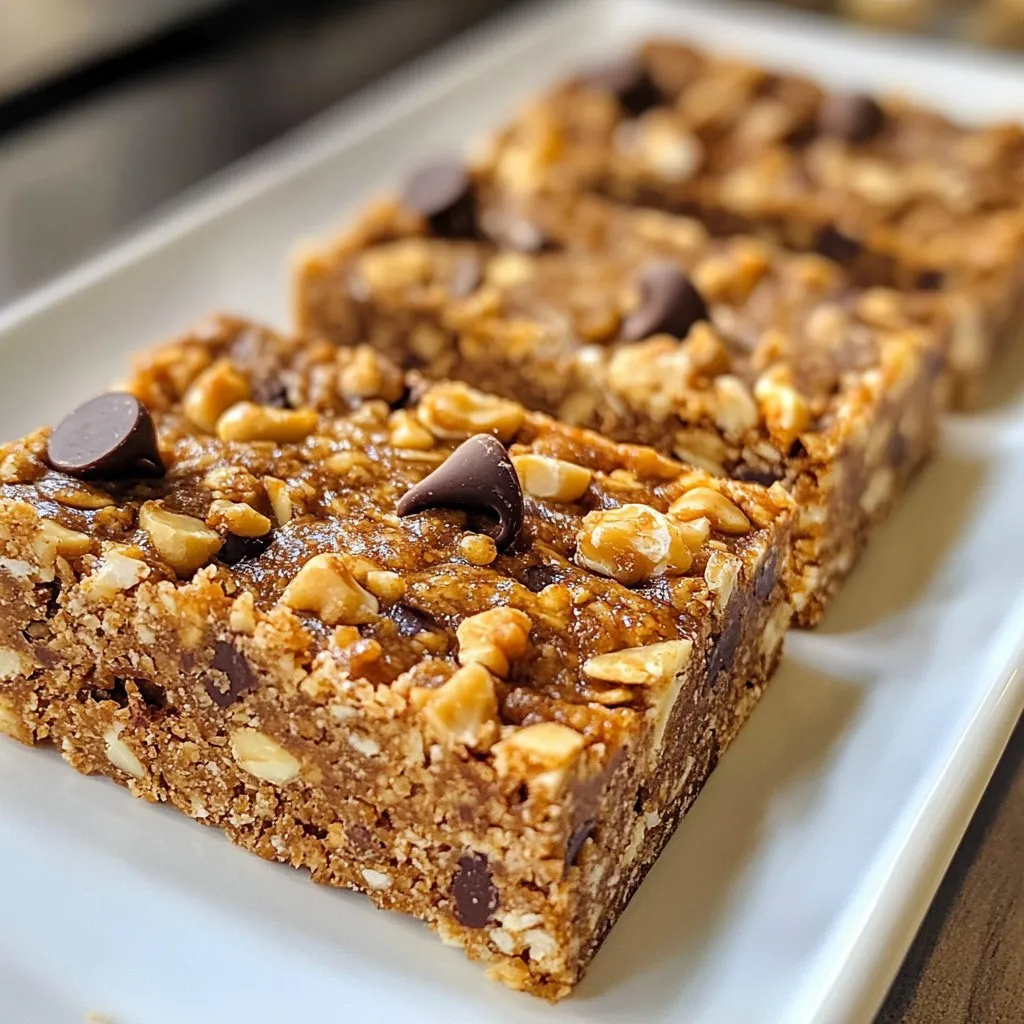
Looking for a tasty boost to power your day? I’ve got just the thing! My Peanut Butter Chocolate Chip Energy Bars are simple to make and packed with flavor. In this recipe, you’ll find easy steps, fun ingredient swaps, and tips to get the perfect texture. Whether you need a snack for workouts or school lunches, these bars fit the bill. Let’s dive in and whip up some delicious energy bars together!
Why I Love This Recipe
- Quick and Easy: This recipe takes just 10 minutes to prepare and is perfect for a healthy snack on the go.
- Nutritious Ingredients: Packed with oats, nuts, and flaxseed, these bars provide essential nutrients and energy for your day.
- Customizable: You can easily substitute the nuts or sweetener based on your preferences, making it versatile for everyone.
- Deliciously Satisfying: The combination of peanut butter and chocolate chips creates a treat that satisfies your sweet tooth without the guilt.
Ingredients
List of Ingredients
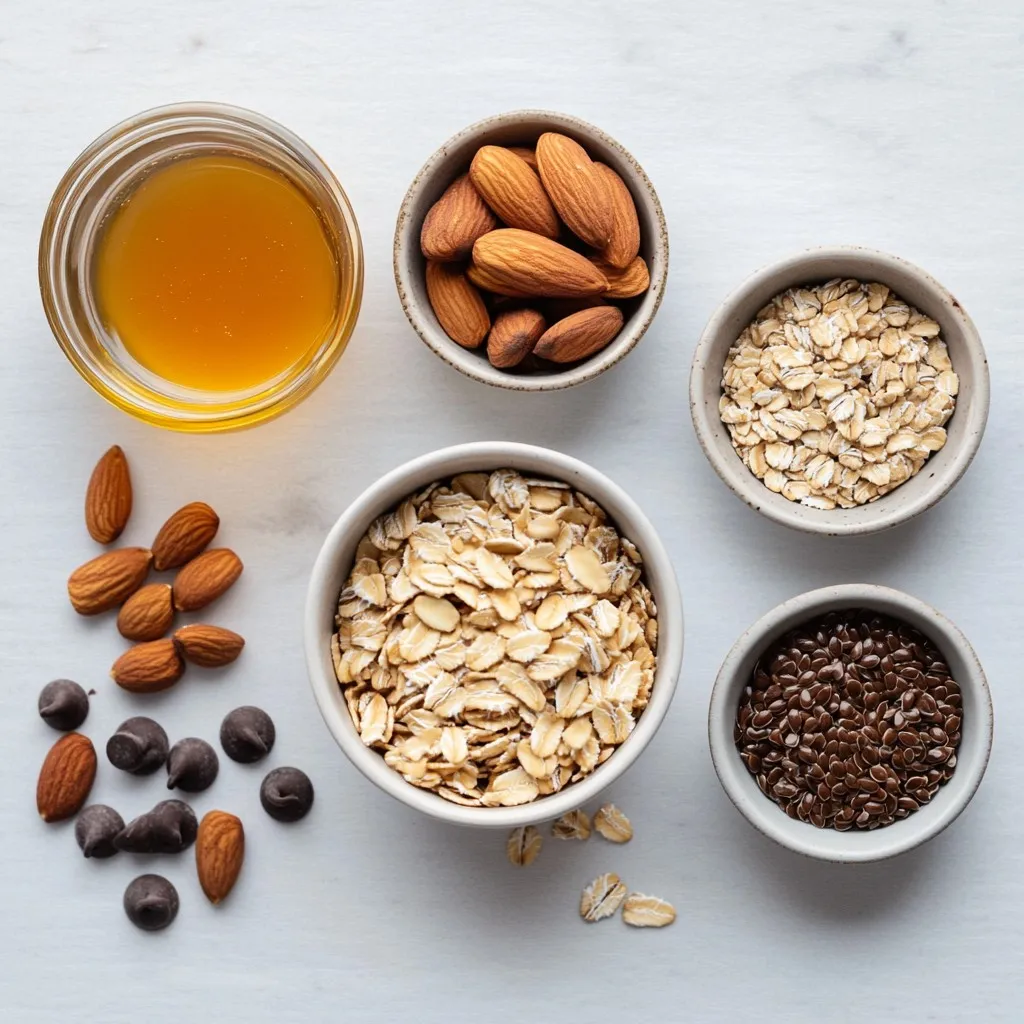
To make these tasty peanut butter chocolate chip energy bars, you need the following ingredients:
– 1 cup rolled oats
– 1/2 cup natural peanut butter
– 1/3 cup honey or maple syrup
– 1/4 cup dark chocolate chips
– 1/4 cup chopped nuts (like almonds or walnuts)
– 1/4 cup ground flaxseed (optional)
– 1 teaspoon vanilla extract
– A pinch of salt
These ingredients work together to create a chewy and sweet snack.
Optional Ingredients for Extra Nutrition
You can add a few ingredients for more nutrition:
– Chia seeds: Great for fiber and omega-3s.
– Dried fruits: Try cranberries or raisins for some sweetness.
– Protein powder: Boosts protein content and keeps you full longer.
Adding these can enhance the taste and health benefits of your bars.
Ingredient Substitutes
If you run out of something, here are some easy swaps:
– Peanut butter: Use almond or cashew butter for a different flavor.
– Honey or maple syrup: Agave syrup works well as a sweetener too.
– Dark chocolate chips: You can use milk chocolate or white chocolate for a sweeter taste.
– Chopped nuts: Sunflower seeds or pumpkin seeds can replace nuts for a nut-free option.
These substitutes keep the recipe flexible and delicious.
Step-by-Step Instructions
Preparation Steps Overview
First, gather your ingredients. You will need rolled oats, natural peanut butter, honey or maple syrup, dark chocolate chips, chopped nuts, ground flaxseed, vanilla extract, and a pinch of salt. Make sure to have a bowl and a pan ready.
Detailed Baking Process
1. Preheat your oven to 350°F (175°C). Line an 8×8-inch baking pan with parchment paper. Leave some paper hanging over the sides. This helps with easy removal later.
2. In a large bowl, mix rolled oats, ground flaxseed, chopped nuts, and salt. Stir it all together until combined.
3. In a microwave-safe bowl, heat peanut butter and honey (or maple syrup) for about 30 seconds. It should be warm and a bit runny. Stir in the vanilla extract until it mixes well.
4. Pour the peanut butter mixture over the oat mixture. Mix until every dry ingredient is coated.
5. Fold in dark chocolate chips. Make sure they are spread out evenly in the mix.
6. Pour the mixture into the lined baking pan. Press it down firmly with a spatula or your hands. Make sure the surface is even.
7. Bake in the oven for 15-20 minutes. You want it set and slightly golden around the edges.
Cool and Cut Instructions
1. Remove the pan from the oven. Let it cool for at least 10 minutes in the pan.
2. Use the parchment paper to lift the bars out of the pan.
3. Once they are cool, cut into bars of your choice.
4. Store the bars in an airtight container in the fridge for up to a week. You can also freeze them for longer storage.
Tips & Tricks
Perfecting Texture and Flavor
To get the best texture, use rolled oats. They give a chewy bite. If you want a softer bar, add a bit more honey or peanut butter. This makes the bars stick together better. You can also swap dark chocolate chips for milk chocolate if you prefer a sweeter taste. I like to add chopped nuts for crunch. Almonds or walnuts work great. For an extra boost, try adding ground flaxseed. It adds nutrition without changing the taste much.
Storage Tips for Freshness
Keep your energy bars fresh by storing them properly. Use an airtight container to keep them in the fridge. They stay good for about a week. If you want to keep them longer, freeze them. Wrap each bar in parchment paper and then in foil. This way, they won’t stick together. When you want to eat one, let it thaw for a few minutes at room temperature.
Serving Suggestions
These bars are great for any time of day. Enjoy one for breakfast or as a snack. You can also pack them for lunch or take them on a hike. They are easy to carry and give you a quick energy boost. If you want to make them more fun, try drizzling melted chocolate on top. You can even sprinkle some sea salt for a sweet and salty mix.
Pro Tips
- Use Creamy Peanut Butter: Creamy peanut butter ensures a smooth texture and helps bind the bars effectively, making them easier to slice.
- Customize Your Mix-ins: Feel free to swap out the nuts or chocolate chips for your favorite ingredients, such as dried fruits or seeds, to create your unique flavor profile.
- Press Firmly: When spreading the mixture in the pan, press it down firmly to create a dense bar that holds together well once baked.
- Storage Tips: For longer shelf life, wrap the bars individually in plastic wrap or parchment paper before storing them in an airtight container.
Variations
Alternative Nut Butters
You can swap peanut butter for other nut butters. Almond butter and cashew butter work well. They bring a unique taste to your bars. Each nut butter adds its flavor and nutrients. If you have allergies, try sunflower seed butter. It’s a great nut-free option. This way, everyone can enjoy these tasty bars.
Different Add-ins
Feel free to get creative with add-ins. Dried fruits like raisins, cranberries, or apricots add sweetness. Seeds like chia or pumpkin seeds boost nutrition. They give a nice crunch too. You can also mix in coconut flakes for a tropical twist. These additions make your energy bars even more fun and flavorful.
Vegan and Gluten-Free Options
This recipe is easy to customize for dietary needs. To make it vegan, use maple syrup instead of honey. Check your nut butter to ensure it’s vegan too. For gluten-free, use certified gluten-free oats. You can enjoy these bars without worries. They fit many diets while still being delicious and satisfying.
Nutritional Information
Caloric Breakdown Per Serving
Each bar has around 150 calories. This comes from healthy fats, carbs, and protein. Here’s how it breaks down:
– Rolled Oats: Provides energy and fiber.
– Peanut Butter: Gives protein and healthy fats.
– Honey or Maple Syrup: Adds sweetness and simple carbs.
– Dark Chocolate Chips: Offers a touch of sweetness and antioxidants.
– Nuts: Adds extra protein and healthy fats.
Health Benefits of Key Ingredients
These bars are packed with nutrients. Here’s what each main ingredient does:
– Rolled Oats: Rich in fiber, they help keep you full longer.
– Peanut Butter: Great for heart health. It has protein and healthy fats.
– Honey/Maple Syrup: Natural sweeteners give quick energy.
– Dark Chocolate: Contains antioxidants, which are good for your heart.
– Nuts: They provide protein and healthy fats, promoting brain health.
– Flaxseed: A good source of omega-3 fatty acids, which are great for your skin.
Comparison to Store-Bought Energy Bars
Homemade energy bars beat store-bought options. Here’s why:
– Fewer Additives: You control what goes in. No hidden ingredients!
– Cost-Effective: Making them at home saves money.
– Taste: Fresh bars taste better than packaged ones.
– Customizable: You can adjust flavors and ingredients to fit your needs.
Making these bars is easy. Plus, you get to enjoy a tasty snack that’s good for you!
FAQs
How long do homemade energy bars last?
Homemade energy bars stay fresh for about a week. Store them in an airtight container in the fridge. This keeps them cool and tasty. If you want to keep them longer, you can freeze them. They will last for about three months in the freezer.
Can I freeze these energy bars?
Yes, you can freeze these energy bars. After cutting them, wrap each bar in plastic wrap. Then, place them in a freezer-safe bag. When you want one, just take it out and let it thaw for a few minutes. This way, you can enjoy them anytime!
What can I add to make them more protein-rich?
To boost protein in your energy bars, try adding these options:
– 1/4 cup of protein powder
– 1/2 cup of Greek yogurt
– 1/4 cup of chia seeds
– 1/4 cup of sunflower seeds
These ingredients blend well with the flavors and make your bars even tastier!
Creating your own energy bars is simple and fun. We covered the key ingredients, added nutrition options, and substitutes. I walked you through the baking steps and shared tips for perfect texture and flavor. We also explored many variations to fit your taste and dietary needs. Remember, homemade energy bars offer great nutrition and save you money compared to store-bought. Enjoy making these bars your own, and share them with friends and famil