Ready to transform your breakfast? With my Protein Packed Chocolate Overnight Oats, you’ll enjoy a rich, chocolatey treat that fuels your day. This smooth and easy recipe is packed with protein and perfect for busy mornings. I’ll guide you through simple steps, tasty additions, and smart storage tips. Let’s dive in and make breakfast the highlight of your day!
Why I Love This Recipe
- Quick and Easy: This recipe takes just 10 minutes to prepare, making it a perfect choice for busy mornings.
- Customizable: With various toppings like fruits and nuts, you can tailor each serving to your taste preferences.
- Protein-Packed: Incorporating chocolate protein powder boosts the nutritional value, keeping you full and energized.
- Make-Ahead: These overnight oats are perfect for meal prep, allowing you to enjoy a healthy breakfast ready to go.
Ingredients
Main Ingredients for Protein Packed Chocolate Overnight Oats
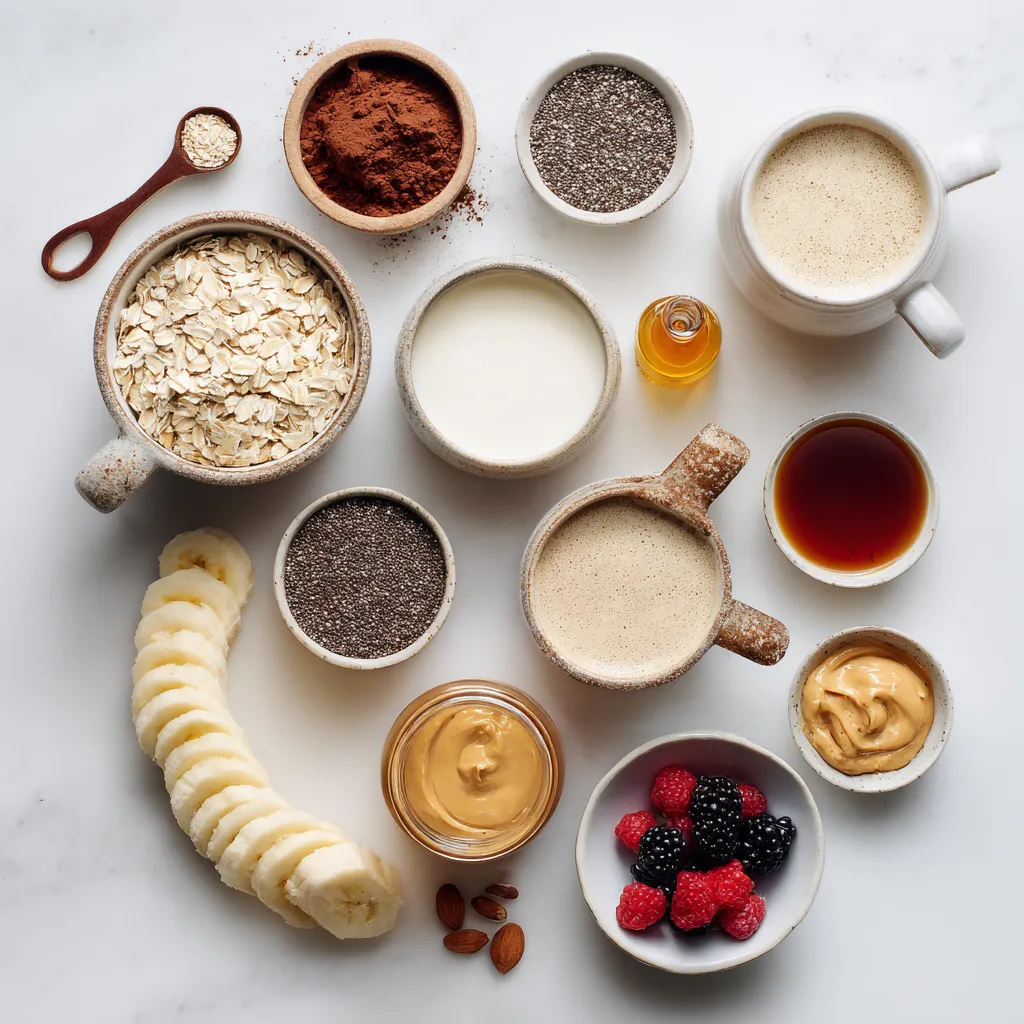
To make Protein Packed Chocolate Overnight Oats, gather these key ingredients:
– 1 cup rolled oats
– 2 cups almond milk (or any nut milk)
– 1 scoop chocolate protein powder
– 2 tablespoons chia seeds
– 1 tablespoon cocoa powder
– 1 tablespoon maple syrup (adjust for sweetness)
– 1/2 teaspoon vanilla extract
– Pinch of salt
These ingredients work together to create a smooth and creamy texture. The rolled oats soak up the almond milk, while the chia seeds add a nice thickness. The protein powder gives your oats a boost, making them filling and nutritious.
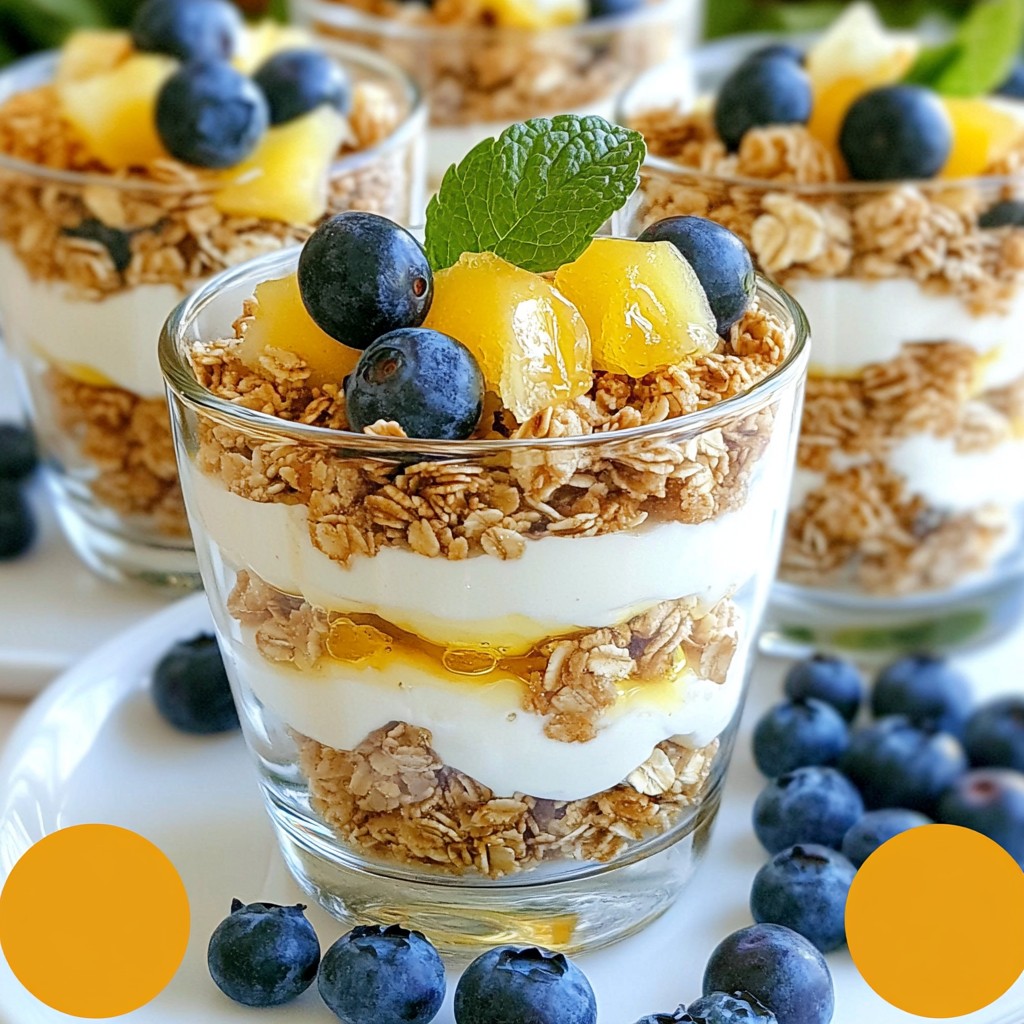
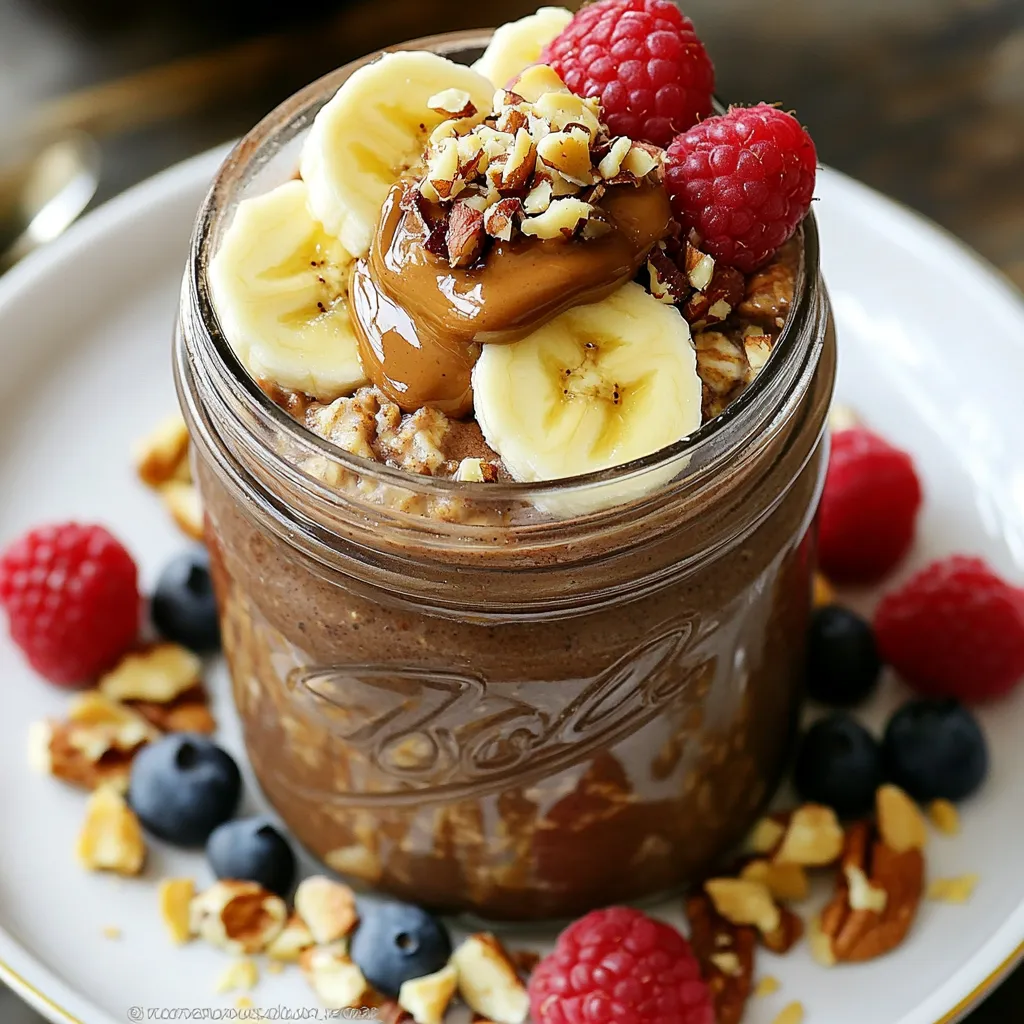
Optional Toppings and Add-Ins
Feel free to customize your oats with these tasty toppings:
– Sliced banana
– Fresh berries
– Nuts (almonds or walnuts)
– A dollop of almond butter
These add-ins not only enhance flavor but also add more nutrients. Bananas provide potassium, while berries are rich in antioxidants. Nuts can add healthy fats and a nice crunch.
Suggested Substitutions
If you need to swap some ingredients, try these options:
– Use oat milk or soy milk instead of almond milk.
– Replace chocolate protein powder with vanilla or unflavored powder.
– For a sweeter taste, use honey instead of maple syrup.
These substitutions can help you suit your taste or dietary needs. Enjoy experimenting with different flavors!
Step-by-Step Instructions
Preparation Steps for Overnight Oats
To start, grab a mixing bowl. Add 1 cup of rolled oats. Next, include 1 scoop of chocolate protein powder, 2 tablespoons of chia seeds, and 1 tablespoon of cocoa powder. Don’t forget a pinch of salt! Mix these dry ingredients well to spread them out evenly.
Now, pour in 2 cups of almond milk, 1 tablespoon of maple syrup, and 1/2 teaspoon of vanilla extract. Stir again until the mixture looks smooth and well combined. This step is key for great texture.
Once mixed, transfer your blend into a mason jar. Make sure it’s sealed tightly to prevent spills. Then, refrigerate the jar for at least 4 hours, but overnight is best. This waiting time allows the oats and chia seeds to soak up the liquid, making them creamy and tasty.
Tips for Mixing Ingredients Effectively
Mixing well is very important. It helps the flavors blend nicely. To avoid clumps, I suggest using a whisk or fork. Start with the dry ingredients first. Then, add the liquids gradually. This way, you get a consistent texture.
If you see any lumps, don’t worry! Just keep stirring until everything looks smooth. If your mixture feels too thick, add a little more almond milk. This can help make it creamier.
Proper Storage in a Mason Jar
Using a mason jar is fantastic for storing overnight oats. They seal well, keeping your oats fresh. After you fill the jar, check the lid. Make sure it’s on tight to avoid leaks.
Store your jar in the fridge. It’s best to eat them within 3 to 5 days. If you want to prepare for the week, make multiple jars at once. This way, you’ll have a quick breakfast ready to go!
Tips & Tricks
Best Practices for Creamy Overnight Oats
To get that perfect creamy texture, use rolled oats. They absorb the liquid well. Mix your dry ingredients well before adding any liquid. This step helps distribute the flavors evenly. After mixing, let the oats sit in the fridge overnight. This allows the oats and chia seeds to soak up the almond milk. In the morning, stir your oats to make them smooth. If they seem too thick, add a splash of almond milk. This will help loosen them up nicely.
Adjusting Sweetness: How to Customize
Sweetness is personal, and you can adjust it easily. Start with one tablespoon of maple syrup. Taste the mixture before it chills. If you want it sweeter, add more maple syrup. You can also swap maple syrup for honey or agave. Each option gives a unique flavor. If you prefer less sweetness, reduce the syrup. You can also leave it out entirely and let toppings add flavor.
Nutritional Enhancements with Additional Ingredients
You can boost the nutrition of your overnight oats with extras. Add a scoop of nut butter for healthy fats and protein. Sliced banana or berries can add natural sweetness and vitamins. Nuts or seeds can give a nice crunch and more fiber. Consider adding a scoop of yogurt for probiotics. This will make your oats even creamier. Experiment with these ingredients to find your perfect mix.
Pro Tips
- Customize Your Sweetness: Adjust the amount of maple syrup based on your preference. You can also substitute with stevia or honey for different flavors.
- Experiment with Milk Alternatives: Try using oat milk, coconut milk, or soy milk for a unique taste and texture that complements the chocolate.
- Chia Seed Benefits: Chia seeds not only help thicken the oats but also add omega-3 fatty acids. Consider adding more for extra nutritional benefits!
- Make it a Meal Prep: Prepare multiple jars at once for a week’s worth of quick breakfasts. Just grab and go in the morning!
Variations
Flavor Variations for Chocolate Overnight Oats
You can change up the flavor of your chocolate overnight oats easily. Here are some fun ideas:
– Mint Chocolate: Add a few drops of mint extract. It gives you a fresh twist.
– Espresso Chocolate: Mix in a teaspoon of instant coffee for a coffee kick.
– Peanut Butter Chocolate: Stir in a tablespoon of peanut butter for a creamy texture.
– Coconut Chocolate: Add shredded coconut in the mix for a tropical vibe.
Probiotic Boost: Adding Yogurt
Adding yogurt gives your oats a creamy texture and a probiotic boost. Use plain yogurt or Greek yogurt. Just mix in about half a cup when you add the almond milk. This makes your oats even healthier and tastier. It also adds a nice tanginess to balance the sweetness.
Vegan and Dairy-Free Options
If you want to keep it vegan, use plant-based milk like almond or oat milk. You can also swap out the maple syrup for agave syrup. For a creamier texture, add in some extra chia seeds. This keeps your oats rich and satisfying while sticking to a vegan diet.
Storage Info
How to Store Overnight Oats for Maximum Freshness
To keep your protein packed chocolate overnight oats fresh, use an airtight container. Glass mason jars work well. Make sure the lid is sealed tightly. This helps prevent spills and keeps out air. Store your oats in the fridge right after you prepare them. They stay creamy and delicious this way.
Recommended Shelf Life in the Fridge
Your overnight oats will stay good in the fridge for up to five days. The oats soak up the liquid and get soft over time. For the best taste and texture, eat them within three days. If you wait too long, they may become too soggy.
Freezing Options for Meal Prep
You can freeze your overnight oats for up to three months. This is great for meal prep! Just pour the mixture into freezer-safe containers. Leave some space at the top, as the oats will expand when frozen. To eat, thaw them in the fridge overnight. In the morning, stir well and add your favorite toppings.
FAQs
How long do overnight oats last in the refrigerator?
Overnight oats last for about 3 to 5 days in the fridge. Store them in a sealed jar. The oats will stay fresh and tasty during this time. If you notice any strange smells or colors, it’s best to toss them out.
Can I make overnight oats without protein powder?
Yes, you can make overnight oats without protein powder. Just skip the protein powder and add more oats or yogurt instead. You can also use nut butter for extra creaminess and protein. Adjust the other ingredients as needed to keep the right texture.
What are the health benefits of chia seeds in this recipe?
Chia seeds are tiny powerhouses of nutrition. They are high in fiber, which helps with digestion. They also provide omega-3 fatty acids, which are good for your heart. Plus, chia seeds absorb liquid, making your oats thicker and creamier. They are a great addition to boost your meal’s health.
You now know how to make protein-packed chocolate overnight oats. You learned about key ingredients, preparation steps, and how to store them. I shared tips for creamy texture and how to adjust sweetness. You can also explore fun variations and healthy add-ins. These oats are easy to customize and perfect for meal prep. Enjoying a nutritious breakfast doesn’t have to be hard. Just follow these steps, and you’ll always have a tasty start to your da