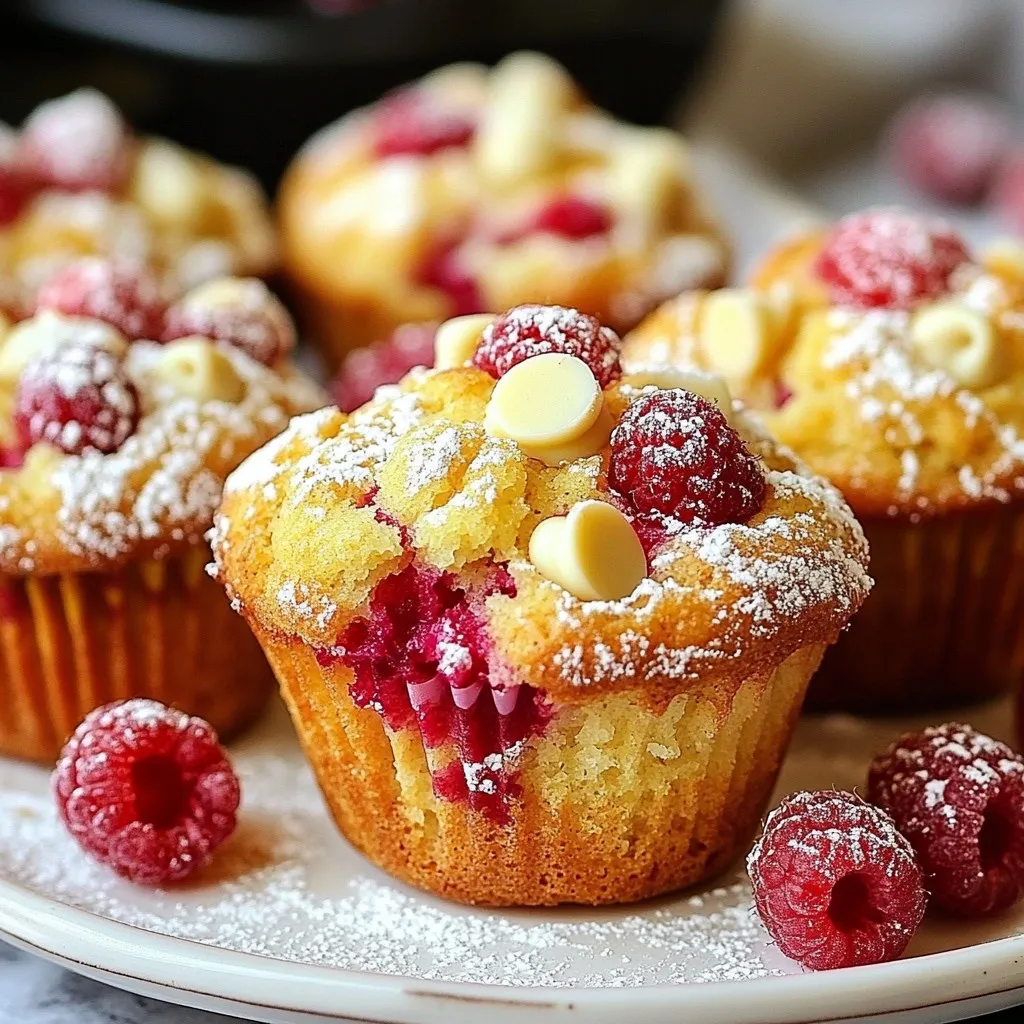
Welcome to the delicious world of Raspberry White Chocolate Muffins! If you crave a sweet treat that’s easy to make and bursting with flavor, you’ve come to the right place. In this article, I’ll share my tasty recipe with you, along with tips for baking great muffins every time. Get ready to impress your family and friends with these delightful bites that combine tart raspberries and creamy white chocolate! Let’s dive in!
Why I Love This Recipe
- Delicious Flavor Combination: The tartness of fresh raspberries perfectly balances the sweetness of white chocolate, creating a delightful treat.
- Easy to Make: This recipe is straightforward and quick, making it perfect for both beginner and experienced bakers.
- Perfect for Any Occasion: These muffins are ideal for breakfast, brunch, or even as a sweet snack throughout the day.
- Visually Appealing: The vibrant colors of the raspberries and the creamy white chocolate make these muffins a feast for the eyes!
Ingredients
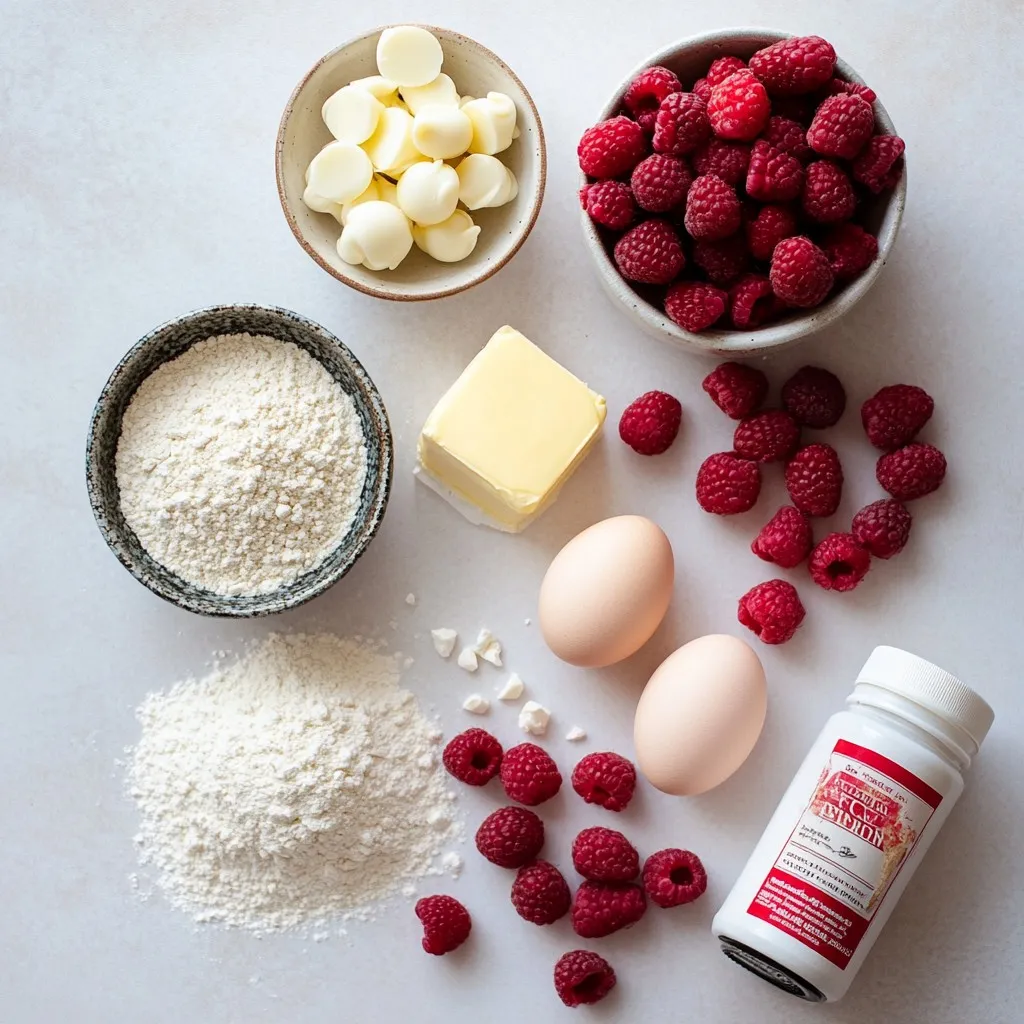
The right ingredients make all the difference. For tasty raspberry white chocolate muffins, gather these items:
– 1 cup fresh raspberries (or frozen, thawed)
– 1 cup white chocolate chips
– 2 cups all-purpose flour
– 1 cup granulated sugar
– 1/2 cup unsalted butter, melted
– 1 cup buttermilk (or substitute with milk + 1 tbsp vinegar)
– 2 large eggs
– 1 tablespoon baking powder
– 1/2 teaspoon baking soda
– 1/4 teaspoon salt
– 1 teaspoon vanilla extract
Each ingredient works together to create a soft, sweet muffin. The raspberries add a bright, tart flavor. The white chocolate chips bring a creamy sweetness. Using fresh raspberries gives the best taste, but frozen will work too.
For the flour, all-purpose flour is perfect. It gives the muffins structure without being too heavy. Butter adds richness and moisture. Buttermilk is key for a tender crumb. If you don’t have buttermilk, mix milk with vinegar as a quick substitute.
The eggs bind everything and help the muffins rise. Baking powder and baking soda are your leavening agents. They help the muffins puff up and stay light. Lastly, a touch of salt enhances all the flavors. Vanilla extract adds a nice warmth.
With these ingredients, you are ready to bake delicious raspberry white chocolate muffins!
Step-by-Step Instructions
Preparation Steps
– Preheat the oven to 375°F (190°C). Line a muffin tin with paper liners or grease it with butter.
– In a large bowl, whisk together the melted butter, sugar, and eggs until blended.
– Add the buttermilk and vanilla extract to the mix, whisking until smooth.
– In another bowl, sift together the flour, baking powder, baking soda, and salt.
– Gradually add the dry mixture to the wet mixture. Stir gently until just combined. Be careful not to overmix.
– Fold in the raspberries and white chocolate chips until they are evenly spread in the batter.
– Divide the batter into the muffin cups, filling each about two-thirds full.
– Bake for 18-20 minutes. Check if a toothpick comes out clean from the center.
– After baking, let the muffins cool in the pan for 5 minutes. Then, transfer them to a wire rack to cool completely.
Tips & Tricks
Baking Tips
How to properly measure flour
To measure flour correctly, use a spoon. Scoop flour into a measuring cup. Level it with a knife. Do not pack it down. This method keeps your muffins light and fluffy.
Ensuring muffins are moisture-balanced
Moisture is key in muffins. Use fresh ingredients like buttermilk and melted butter. If your batter feels too thick, add a splash of milk. This helps keep the muffins soft.
Avoiding overmixing
Mixing the batter too much can lead to tough muffins. Stir until you see no dry flour. It’s okay if the batter looks a bit lumpy. This keeps your muffins tender and airy.
Presentation Suggestions
Creative serving ideas
Serve your muffins on a bright plate. Arrange a few fresh raspberries around them. This adds a pop of color and makes your dish look inviting.
Adding a powdered sugar dusting
For a touch of elegance, dust the muffins with powdered sugar. Use a fine sieve to sprinkle lightly. This makes them look fancy, perfect for guests or special occasions.
Garnishing with fresh raspberries
Top each muffin with a fresh raspberry before serving. It adds a nice touch and shows off the flavor inside. Plus, it makes every bite even more delicious!
Pro Tips
- Use Fresh Raspberries: Fresh raspberries will provide the best flavor and texture, making your muffins taste delightful.
- Room Temperature Ingredients: Ensure your eggs and buttermilk are at room temperature for a smoother batter and better rise.
- Avoid Overmixing: Mix the batter just until combined to keep your muffins light and fluffy.
- Storing Muffins: Keep your muffins in an airtight container at room temperature for up to 3 days, or freeze for longer storage.
Variations
Ingredient Swaps
You can make fun changes to your raspberry white chocolate muffins. Here are some ideas:
– Using different types of chocolate: Try dark chocolate or milk chocolate instead of white. Each type gives a new taste. Dark chocolate adds a rich flavor, while milk chocolate creates a sweeter muffin.
– Adding nuts or seeds: Chopped walnuts or almonds can add a nice crunch. You can also use seeds like sunflower or pumpkin for a nut-free option. They bring extra nutrition and texture.
– Adjusting sweetness levels: If you want a less sweet muffin, cut back on the sugar. You can also use honey or maple syrup for a natural sweetener. Adjusting sweetness can change the whole taste!
Flavor Combinations
You can mix in new flavors to make these muffins even better. Here are some tasty ideas:
– Infusing lemon or orange zest: Adding a bit of lemon or orange zest brings a bright, fresh taste. Just a teaspoon can make a big difference.
– Incorporating spices like cinnamon: A sprinkle of cinnamon adds warmth and depth. It pairs well with both raspberry and white chocolate. You could also try nutmeg for a different flavor twist.
– Trying with other berries: Swap raspberries for blueberries, strawberries, or blackberries. Each berry changes the flavor. You could even mix them for an exciting berry muffin!
These variations make your muffins fun and unique. Don’t be afraid to get creative!
Storage Info
Best Storage Practices
– Storing muffins at room temperature: Keep your muffins in an airtight container. Place them on the counter, away from direct sunlight. They stay fresh for about 2-3 days this way.
– Refrigerating muffins for extended freshness: If you want to keep them longer, put them in the fridge. They can last up to a week when stored in a sealed container. This helps maintain their flavor but may change their texture slightly.
– Freezing muffins for long-term storage: For even longer storage, freeze the muffins. Wrap them tightly in plastic wrap and then place them in a freezer-safe bag. They can last for up to 3 months. Just remember to label the bag with the date.
Reheating Recommendations
– Methods to retain moisture when reheating: To keep your muffins moist, reheat them in the oven. Preheat it to 350°F (175°C), and wrap the muffins in aluminum foil. Heat them for about 10-15 minutes. This keeps them soft and warm.
– Serving warm for best taste: Muffins taste best when warm. The white chocolate melts a bit, and the raspberries burst with flavor. Serve them fresh from the oven or warm them up right before eating. Enjoy that deliciousness!
FAQs
Common Questions
Can I use frozen raspberries?
Yes, you can use frozen raspberries. Just make sure to thaw them first. This helps them mix well into the batter. Using frozen raspberries can also keep your muffins moist and tasty.
How do I know when the muffins are done baking?
To check if the muffins are done, insert a toothpick into the center. If it comes out clean, they are ready. Muffins usually bake for about 18 to 20 minutes. Keep an eye on them towards the end.
What can I substitute for buttermilk?
You can easily make your own buttermilk. Just add 1 tablespoon of vinegar to 1 cup of milk. Let it sit for about 5 minutes. This mixture works great in your muffins.
How long do the muffins last?
When stored at room temperature, the muffins last about 2 to 3 days. If you want them to last longer, keep them in the fridge for up to a week. Just remember to seal them in an airtight container.
Can I make mini muffins instead?
Yes! You can make mini muffins. Just fill the mini muffin cups about halfway. Bake them for about 10 to 12 minutes. They will be fun, bite-sized treats!
In this blog post, we explored making delicious raspberry white chocolate muffins. We covered ingredients, step-by-step instructions, and key tips. I shared storage methods and fun ways to change up the recipe.
Baking can be simple and rewarding. With the right approach, you can create tasty muffins to enjoy. Now grab your ingredients and start baking! Your kitchen will smell amazing, and you’ll love the result. Enjoy your baking journe