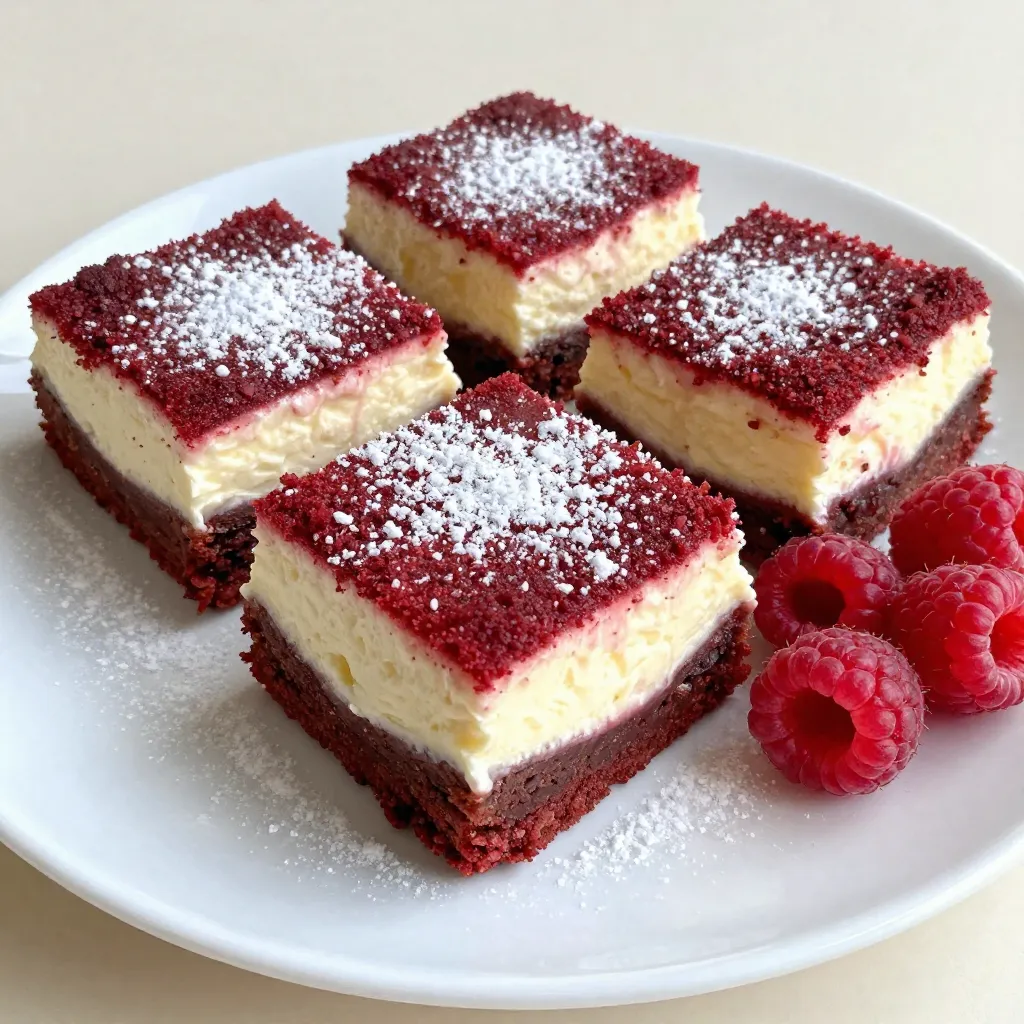
If you’re a dessert lover, you will adore these Red Velvet Cheesecake Brownies! This tasty treat combines the rich flavors of red velvet with a creamy cheesecake layer. Imagine sinking your teeth into a soft, moist brownie, beautifully marbled with sweet cream cheese. In this post, I’ll guide you through the simple steps to make this irresistible dessert. Grab your baking gear, and let’s whip up a batch of joy!
Why I Love This Recipe
- Decadent Flavor: The combination of rich cream cheese and chocolaty red velvet creates a delightful and indulgent taste that is hard to resist.
- Stunning Presentation: The vibrant red color with a creamy swirl makes these brownies visually striking, perfect for any celebration or gathering.
- Easy to Make: This recipe is straightforward and requires minimal effort, making it accessible for bakers of all skill levels.
- Versatile Treat: These brownies are perfect for any occasion, whether it’s a holiday, birthday, or just a sweet treat to enjoy at home.
Ingredients
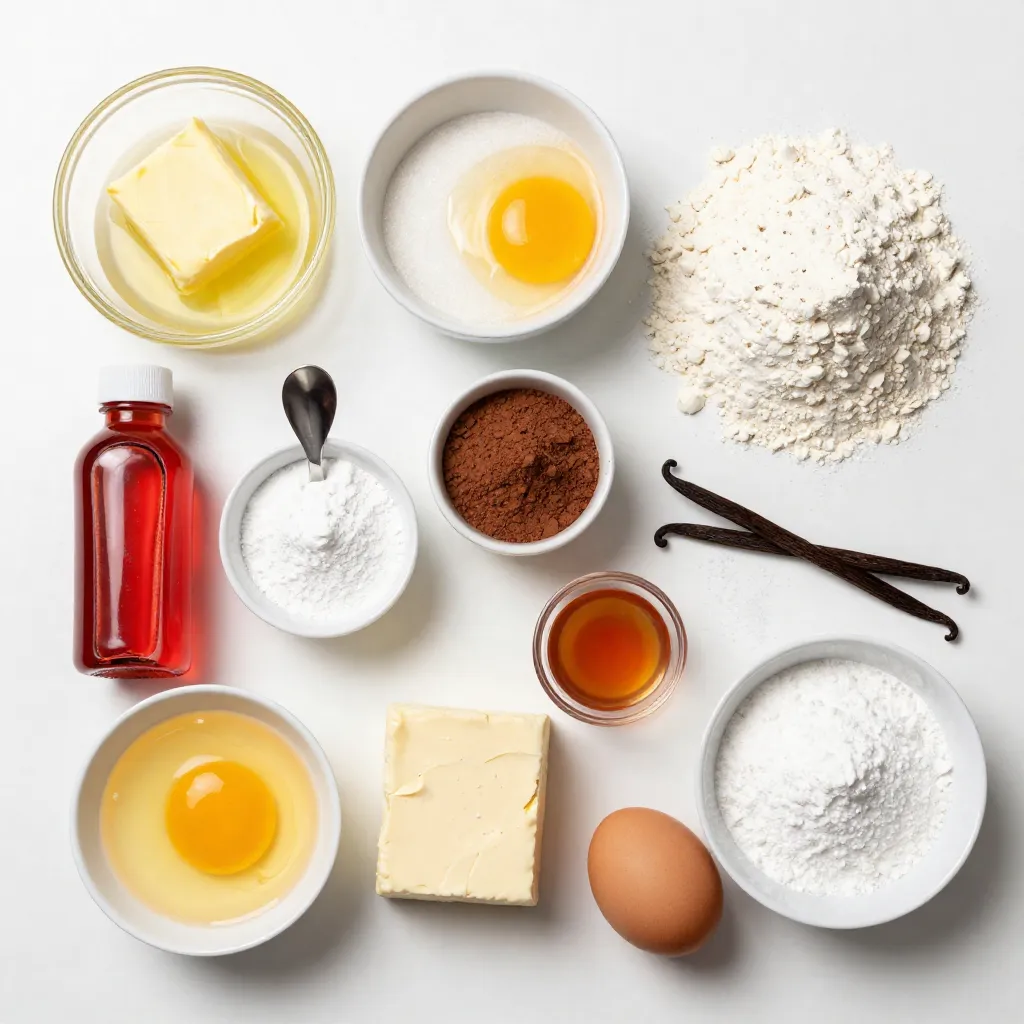
List of Ingredients
– 1 cup unsalted butter, melted
– 2 cups granulated sugar
– 4 large eggs
– 2 teaspoons vanilla extract
– 2 1/2 cups all-purpose flour
– 1/4 cup unsweetened cocoa powder
– 1 tablespoon red food coloring
– 1 teaspoon baking powder
– 1/2 teaspoon salt
– 8 oz cream cheese, softened
– 1/2 cup powdered sugar
– 1 large egg
– 1 teaspoon vanilla extract
To make red velvet cheesecake brownies, you need simple yet rich ingredients. First, the butter and sugar form a sweet base. The eggs add moisture and help the brownies rise. Vanilla extract gives flavor and warmth.
The all-purpose flour and cocoa powder create the brownie texture. The red food coloring adds that classic red hue. Baking powder helps the brownies to be light.
For the cream cheese layer, you need softened cream cheese, powdered sugar, and another egg. This mix makes it rich and creamy. You’ll also add vanilla for extra flavor in the cheesecake layer.
With these ingredients, you can create a dessert that looks stunning and tastes amazing. Each layer brings its unique flavor and texture, making these brownies truly special.
Step-by-Step Instructions
Preparation Steps
1. Preheat the oven and prepare the baking pan
Start by preheating your oven to 350°F (175°C). Grease a 9×13-inch baking pan with butter or non-stick spray. This helps the brownies come out easily.
2. Mix melted butter with sugar and add eggs
In a large mixing bowl, pour in the melted butter. Add 2 cups of granulated sugar. Whisk these together until well combined. Next, crack in 4 large eggs, one at a time. Mix well after each addition. Finally, stir in 2 teaspoons of vanilla extract for flavor.
3. Incorporate dry ingredients and red food coloring
In a separate bowl, whisk together 2 1/2 cups of all-purpose flour, 1/4 cup of cocoa powder, 1 teaspoon of baking powder, and 1/2 teaspoon of salt. Gradually add the dry mix to the wet mixture. Stir until everything is just combined. Then, add 1 tablespoon of red food coloring. Mix until the batter turns a bright red.
Cream Cheese Layer
1. Prepare the cream cheese mixture
In another bowl, beat together 8 oz of softened cream cheese, 1/2 cup of powdered sugar, 1 large egg, and 1 teaspoon of vanilla extract. Mix until smooth and creamy. This layer adds a delicious tangy contrast to the sweet brownies.
2. Dollop and swirl the cream cheese layer with red velvet batter
Pour half of the red velvet batter into the prepared pan. Spread it out evenly. Next, dollop the cream cheese mixture over the red velvet layer. Then, add the rest of the red velvet batter on top, using a spoon to create dollops. Gently swirl the two mixtures with a knife for a marbled look.
Baking & Cooling
1. Bake the brownies and check for doneness
Place the pan in the preheated oven and bake for 30-35 minutes. To check if they’re done, insert a toothpick into the center. It should come out with a few moist crumbs, not wet batter.
2. Allow cooling before slicing
Once baked, let the brownies cool in the pan for at least 20 minutes. This makes slicing easier and helps the flavors set. Once cooled, cut them into squares and enjoy!
Tips & Tricks
Perfecting Your Brownies
How to avoid dry brownies
To keep your brownies moist, do not overbake them. Check them at 30 minutes. A toothpick should come out with a few moist crumbs, not clean. Another tip is to use melted butter. It adds richness and moisture to your batter. If you want extra softness, add a bit of extra cream cheese to the mix.
Ensuring the ideal marbled effect
To get a great marbled look, carefully dollop the cream cheese layer. Use a knife to make gentle swirls. Don’t mix too much; you want to see both colors. This will give you a pretty and tasty pattern.
Presentation Tips
Serving suggestions with garnishes
Serve these brownies on a nice plate. Dust them with powdered sugar. Top with fresh raspberries or whipped cream for a fancy touch. You can also add a drizzle of chocolate sauce for extra flair.
Best ways to display the brownies for parties
For parties, cut the brownies into small squares. Arrange them on a large platter. You can use colorful napkins or plates to make the display pop. Add some flowers or fruits around the brownies for a beautiful look. This makes them even more inviting!
Pro Tips
- Use Room Temperature Ingredients: Ensure your eggs and cream cheese are at room temperature for easier mixing and a smoother batter.
- Be Careful with Food Coloring: Use gel food coloring for a more vibrant red without altering the batter’s consistency.
- Swirling Technique: Use a toothpick or knife to gently swirl the cream cheese layer with the brownie batter for a beautiful marbled effect, but don’t overdo it!
- Check for Doneness: Start checking the brownies a few minutes before the suggested baking time; they should be set but still moist in the center.
Variations
Ingredient Substitutions
You can switch some ingredients for a unique twist. For sweeteners, try using honey or maple syrup. These options add a different flavor. If you need a dairy-free version, use coconut cream instead of cream cheese. You can also replace butter with coconut oil. For gluten-free brownies, use almond flour or gluten-free all-purpose flour. These substitutions help everyone enjoy this treat.
Flavor Additions
Want to add some fun to your brownies? Try tossing in chocolate chips or chopped nuts. Walnuts or pecans add a nice crunch. You can also mix in some white chocolate chips for a sweet surprise. If you like frosting, cream cheese or chocolate frosting works great. For a fresh touch, consider topping with berries or a drizzle of caramel. These additions make your brownies even more delicious!
Storage Info
Proper Storage Techniques
To keep your red velvet cheesecake brownies fresh, use an airtight container. Place parchment paper between layers to prevent sticking. Store them at room temperature for up to three days. If you want them to last longer, refrigerate them for up to a week.
For freezing, wrap each brownie in plastic wrap, then place them in a freezer-safe bag. This keeps them tasty for about three months. When you’re ready to enjoy them, just thaw at room temperature or in the fridge overnight.
Reheating Instructions
To reheat your brownies, the microwave works best. Heat them in 10-second bursts to avoid drying them out. Alternatively, you can use the oven. Preheat it to 350°F (175°C) and place brownies on a baking sheet. Warm them for about 5-10 minutes. This brings back their soft, gooey texture. Enjoy your treat warm for the best flavor!
FAQs
What is the best way to cut brownies?
To cut brownies neatly, use a sharp knife. First, let them cool for at least 20 minutes. For cleaner cuts, wipe the knife with a damp cloth after each slice. This keeps the edges smooth and pretty.
Can I make these brownies ahead of time?
Yes, you can make these brownies ahead of time. Bake them, then let them cool completely. Store them in an airtight container at room temperature for up to three days. You can also freeze them for up to three months.
How do I tell when brownies are done baking?
Check for doneness by inserting a toothpick into the center. If it comes out with a few moist crumbs, they are done. If it comes out wet with batter, bake them for a few more minutes.
What can I serve with red velvet cheesecake brownies?
These brownies pair well with whipped cream or vanilla ice cream. Fresh raspberries or strawberries add a nice touch too. You can also dust them with powdered sugar for a sweet finish.
Can I use a different baking pan size?
Yes, you can use a different size, but it may change baking time. If using a smaller pan, the brownies may take longer to bake. For a larger pan, check them earlier to avoid overbaking.
How do I store leftover brownies?
Store leftover brownies in an airtight container. Keep them at room temperature for three days. You can also refrigerate them for longer freshness. Just bring them back to room temperature before serving.
Can I add nuts to the brownies?
Absolutely! Chopped walnuts or pecans add great texture. Mix in about half a cup when you add the dry ingredients for a nutty twist.
Can I make these brownies gluten-free?
Yes, substitute all-purpose flour with a gluten-free blend. Make sure it is a 1:1 baking mix for the best results. This way, everyone can enjoy these delicious treats.
This blog post covered how to make delicious red velvet cheesecake brownies. You learned about the key ingredients, the step-by-step instructions, and tips for perfecting your bake. We also discussed tasty variations and proper storage techniques to keep your brownies fresh.
These brownies are easy to make and perfect for any occasion. I hope you feel inspired to try this recipe and impress your friends with your baking skills. Enjoy your tasty treat
<!-- /wp:post-conte