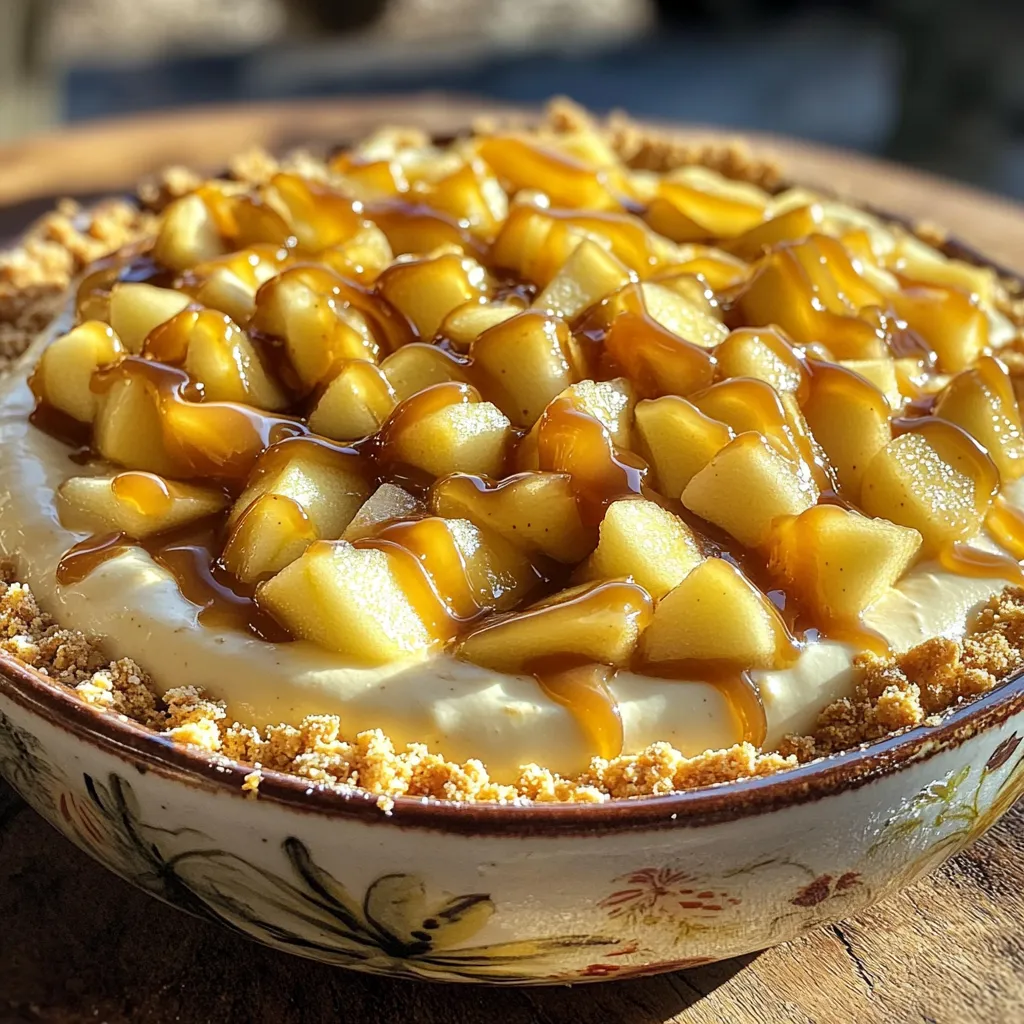
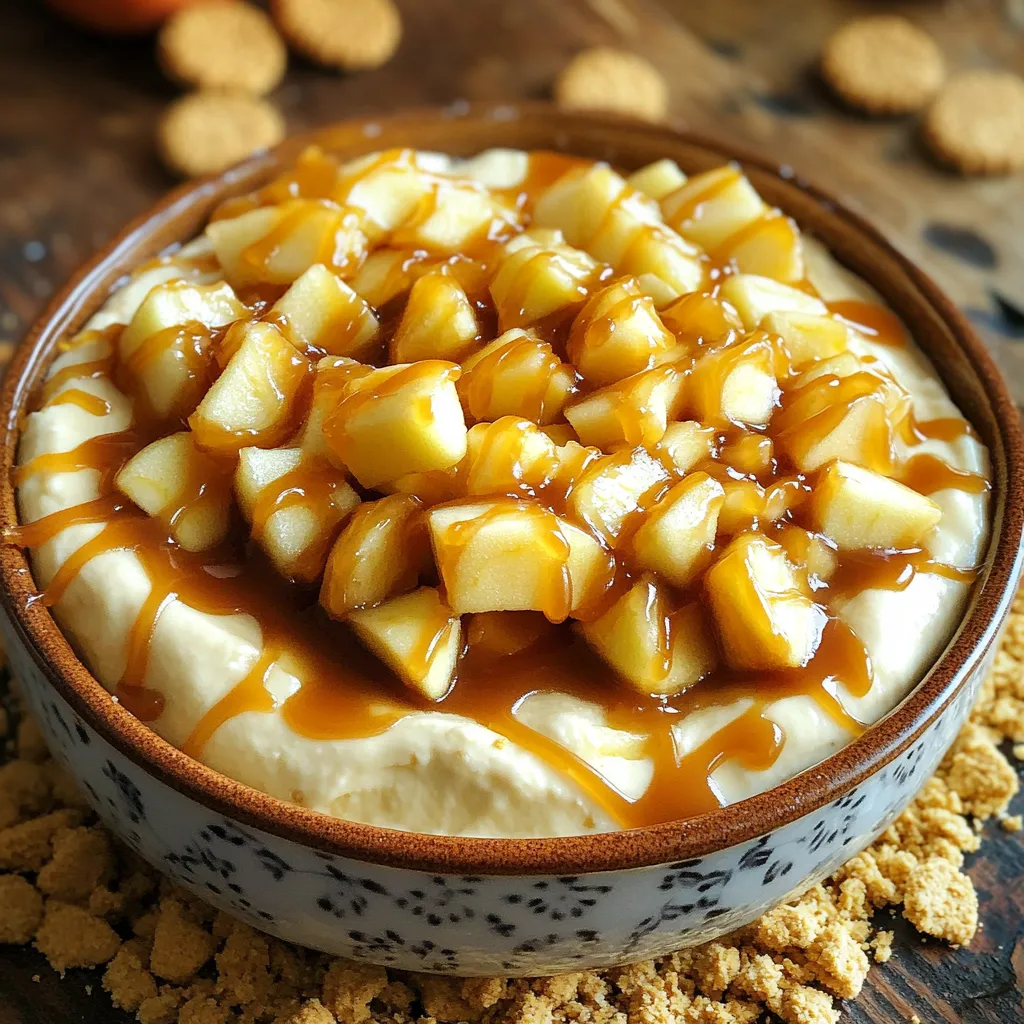
Get ready to indulge in a sweet treat that will wow your taste buds! This Salted Caramel Apple Cheesecake Dip is a fun and simple snack perfect for any gathering. With creamy ingredients and a hint of salt, it’s a crowd-pleaser that pairs well with apples, crackers, or whatever you like. Dive in to learn how to create this delightful dip and impress your friends and family!
Ingredients
To make the Salted Caramel Apple Cheesecake Dip, you need simple and tasty ingredients. Here’s the full list:
– 8 oz cream cheese, softened
– 1 cup powdered sugar
– 1 tsp vanilla extract
– 1 cup Greek yogurt
– 1/2 cup caramel sauce
– 1 tsp sea salt
– 2 medium-sized apples, cored and diced
– Optional: crushed graham crackers for topping
Each ingredient plays a key role. The cream cheese gives a creamy base. Powdered sugar adds sweetness. Vanilla extract brings warmth. Greek yogurt adds tang and creaminess. Caramel sauce gives that sweet, rich flavor. Sea salt balances the sweetness. The apples add crunch and freshness. Crushed graham crackers add texture if you want.
Make sure your cream cheese is at room temperature. This helps it mix easily. You can use any apples you like, but sweet and crisp varieties work best.
This dip is not just tasty, but also easy to prepare. Gather these ingredients, and you’re ready to create a delightful snack everyone will enjoy!
Step-by-Step Instructions
Preparation Steps
1. Mixing cream cheese and powdered sugar
Start by taking 8 oz of softened cream cheese and 1 cup of powdered sugar. Place them in a large mixing bowl. Use an electric mixer to beat them together. Keep mixing until the mixture is smooth and creamy. This step is key for a fluffy dip.
2. Adding yogurt and vanilla extract
Next, add 1 cup of Greek yogurt and 1 tsp of vanilla extract to your bowl. Mix again until everything is well combined. This will give your dip a rich flavor and creamy texture.
3. Incorporating caramel sauce and sea salt
Now, fold in 1/2 cup of caramel sauce and 1 tsp of sea salt. Use a spatula to mix gently. Make sure the caramel and salt are evenly spread throughout the dip. This blend creates that perfect sweet-salty taste.
Final Touches
1. Transferring to a serving bowl
Carefully scoop the cheesecake dip into a serving bowl. Use a spatula to smooth the top. This makes it look neat and ready for serving.
2. Drizzling caramel sauce
Take some extra caramel sauce and drizzle it over the top. This adds a beautiful finish and extra flavor.
3. Topping with apples and optional graham crackers
Finally, sprinkle the top with your diced apples. Make sure they are spread out nicely. If you like, add crushed graham crackers on top for a nice crunch. Now, it’s ready to serve with apple slices, pretzel sticks, or more graham crackers. Enjoy this delightful snack!
Tips & Tricks
Perfecting the Dip
Choosing the right apples is key. I like to use tart apples like Granny Smith. They balance the sweet flavors well. You can also mix sweet and tart apples for depth.
For serving, I suggest apple slices, pretzel sticks, or graham crackers. Each adds a fun crunch. You can also add some whipped cream for a richer treat.
Adjust sweetness to your taste. If you like it sweeter, add more powdered sugar. But if you want it less sweet, use less caramel sauce. Always taste as you go!
Common Mistakes to Avoid
One common mistake is overmixing the ingredients. This can make the dip too runny. Mix just enough to combine everything smoothly.
Another mistake is using cold cream cheese. If it’s not at room temperature, it won’t blend well. Always let the cream cheese sit out for about 30 minutes before mixing. This helps create a creamy texture.
Variations
Flavor Adjustments
You can make this dip unique with some simple changes. Adding spices like cinnamon or nutmeg gives a warm touch. A little goes a long way. You can also try different fruit toppings. Chopped strawberries or pears add a fresh twist. Each fruit brings its own flavor and color to the dip.
Alternative Serving Options
This dip is versatile and fun. You can serve it with many dippers. Pretzels offer a salty crunch, while cookies add sweetness. Slices of fresh apples are a classic choice. You can even spread this dip on toast or bagels. It transforms into a delightful dessert spread. Just imagine a creamy layer on your morning bagel!
Storage Info
How to Store Leftovers
To keep this dip fresh, use an airtight container. Glass or plastic containers work well. Store the dip in the fridge right after serving. This keeps the flavors bright and tasty. Make sure to seal it properly to avoid drying out.
Shelf Life and Freezing
The dip lasts about 3 to 5 days in the fridge. Check for any changes in smell or texture. If you want to freeze it, put it in a freezer-safe container. It can last up to 2 months frozen. When ready to eat, thaw it in the fridge overnight. Stir it well before serving to bring back its creamy texture.
FAQs
Common Questions
Can I use regular yogurt instead of Greek?
Yes, you can use regular yogurt. However, Greek yogurt adds a thick and creamy texture. It also gives a nice tangy flavor.
How can I make it gluten-free?
This dip is already gluten-free! Just ensure that your dippers, like apples or pretzels, are also gluten-free.
What can I use as a dip alternative?
You can use sliced fruits, like pears or bananas. Pretzel sticks are also great for dipping.
Recipe Adjustments
How to enhance flavor without adding calories?
Add a sprinkle of cinnamon or nutmeg. These spices boost the flavor without extra calories.
Can I make this ahead of time?
Yes, you can prepare it a day before. Just store it in the fridge. Cover it well to keep it fresh.
Alternatives for those allergic to dairy?
You can use dairy-free cream cheese and yogurt. These swaps keep the dip creamy and delicious.
This dip recipe blends creamy and sweet flavors for a tasty treat. We explored the important ingredients, simple steps for preparation, and tips for perfecting your dip. You can adjust the flavors or toppings to fit your taste. Remember to store it properly for long-lasting enjoyment. With this guide, you can impress friends and family with a delicious dip. Enjoy every bite!


