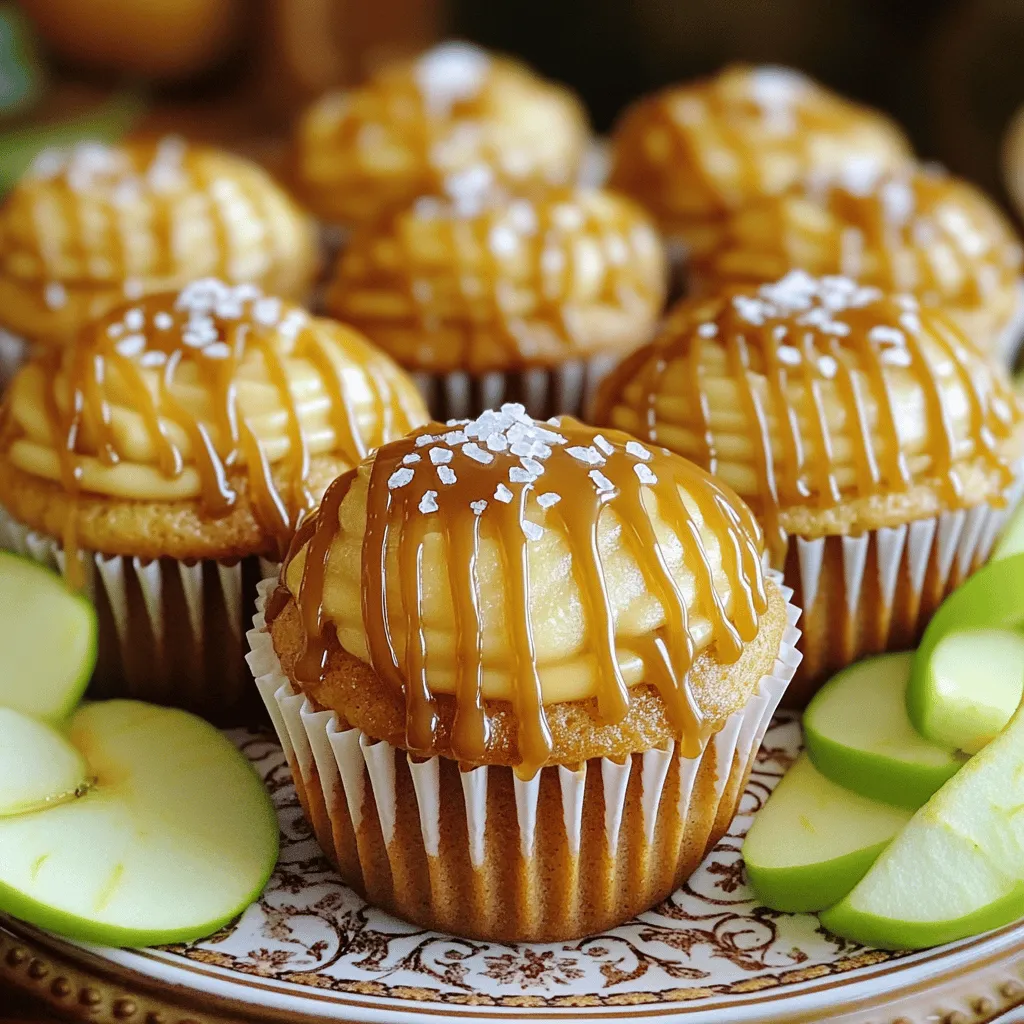
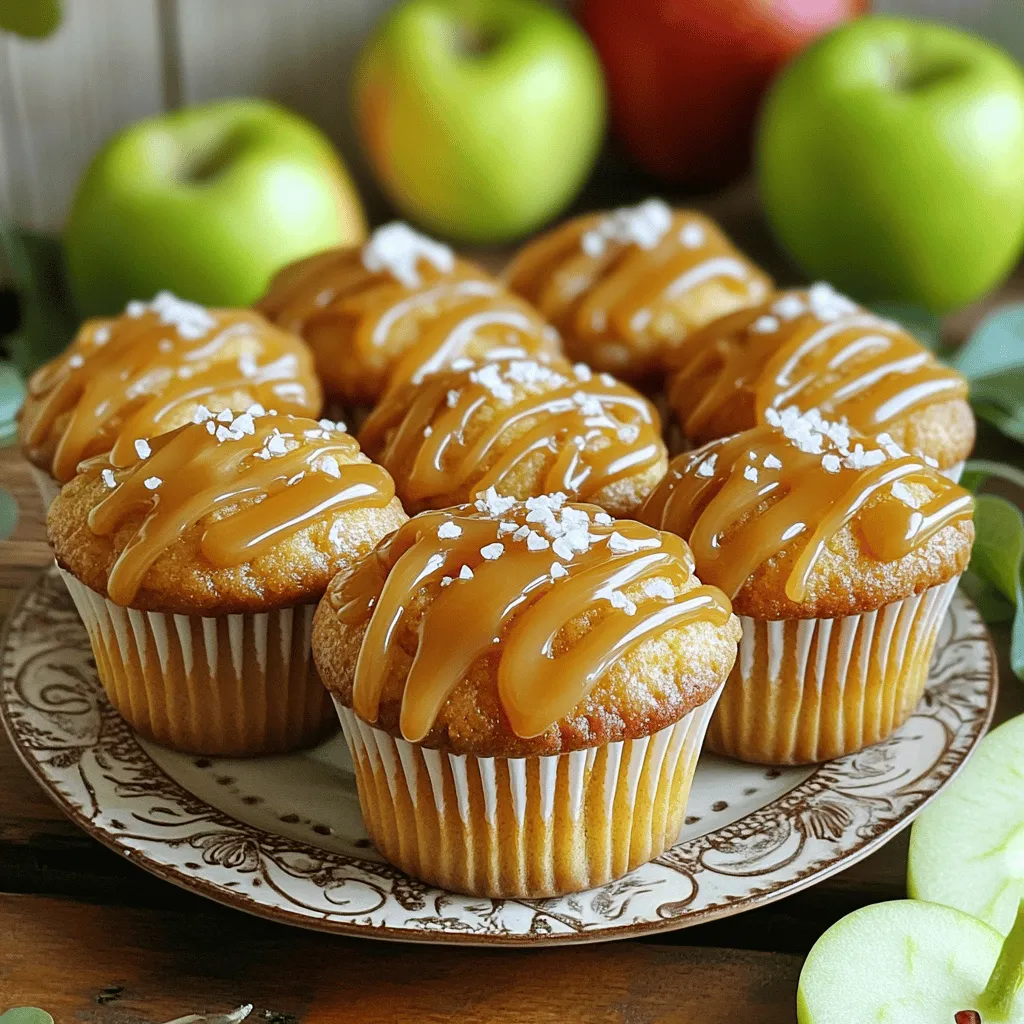
Ready to treat yourself to a cozy fall delight? Salted Caramel Apple Cider Cupcakes bring the best of autumn into your kitchen. With warm spices, sweet apple cider, and a drizzle of caramel, these cupcakes are a must-try! Easy to make and perfect for any gathering, they will impress your friends and family. Let’s dive into this simple recipe and enjoy a taste of the season together!
Ingredients
Dry Ingredients
– 1 ½ cups all-purpose flour
– 1 cup granulated sugar
– ½ cup packed brown sugar
– 1 teaspoon baking powder
– ½ teaspoon baking soda
– ½ teaspoon salt
– 1 teaspoon ground cinnamon
– ½ teaspoon ground nutmeg
Wet Ingredients
– ½ cup unsalted butter, softened
– 2 large eggs
– 1 cup apple cider (non-alcoholic)
– 1 teaspoon vanilla extract
– ½ cup caramel sauce
Toppings
– Flaky sea salt for sprinkling on top
To make Salted Caramel Apple Cider Cupcakes, you need a mix of dry and wet ingredients. The dry ingredients bring flavor and structure to the cupcakes. The wet ingredients add moisture and richness.
In the dry mix, you will find flour, two types of sugar, baking powder, baking soda, salt, and spices. The spices, cinnamon and nutmeg, give these cupcakes a warm, cozy taste.
For the wet mix, you will use softened butter, eggs, apple cider, vanilla extract, and caramel sauce. The apple cider adds a fruity touch, while the caramel sauce adds sweetness.
Finally, don’t forget the flaky sea salt! It creates a sweet and salty combo that makes each bite special. This mix of ingredients works together to create a delightful treat that will please everyone.
Step-by-Step Instructions
Preparing the Oven and Cupcake Pan
– Preheat oven to 350°F (175°C).
– Line a cupcake pan with paper liners.
Mixing Dry Ingredients
– In a large bowl, whisk together:
– 1 ½ cups all-purpose flour
– 1 cup granulated sugar
– ½ cup packed brown sugar
– 1 teaspoon baking powder
– ½ teaspoon baking soda
– ½ teaspoon salt
– 1 teaspoon ground cinnamon
– ½ teaspoon ground nutmeg
This mix creates a sweet, warm base for your cupcakes.
Preparing the Wet Mixture
– In another bowl, cream ½ cup softened butter until smooth.
– Add 2 large eggs, 1 cup apple cider, and 1 teaspoon vanilla extract. Mix until well combined.
This mixture adds moisture and flavor to the batter.
Combining the Mixtures
– Gradually add the dry mix to the wet mix.
– Stir until just combined. A few lumps are okay; do not overmix.
Overmixing can make the cupcakes tough.
Baking the Cupcakes
– Divide the batter evenly into the cupcake liners.
– Bake for 18-20 minutes. Check doneness with a toothpick.
The toothpick should come out clean when done.
Adding the Caramel and Sea Salt
– Once baked, cool the cupcakes for 5 minutes in the pan.
– Use a skewer to make small holes in the tops.
– Drizzle with ½ cup caramel sauce and sprinkle with flaky sea salt.
This gives each cupcake a sweet and salty kick.
Tips & Tricks
Baking Tips
To check if your cupcakes are done, use a toothpick. Insert it in the center; it should come out clean. If it has batter on it, bake a few more minutes. Be sure not to open the oven too soon. This can cause the cupcakes to sink.
Do not overmix the batter. Mix until just combined. A few lumps are okay. Overmixing can make the cupcakes tough instead of soft and fluffy.
Flavor Enhancement
For a rich flavor, make homemade caramel sauce. Use butter, brown sugar, and cream. Cook until bubbly and smooth. You can also add a pinch of sea salt for extra taste.
Try different spices to change the flavor of your cupcakes. Add ginger for warmth or cloves for a cozy touch. You can also swap cinnamon and nutmeg for a unique taste.
Presentation Ideas
Serve your cupcakes on a pretty platter. Drizzle more caramel sauce around them for a fun look. It adds elegance and makes them more inviting.
For a festive touch, garnish with apple slices. Use thin slices and place them on the platter. You can also sprinkle some extra flaky sea salt on top for a nice contrast.
Variations
Gluten-Free Version
To make these cupcakes gluten-free, you can use gluten-free all-purpose flour. Make sure it has xanthan gum in it. This helps mimic the texture of regular flour. You can also blend almond flour with coconut flour for a unique taste. Just remember, the amount may vary, so start with a 1:1 ratio and adjust as needed.
Vegan Option
For a vegan version, swap the eggs and butter with plant-based alternatives. Use 1/4 cup unsweetened applesauce for each egg. Replace butter with vegan butter or coconut oil. This change will keep the cupcakes moist and tasty. You can also use almond milk or oat milk instead of apple cider for a twist.
Flavor Variations
Get creative with spices! You can add ground ginger or allspice for a warm, cozy flavor. Try adding chopped nuts, like pecans or walnuts, for a nice crunch. Dried cranberries or raisins can add sweetness and texture. If you like a bit of zest, add a touch of orange or lemon zest to the batter. Each tweak brings a new flavor to your cupcakes!
Storage Info
Storing Cupcakes
Store your salted caramel apple cider cupcakes in an airtight container. This keeps them fresh and moist. Keep the cupcakes in a cool, dry place. Avoid direct sunlight and heat. If you live in a humid area, the fridge is best. Just make sure to wrap them well to prevent drying out.
Freezing Instructions
To freeze your cupcakes, first let them cool completely. Then, wrap each cupcake in plastic wrap. Place the wrapped cupcakes in a freezer-safe bag or container. This helps keep out air and moisture. When you’re ready to eat them, take them out the night before. Let them thaw at room temperature. For best results, drizzle caramel sauce just before serving.
Shelf Life
These cupcakes stay fresh for about 3 to 4 days at room temperature. If stored in the fridge, they last up to a week. Look for signs of spoilage, like an off smell or dry texture. If they feel hard or crumbly, it’s time to toss them. Enjoy them while they are still delicious!
FAQs
How can I make cupcakes moist?
To keep your cupcakes moist, use these tips:
– Add apple cider: It brings added moisture and flavor.
– Use room-temperature eggs: They mix better and create a softer texture.
– Don’t overmix: Mix until just combined to avoid dry cupcakes.
– Check baking time: Remove them when a toothpick comes out clean, but not dry.
These steps will help you enjoy soft, delicious cupcakes every time.
Can I use different types of cider?
Yes, you can use different types of apple cider. Each type adds its own flavor:
– Sweet cider: It gives a sweeter taste.
– Spiced cider: It adds warmth and depth.
– Hard cider: It can add a unique twist but may change the texture.
Choose your favorite cider to make these cupcakes your own.
What are some alternatives to caramel sauce?
If you want to switch up the caramel sauce, here are some ideas:
– Chocolate sauce: It pairs well and offers a different sweet flavor.
– Maple syrup: It adds a natural sweetness and warmth.
– Fruit preserves: They can provide a fresh taste and a fruity twist.
Feel free to get creative and find your favorite topping!
These cupcakes blend warm spices and sweet caramel for a delicious treat. We covered the ingredients, step-by-step instructions, and helpful tips for baking. Remember, you can customize flavors and make these cupcakes gluten-free or vegan. Store them properly for freshness. Enjoy creating and sharing these tasty cupcakes!


