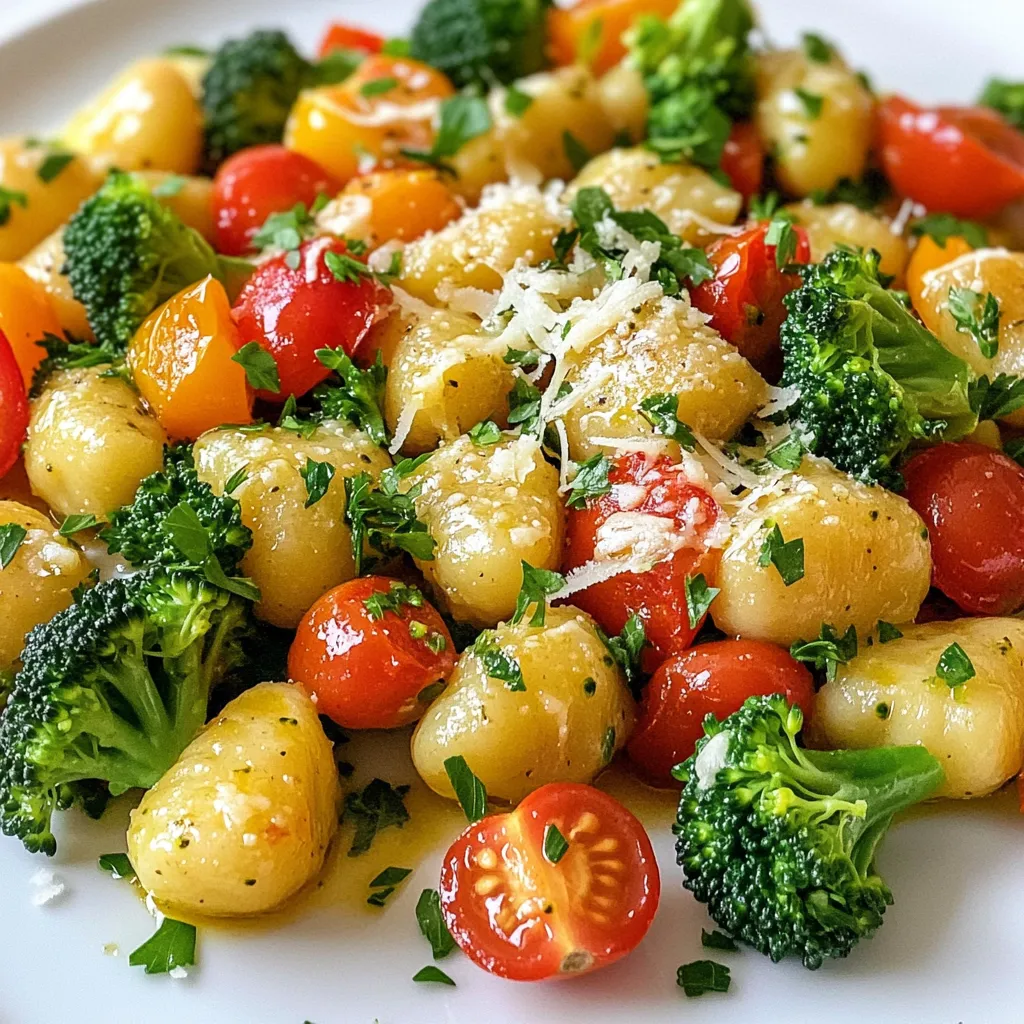
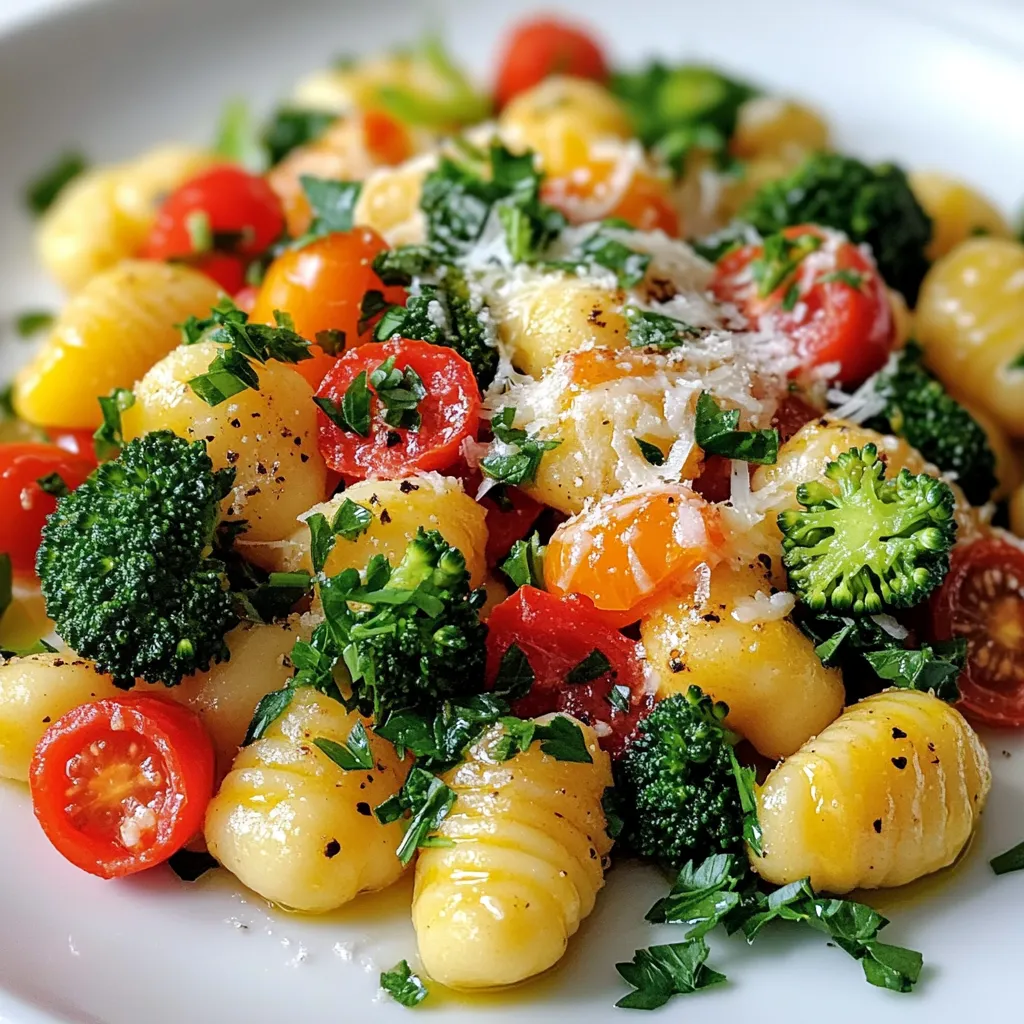
Are you ready to spice up your dinner routine? Sheet Pan Garlic Parmesan Gnocchi & Veggies Delight is about to become your new favorite recipe! This one-pan meal is quick, tasty, and perfect for busy nights. With just a few simple ingredients, you’ll transform gnocchi and fresh veggies into a savory dish that’s sure to impress. Let’s dive into the details and discover how to make this delicious delight!
Ingredients
Here’s what you need for the Sheet Pan Garlic Parmesan Gnocchi & Veggies. Gather these items to start your culinary adventure:
– 1 pound potato gnocchi
– 2 cups broccoli florets
– 1 cup cherry tomatoes, halved
– 1 red bell pepper, diced
– 4 cloves garlic, minced
– 1/4 cup olive oil
– 1/2 cup grated Parmesan cheese
– 1 teaspoon Italian seasoning
– Salt and black pepper to taste
– Fresh parsley, chopped (for garnish)
Make sure the gnocchi is fresh. This helps to create a fluffy texture. Use vibrant veggies for a colorful dish. I love adding cherry tomatoes for sweetness. Garlic brings a wonderful aroma to the meal. Don’t skimp on the Parmesan; it adds a rich, cheesy flavor. Fresh parsley brightens the dish and makes it look pretty! Keep these ingredients ready, and we will create something delicious together.
Step-by-Step Instructions
Preparation Steps
– Preheat your oven to 400°F (200°C). Line a large sheet pan with parchment paper.
– In a large bowl, combine 1 pound of potato gnocchi, 2 cups of broccoli florets, 1 cup of halved cherry tomatoes, and 1 diced red bell pepper.
– Add 4 cloves of minced garlic, 1/4 cup of olive oil, 1 teaspoon of Italian seasoning, salt, and black pepper. Toss gently until everything is well coated.
Baking Process
– Spread the gnocchi and veggie mixture evenly on the prepared sheet pan.
– Generously sprinkle 1/2 cup of grated Parmesan cheese over the top.
– Place the sheet pan in the preheated oven. Bake for 20 to 25 minutes. Stir halfway through for even cooking. The gnocchi should turn golden, and the veggies should become tender.
Final Touches
– Once baked, remove the pan from the oven. Let it cool for a couple of minutes.
– Garnish with fresh parsley before serving. Enjoy your delicious meal!
Tips & Tricks
Enhancing Flavor
To boost flavor, I recommend using fresh herbs when possible. Fresh herbs add more depth than dried ones. If you use dried herbs, use less, as they are stronger. Adjust the salt and pepper to your taste. Start with a pinch, then add more if needed. You can also mix in a squeeze of lemon for brightness.
Cooking Techniques
Proper tossing makes a big difference. Toss your gnocchi and veggies well to coat them evenly. This helps all the flavors mix. During baking, stir the mixture halfway through. This ensures that everything cooks evenly and the gnocchi get nice and crispy.
Presentation Tips
Serve the dish on a large, colorful platter. Add extra grated Parmesan on top for a cheesy look. Fresh parsley sprinkled over adds a pop of green. For extra flair, drizzle some balsamic glaze on the plate. This not only enhances the look but adds a delightful taste.
Variations
Vegetable Substitutions
You can swap out veggies based on your taste. Zucchini and bell peppers work well here. They add nice color and crunch. Seasonal veggies shine too! Think asparagus in spring or root veggies in fall. Feel free to get creative with what you have. You can even add leafy greens like spinach for a healthy twist.
Protein Additions
Want to make this dish heartier? Try adding protein! Chicken, shrimp, or tofu fit perfectly. For chicken, cut it into small pieces for even cooking. Shrimp cooks fast, so add it halfway through baking. If using tofu, make sure it’s pressed to remove excess water. Adjust cooking time as needed; protein may take a bit longer.
Dietary Modifications
If you follow a vegan diet, swap the cheese for a dairy-free alternative. Nutritional yeast adds a cheesy flavor without dairy. For gluten-free options, choose a gluten-free gnocchi. These changes keep the dish tasty and inclusive for all diets. Enjoy making it your own!
Storage Info
Storing Leftovers
To keep your Sheet Pan Garlic Parmesan Gnocchi & Veggies fresh, store leftovers in an airtight container. Place the container in the fridge. This helps keep moisture in and prevents the veggies from wilting.
Leftovers can last for about 3 to 4 days in the fridge. If you want to keep them longer, consider freezing them. They can last up to 2 months in the freezer. Just remember to let them cool completely before storing.
Reheating Suggestions
To reheat without losing texture, the oven works best. Preheat your oven to 350°F (175°C). Spread the leftovers on a baking sheet. Heat for about 15 minutes, or until warm. This method helps keep the gnocchi crispy.
If you need a quicker option, you can use the microwave. Place a serving on a microwave-safe plate. Cover it with a damp paper towel to keep moisture in. Heat in short bursts of 30 seconds until warm. This method is faster, but it may make the gnocchi a bit softer.
FAQs
Common Questions
Can I use frozen gnocchi?
Yes, you can use frozen gnocchi. Just add them directly to the bowl with the other ingredients. They will cook well in the oven.
How do I know when the dish is done?
The dish is done when the gnocchi turn golden brown. The veggies should be tender but not mushy. A good stir halfway through helps with even cooking.
Can I prep this dish in advance?
Yes, you can prep this dish ahead of time. Mix the gnocchi and veggies with the seasonings and oil. Store it in the fridge for up to a day before baking.
Additional Inquiries
What to serve alongside this dish?
This dish pairs well with a side salad or warm bread. A simple green salad adds a nice crunch and freshness.
How to make it spicier?
To add some heat, include red pepper flakes or diced jalapeños. You can also use a spicy Italian seasoning blend for more flavor.
Can I skip the cheese?
You can skip the cheese if you prefer. For a vegan option, try nutritional yeast for a cheesy flavor without dairy.
This blog post covered a simple and tasty dish with potato gnocchi and fresh veggies. You learned about the key ingredients and followed easy steps to prepare and bake your meal. We shared tips for enhancing flavor and making your meal look great. You can also explore variations to suit your taste and dietary needs.
Remember, cooking is fun and allows you to get creative. Enjoy trying different combinations, and don’t hesitate to make this dish your own!


