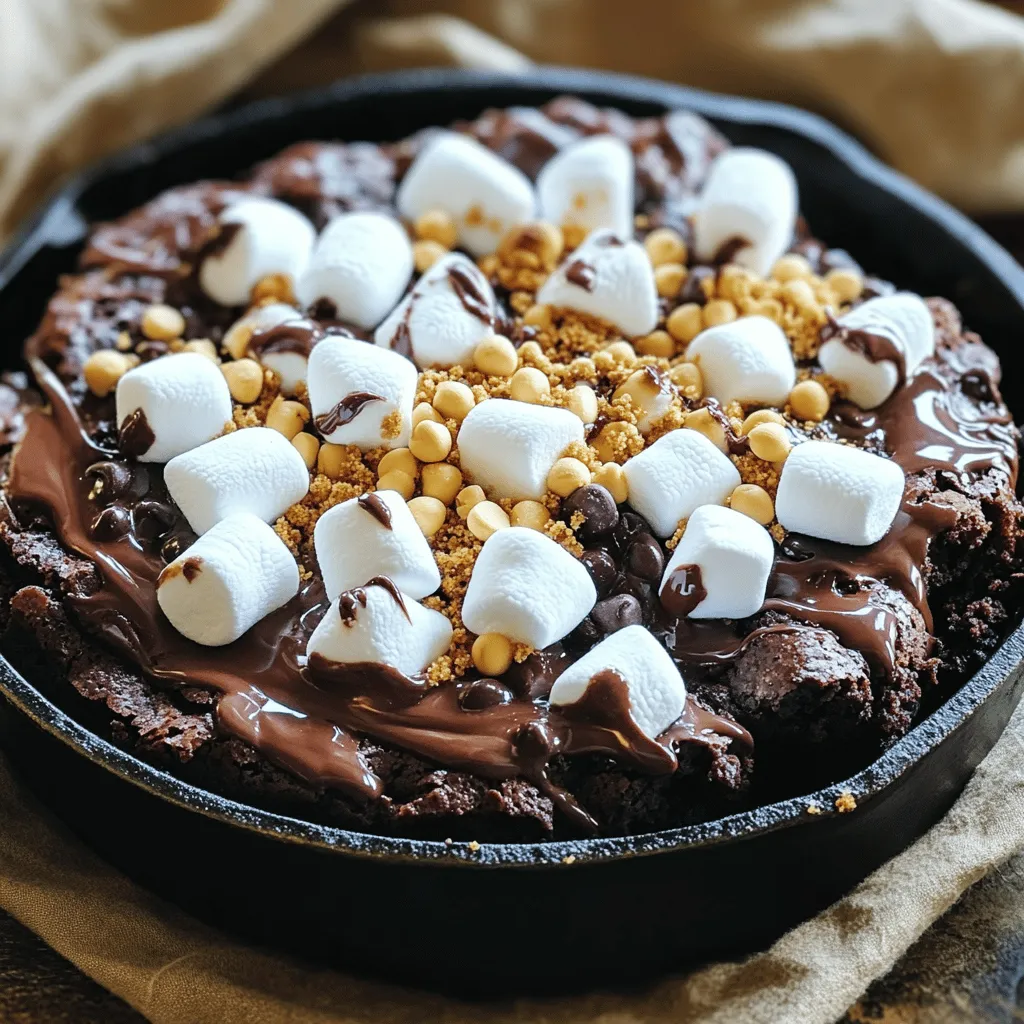
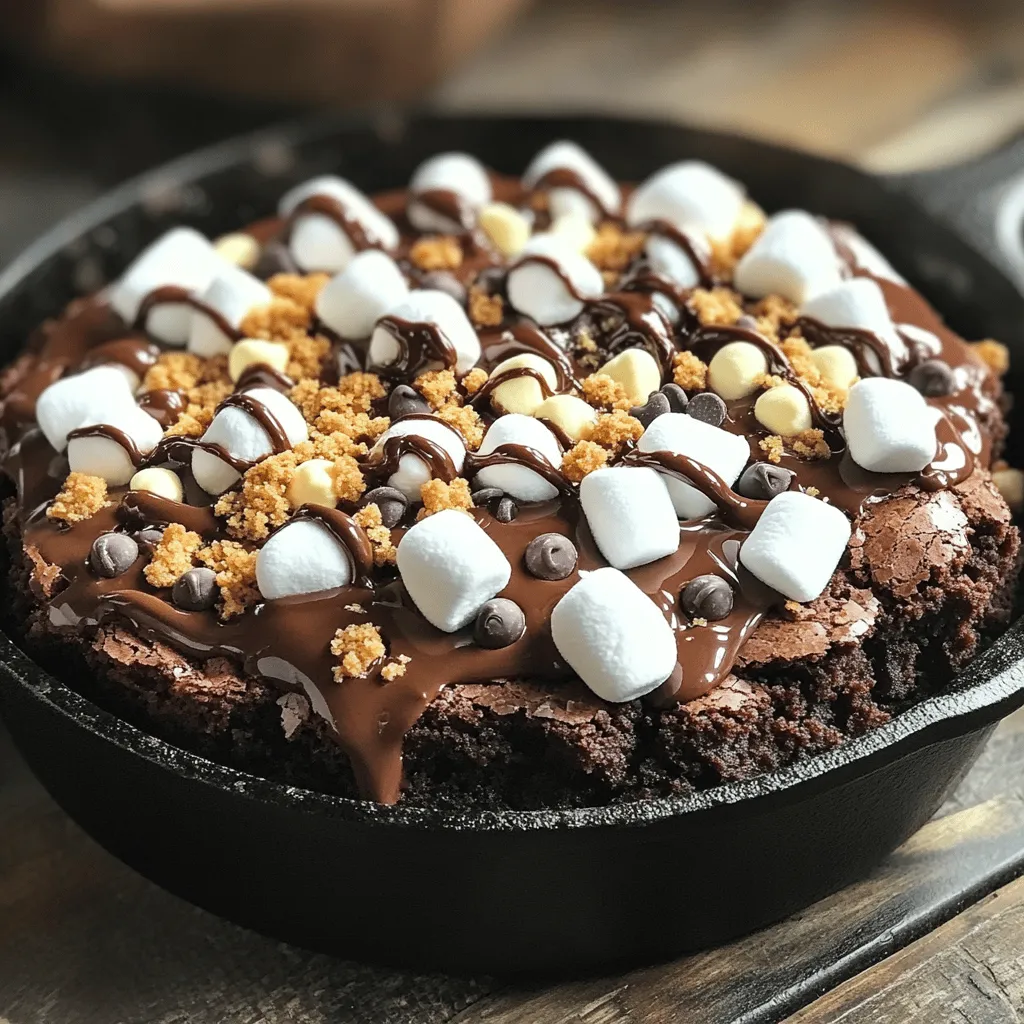
Craving a dessert that’s warm, gooey, and packed with flavor? You’ve found it! My S’mores Brownie Skillet recipe combines rich brownies with melty marshmallows and crunchy graham crackers, creating a dreamy treat. Perfect for sharing (or not!), this easy-to-follow recipe will have you serving up smiles in no time. Let’s dive into the ingredients and make your dessert dreams come true!
Ingredients
Let’s dive into the tasty ingredients for your S’mores Brownie Skillet. Each one brings flavor and joy to this dessert. Here’s what you need:
– 1 cup unsalted butter (2 sticks)
– 1 cup granulated sugar
– 1 cup brown sugar, packed
– 4 large eggs
– 1 teaspoon vanilla extract
– 1 cup all-purpose flour
– 1 cup unsweetened cocoa powder
– 1 teaspoon baking powder
– 1/2 teaspoon salt
– 1 cup mini marshmallows
– 1 cup graham cracker crumbs
– 1 cup chocolate chips
These ingredients blend together to create a rich, gooey brownie base. You get the crunch from graham crackers and the sweet marshmallow topping. The chocolate chips add that extra chocolatey goodness. This dessert will surely impress your family and friends. Plus, it uses simple items you can find at any store. Enjoy gathering these ingredients before you start cooking!
Step-by-Step Instructions
Preheating and Melting Butter
First, preheat your oven to 350°F (175°C). This is the perfect temperature for baking. Next, take a large oven-safe skillet. Place it on medium heat and add 1 cup of unsalted butter. Let it melt slowly. Once melted, take it off the heat and let it cool for a bit.
Mixing Wet Ingredients
In the cooled butter, mix in 1 cup of granulated sugar and 1 cup of brown sugar. Stir until well combined. Next, add 4 large eggs, one at a time. Make sure to mix each egg in well before adding the next. Finally, add 1 teaspoon of vanilla extract for flavor.
Preparing the Dry Mixture
In a separate bowl, whisk together 1 cup of all-purpose flour, 1 cup of unsweetened cocoa powder, 1 teaspoon of baking powder, and 1/2 teaspoon of salt. This dry mix adds structure to your brownies. Gradually mix this dry mixture into your wet ingredients. Stir until everything is well blended.
Assembling and Baking the S’mores Brownie Skillet
Now it’s time to fold in 1 cup of chocolate chips and about half of the 1 cup of mini marshmallows. This adds richness and gooeyness. Pour the brownie batter into the greased skillet. Spread it evenly. Bake in your preheated oven for about 25-30 minutes. A toothpick should come out with a few moist crumbs.
Broiling for the Perfect Finish
After baking, remove the skillet from the oven. Immediately top your brownies with the remaining mini marshmallows and 1 cup of graham cracker crumbs. Broil the skillet on high for 1-2 minutes. Keep a close eye on it until the marshmallows turn golden brown and toasted.
Cooling and Serving Suggestions
Let the skillet cool for a few minutes. This makes it easier to serve. You can serve directly from the skillet. Pair it with extra graham crackers on the side for dipping. For an indulgent touch, drizzle with chocolate sauce. Enjoy your delicious creation!
Tips & Tricks
Ingredient Substitutions
– Butter Alternatives: You can use coconut oil or applesauce instead of butter. These options give a different taste but work well.
– Sugar Alternatives: Try using honey or maple syrup in place of sugar. Adjust the amount since these are sweeter.
– Gluten-Free Flour: Use almond flour or a gluten-free blend instead of all-purpose flour. These flours can change the texture a bit, but they work great.
Perfecting Baking Time
– Signs That Brownies Are Done: Look for a shiny top and slight cracks. A toothpick should come out with a few moist crumbs.
– Adjustments for Different Oven Types: If using a convection oven, reduce the baking time by 5 minutes. Always check early to avoid overbaking.
Presentation Tips
– Serving with Graham Crackers: Serve the brownies straight from the skillet. Add extra graham crackers on the side for dipping.
– Drizzling Chocolate Sauce: Melt some chocolate and drizzle it over the top. This adds a nice touch of flavor and looks great on the table.
Variations
Add-Ins
You can make your S’mores Brownie Skillet even better with some fun add-ins.
– Incorporating nuts for extra texture: Try adding chopped walnuts or pecans. They bring a nice crunch and flavor. Just fold them into the batter before baking.
– Using different types of chocolate chips: Mix in white chocolate chips or dark chocolate chips. Each type adds a unique taste to your brownies. You can even use mint-flavored chips for a cool twist.
Flavor Twists
Get creative with flavor twists that will surprise everyone.
– Incorporating peanut butter chips or caramel: Add peanut butter chips for a rich, nutty flavor. You can also drizzle caramel on top before serving for a sweet touch.
– Experimenting with flavored extracts: Swap vanilla extract for almond or coconut extract. These small changes can make your brownies taste different and special.
Individual Servings
If you want to serve just a few people, you can make mini skillets.
– Making mini s’mores brownie skillets: Use small cast iron skillets or other oven-safe dishes. This way, each person gets their own serving of gooey goodness.
– Using ramekins for single servings: Ramekins work great too. Fill them with the brownie batter and bake. This is a fun way to serve dessert at a party.
These variations make your S’mores Brownie Skillet more exciting and personal. Try them all!
Storage Info
Storing Leftovers
To store your S’mores Brownie Skillet, let it cool first. Once cooled, cover the skillet with plastic wrap or aluminum foil. This keeps it fresh and moist. You can also transfer the brownies to an airtight container. Place them in the fridge for up to five days.
When you’re ready to enjoy leftovers, reheat them in the oven. Set your oven to 350°F (175°C). Warm the brownies for about 10 minutes until they are soft. You can also use the microwave. Heat in short bursts of 15 seconds, checking often.
Freezing Instructions
Freezing brownies is easy. Cut them into squares before freezing. Wrap each piece tightly in plastic wrap. Place them in a freezer-safe bag or container. They will keep well for up to three months.
When you want to eat them, take them out of the freezer. Allow them to thaw overnight in the fridge. For the best texture, warm them in the oven at 350°F (175°C) for 10 minutes. This step makes the brownies taste fresh again.
FAQs
Can I use a different type of skillet?
Yes, you can use many skillets. A cast iron skillet works well. Just make sure it’s oven-safe. You can also use an oven-safe pan if you don’t have a skillet. A baking dish is another good option. Just adjust the baking time if needed.
How do I know when the brownies are done?
To check if the brownies are done, use a toothpick. Insert it into the center. If it comes out with a few moist crumbs, they are ready. If it’s wet with batter, bake for a few more minutes. Keep an eye on them towards the end.
Can I make the batter ahead of time?
Yes, you can prepare the brownie batter ahead. Just store it in the fridge for up to 24 hours. When you’re ready to bake, let it sit at room temperature for 15 minutes. This helps the batter spread evenly in the skillet.
What’s the best way to store leftover brownies?
Store leftover brownies in an airtight container. Keep them at room temperature for up to three days. You can also refrigerate them for up to a week. Just make sure to let them come to room temp before serving. This helps keep them soft.
Can I use sugar substitutes for this recipe?
You can use sugar substitutes, but results may vary. Try using stevia or monk fruit sweetener. Just check the package for the right amount to use. Some substitutes may change the taste or texture slightly. Always do a taste test before serving.
In this guide, we explored the delicious world of s’mores brownie skillets. We covered the key ingredients, step-by-step baking instructions, and handy tips. Remember to play with flavors and toppings to make it your own. Enjoy every gooey bite straight from the skillet. Whether you share it or keep it for yourself, these brownies are a treat! Your kitchen will fill with sweet joy when you try this recipe.


