Sweet Soy Garlic Green Beans Flavorful Side Dish Recipe

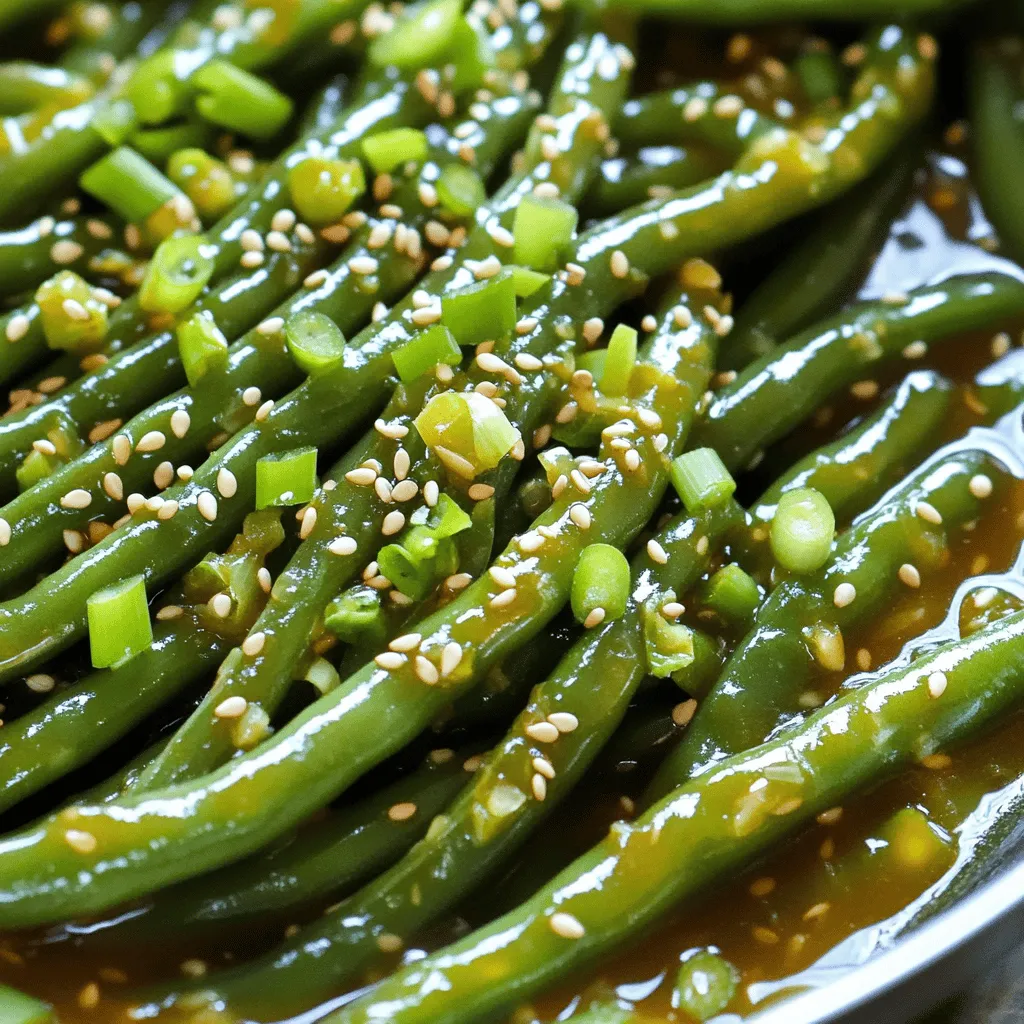
Looking for a quick and tasty side dish? Sweet Soy Garlic Green Beans will wow your dinner guests! This vibrant recipe combines fresh green beans with a savory sauce of soy, honey, and garlic. In just a few easy steps, you’ll create a dish that’s both sweet and savory. Whether you’re a novice cook or an expert, these green beans will add flair to any meal. Let’s explore how to make this flavorful side!
Ingredients
Main Ingredients
– 1 pound fresh green beans, trimmed
– 3 tablespoons soy sauce
– 2 tablespoons honey or maple syrup
– 3 cloves garlic, minced
– 1 tablespoon sesame oil
– 1 teaspoon ground ginger
– Salt and pepper to taste
Optional Ingredients
– 1 tablespoon sesame seeds
– Chopped scallions for garnish
Ingredient Substitutions
If you want to switch things up, here are some easy swaps.
– For soy sauce, use tamari or coconut aminos for a gluten-free option.
– Swap honey with maple syrup for a vegan choice.
– Try adding more spices or herbs to enhance flavor. Ginger powder or red pepper flakes work well.
These ingredients make the dish sweet, savory, and super tasty. You can mix and match based on your needs. Enjoy experimenting!
Step-by-Step Instructions
Preparatory Steps
1. Start by boiling a large pot of water. This water needs to be really hot.
2. Add the trimmed green beans and let them cook for 2-3 minutes. They should turn bright green and be tender-crisp.
3. After cooking, drain the green beans. Quickly move them to an ice bath. This method stops the cooking and keeps their color bright.
4. Leave the green beans in the ice water for a few minutes. Then, drain them again and set aside.
Cooking the Sauce
1. In a large skillet or wok, heat 1 tablespoon of sesame oil over medium heat. The oil should shimmer, but not smoke.
2. Add the minced garlic and sauté for about 30 seconds. You want it fragrant, not browned.
3. Now, whisk in 3 tablespoons of soy sauce, 2 tablespoons of honey or maple syrup, and 1 teaspoon of ground ginger. Mix well.
4. Bring this mixture to a simmer. Let it cook for 2-3 minutes. It will thicken a bit, which is perfect for coating the beans.
Combining Ingredients
1. Add the blanched green beans to the skillet. Toss them well in the sauce.
2. Make sure every bean gets coated evenly. This helps all the flavors blend together.
3. Cook for an additional 2-3 minutes until the beans are heated through.
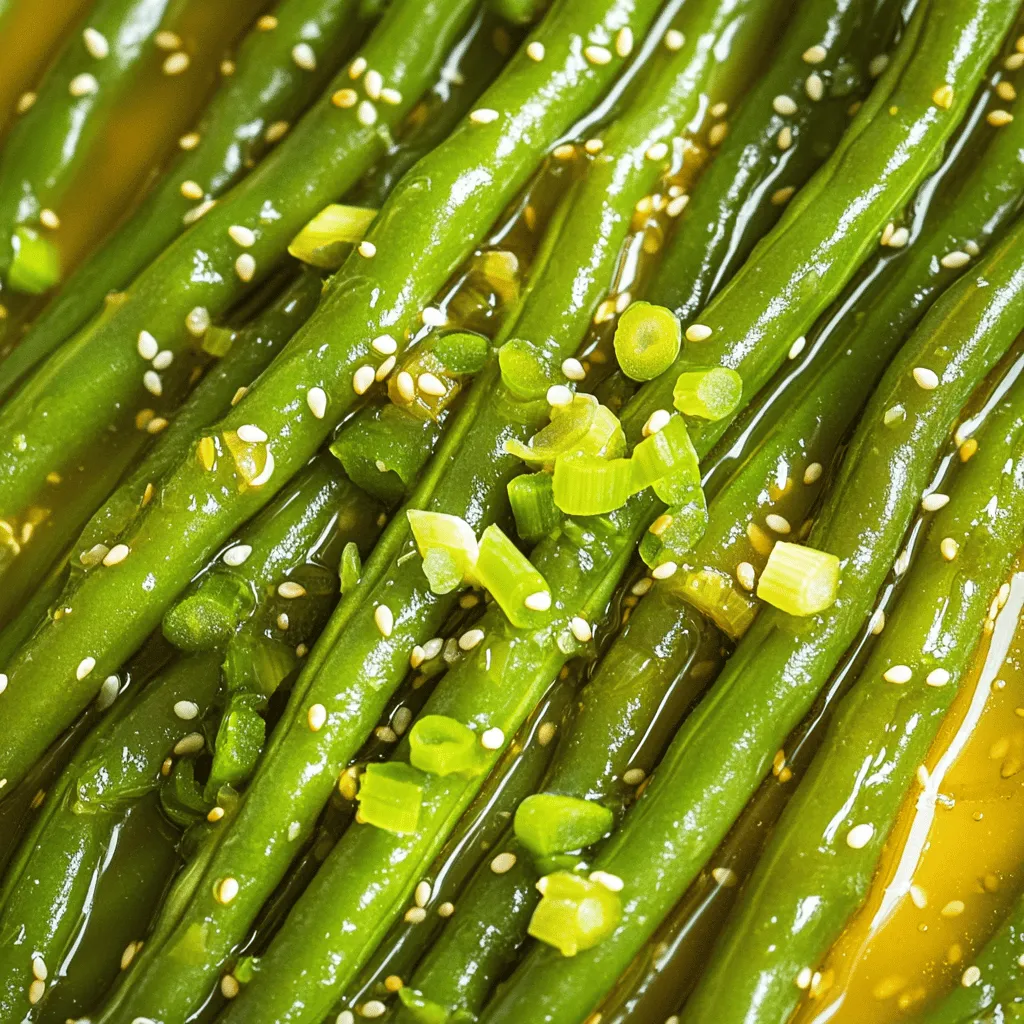
4. Season with salt and pepper to taste. If you like, sprinkle 1 tablespoon of sesame seeds on top for extra crunch.
5. Finally, garnish with chopped scallions before serving. Enjoy your flavorful side dish!
Tips & Tricks
Cooking Tips
To achieve the perfect crunch in green beans, start by blanching them. Boil the trimmed green beans for 2-3 minutes. They should turn bright green but stay firm. Next, cool them quickly in an ice bath. This stops the cooking and keeps them crisp.
When sautéing garlic, timing is key. Heat the sesame oil over medium heat. Add the minced garlic and sauté for only 30 seconds. You want it fragrant but not brown. If it burns, the flavor turns bitter.
Flavor Enhancements
If you like spice, consider adding chili flakes. Just a pinch can bring warmth to the dish. Be careful not to add too much, as you want to enhance, not overpower.
Balancing sweetness and saltiness is vital. The soy sauce adds salt, while honey or maple syrup brings sweetness. Taste the sauce and adjust as needed. You might find you want a bit more of one or the other.
Plating Suggestions
For presentation, garnish your green beans with chopped scallions. This adds color and freshness. You can also sprinkle sesame seeds on top for extra crunch.
Serve the green beans alongside grilled chicken or rice. They complement many dishes well. This side dish will impress anyone at your table!

Variations
Ingredient Variations
You can change up the veggies in this dish. Try using asparagus or broccoli instead of green beans. Both will soak up that sweet soy garlic sauce well. You can also add protein to make it a full meal. Chicken or tofu works great here. Just cook the protein first, then add the veggies.
Flavor Variations
Want to switch things up? You can use different sweeteners. Agave syrup or brown sugar can replace honey or maple syrup. This gives you a new taste each time. Adding citrus zest is another fun way to brighten the dish. Lemon or lime zest adds a refreshing twist.
Cooking Method Variations
You can also change how you cook the green beans. Roasting them in the oven gives a nice caramelized flavor. Just toss them in oil and seasonings, then roast until tender. Grilling the green beans is another option. This method adds a smoky flavor that pairs well with the sweet sauce.
Storage Info
Storing Leftovers
To store your Sweet Soy Garlic Green Beans, use an airtight container. Glass containers work best. You can keep them in the fridge for up to 3 days. Make sure they cool down first before sealing. This helps avoid moisture buildup.
Reheating Guidelines
You can reheat the green beans in two ways: the microwave or stovetop. For the microwave, place them in a bowl and cover with a damp paper towel. Heat for about 1-2 minutes. For stovetop, warm them in a skillet over medium heat. Add a splash of water to keep them moist. This helps the beans stay tender and flavorful.
Freezing Instructions
If you want to freeze your green beans, start by blanching them first. This keeps their bright color and crunch. After blanching, cool them in ice water, then drain. Use freezer-safe bags or containers. Make sure to remove as much air as possible before sealing. They can stay fresh in the freezer for up to 3 months.
FAQs
How can I make Sweet Soy Garlic Green Beans vegan?
To make Sweet Soy Garlic Green Beans vegan, swap honey for a plant-based sweetener, like maple syrup. This change gives your dish a similar sweetness without using animal products. You can also use tamari instead of soy sauce for a gluten-free option.
Can I use frozen green beans for this recipe?
Yes, you can use frozen green beans. Thaw them first for even cooking. Frozen beans may not need blanching. You can skip that step. Just sauté them a bit longer until they are tender. Fresh beans have a better crunch, but frozen beans work fine in a pinch.
What dishes pair well with Sweet Soy Garlic Green Beans?
These green beans go well with grilled chicken, fish, or tofu. They also pair nicely with rice or quinoa. If you want a complete meal, serve them with stir-fried veggies or a fresh salad. The sweet and salty flavor complements many main courses.
How do I know when green beans are done cooking?
Look for bright green color and a tender-crisp texture. You want them to be bright but still have a little bite. If they look dull or mushy, they are overcooked. You can also taste one to check if it’s cooked to your liking.
In this blog post, we explored a tasty Sweet Soy Garlic Green Beans recipe. We covered the main ingredients and optional additions. I shared tips for cooking and flavor enhancements to make this dish shine. You learned how to store leftovers and experimented with variations.
Remember, green beans can be versatile for any meal. Experiment with ingredients and methods. Enjoy the cooking journey and delight in delicious green beans!


![To make cheesy scalloped potatoes, you need just a few simple ingredients. Here’s what you’ll need: - 4 large russet potatoes, peeled and thinly sliced - 1 cup sharp cheddar cheese, grated - 1 cup Gruyère cheese, grated - 1 medium onion, finely chopped - 2 cloves garlic, minced - 2 cups heavy cream - 1 tablespoon butter - 1 teaspoon salt - 1/2 teaspoon black pepper - 1/4 teaspoon nutmeg - Fresh parsley, chopped (for garnish) Each ingredient plays a key role in creating that creamy, cheesy goodness. The potatoes provide the base, while the cheeses add flavor and richness. Choosing the right cheese is important. I love using sharp cheddar for its bold flavor. Gruyère brings a nice creaminess and a nutty taste. You can mix these cheeses or use others you like. Just remember, a good melt is what you want. While the basic recipe is tasty, you can add a few seasonings. Consider these: - Fresh thyme for a herbal note - Smoked paprika for a hint of smokiness - Red pepper flakes for some heat These add-ons can elevate your dish. You can adjust them based on your taste. For a full experience, follow the Full Recipe to bring these flavors together perfectly! First, gather all your ingredients. You need four large russet potatoes, sharp cheddar cheese, Gruyère cheese, an onion, garlic, heavy cream, butter, salt, black pepper, nutmeg, and fresh parsley. Peel and thinly slice the potatoes. I often use a mandoline for even slices. Finely chop the onion and mince the garlic. Next, melt one tablespoon of butter in a medium saucepan over medium heat. Add the chopped onion and minced garlic. Sauté until they turn soft and clear, about four to five minutes. This step adds great flavor. Pour in the two cups of heavy cream and mix in the salt, pepper, and nutmeg. Heat until it simmers, but do not boil. Remove from heat. Now, grease a 9x13 inch baking dish. Start by layering half of the sliced potatoes on the bottom. Spread them out evenly. Next, pour half of the cream mixture over the potatoes. Then, sprinkle half of the grated cheddar and Gruyère cheese on top. Do this carefully to cover all the potatoes. Repeat the process with the remaining ingredients. Layer the rest of the potatoes, followed by the cream mixture, and finish with the remaining cheese. This layering gives the dish its rich flavor and texture. Cover the baking dish with aluminum foil. Bake in the preheated oven at 375°F (190°C) for 45 minutes. This helps the potatoes cook through. After 45 minutes, carefully remove the foil. Bake uncovered for an additional 25 to 30 minutes. The top should turn golden brown, and the dish will bubble up. Let the scalloped potatoes cool for about ten minutes before serving. This cooling time helps the layers set. Garnish with fresh parsley for a pop of color. Enjoy this cheesy delight! To get the best creamy texture, use heavy cream. It gives a rich taste. Heat the cream slowly with salt and spices. This helps the flavors mix well. Avoid boiling the cream; just let it simmer. Layer the potatoes and cream mixture evenly in the dish. This allows every bite to be creamy and delicious. To achieve a golden, bubbly cheese top, remove the foil halfway through baking. This lets the heat reach the cheese directly. If you want an extra crispy top, add a bit more cheese before the last baking phase. Broil the dish for a few minutes at the end if you want even more browning. Just watch it closely to avoid burning. One common mistake is cutting the potatoes too thick. Thin slices cook evenly and absorb the cream better. Another mistake is skipping the onion and garlic. These add depth and flavor. Also, don’t rush the baking time. Ensure potatoes are tender before serving. Following the Full Recipe will keep you on track for success. {{image_2}} You can make cheesy scalloped potatoes vegetarian. Simply skip any meat or meat-based broths. Focus on using rich, creamy ingredients like heavy cream and cheese. Add layers of fresh vegetables, too. Spinach, mushrooms, or zucchini give great flavor and texture. They blend well with the potatoes and cheese, making each bite delightful. Cheese is key in this dish. You can play with different cheese blends. Try mozzarella for a gooey texture. Feta adds a nice tang, while gouda gives a smoky flavor. Mix and match your favorites to create a unique taste. Aim for a mix of sharp and creamy cheeses to balance the flavors. Want to make this dish heartier? Add proteins like cooked bacon or ham. Both add savory notes that complement the cheese. You can also sneak in some vegetables. Broccoli or asparagus works well. Simply chop them small and layer them with the potatoes. This not only enhances flavor but also boosts nutrition. For more detailed steps on making these variations, check out the Full Recipe. After you make your cheesy scalloped potatoes, let them cool first. This helps keep them fresh. Store the leftovers in an airtight container. They can stay good in the fridge for about three to four days. If you want to keep them longer, freezing is a great option. You can freeze cheesy scalloped potatoes for up to three months. To do this, make sure they cool completely. Cut them into portions. Wrap each piece tightly with plastic wrap. Then, place them in a freezer-safe bag. Label the bag with the date. This way, you’ll know when to use them. To reheat, take the potatoes out of the fridge or freezer. If frozen, let them thaw overnight in the fridge. Preheat your oven to 350°F (175°C). Place the leftovers in a baking dish. Cover with foil to keep them moist. Bake for about 20 to 30 minutes, or until hot. You can also microwave them, but the oven gives a better texture. Enjoy your cheesy scalloped potatoes just like the first time! For the full recipe, check out the [Full Recipe]. You can make cheesy scalloped potatoes a day before. Prepare the dish fully, then cover it with plastic wrap. Store it in the fridge overnight. When you are ready to bake, remove the wrap and let it sit at room temperature for 30 minutes. Then, bake as instructed in the Full Recipe. This method helps the flavors blend and saves time. Yes, you can use different potatoes. While I prefer russet potatoes for their creaminess, Yukon gold potatoes work well too. They add a nice buttery flavor. Just remember to slice them thinly for even cooking. Avoid waxy potatoes, as they may not soften well in the oven. Cheesy scalloped potatoes pair nicely with many dishes. They complement roast chicken, beef, or pork perfectly. You can also serve them with a fresh salad for a balanced meal. For a special touch, add some steamed green beans or sautéed spinach on the side. These options create a colorful plate and elevate your dining experience. You now know how to make cheesy scalloped potatoes from scratch. We covered essential ingredients, baking steps, and tips to avoid mistakes. Experiment with different cheeses and veggies for your own twist. Remember to store leftovers properly to enjoy later. Use these insights to impress your friends and family at your next meal. Happy cooking; I can’t wait for you to try this dish!](https://dailydishly.com/wp-content/uploads/2025/07/68a68aa2-1fa5-4915-a359-e46e8929230b-768x768.webp)

