Are you ready to spice up your dinner routine? Teriyaki Chicken Lettuce Cups offer a fun and tasty meal that’s easy to make. You’ll enjoy juicy chicken, fresh veggies, and the best flavors all wrapped in crisp lettuce. In this guide, I’ll walk you through simple steps, tips, and variations to help you create these flavorful cups. Let’s dive in and get cooking!
Ingredients
Main Ingredients for Teriyaki Chicken Lettuce Cups
For this tasty dish, you will need:
– 1 lb chicken breast, diced
– 1/4 cup teriyaki sauce
– 1 tablespoon sesame oil
– 1 tablespoon olive oil
– 2 cloves garlic, minced
– 1-inch piece ginger, grated
– 1 cup carrots, shredded
– 1/2 cup red bell pepper, diced
– 1/4 cup green onions, sliced
– Salt and pepper to taste
– 1 head of butter lettuce or iceberg lettuce (for cups)
These ingredients work together to create a burst of flavor.
Optional Garnishes
You can add some fun garnishes to enhance your dish:
– Sesame seeds for a nutty crunch
– Extra green onions for freshness
– Chopped cilantro for a herbal note
Garnishes give your meal a nice finish.
Suggested Tools and Equipment
To prepare teriyaki chicken lettuce cups, gather these tools:
– A large skillet for cooking
– A cutting board for chopping
– A sharp knife for easy slicing
– Mixing bowls for marinating chicken
– Measuring cups and spoons for accuracy
These tools make cooking simple and fun. With the right ingredients and tools, you can create a delicious meal in no time!
Step-by-Step Instructions
Marinating the Chicken
To start, you need to marinate the chicken. Take 1 pound of diced chicken breast and put it in a bowl. Add 1/4 cup of teriyaki sauce, salt, and pepper. Mix it well to coat the chicken. Cover the bowl and let it sit for at least 15 minutes. This makes the chicken flavorful and juicy.
Cooking Process for Chicken and Vegetables
Next, heat a large skillet over medium heat. Pour in 1 tablespoon of sesame oil and 1 tablespoon of olive oil. Once the oil is hot, add the marinated chicken to the skillet. Cook for 5 to 7 minutes, stirring often. You want the chicken to brown and cook through. After that, add 2 cloves of minced garlic and 1-inch piece of grated ginger. Cook this mixture for 2 more minutes until you smell the great aroma.
Now, it’s time to add the veggies. Toss in 1 cup of shredded carrots and 1/2 cup of diced red bell pepper. Stir everything together and cook for another 2 to 3 minutes. The vegetables should be tender but still crisp. Finally, remove the skillet from heat and mix in 1/4 cup of sliced green onions. Taste and add salt or pepper if needed.
Assembly of Lettuce Cups
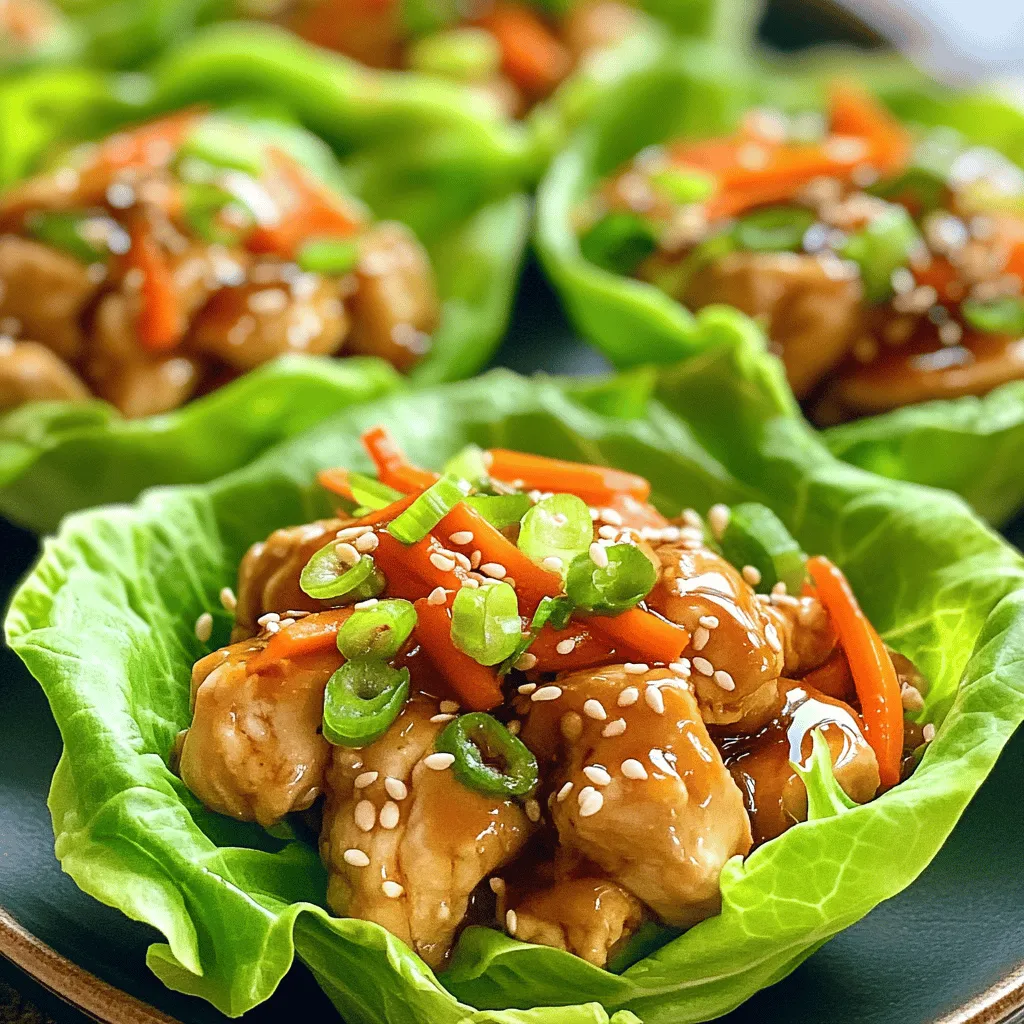
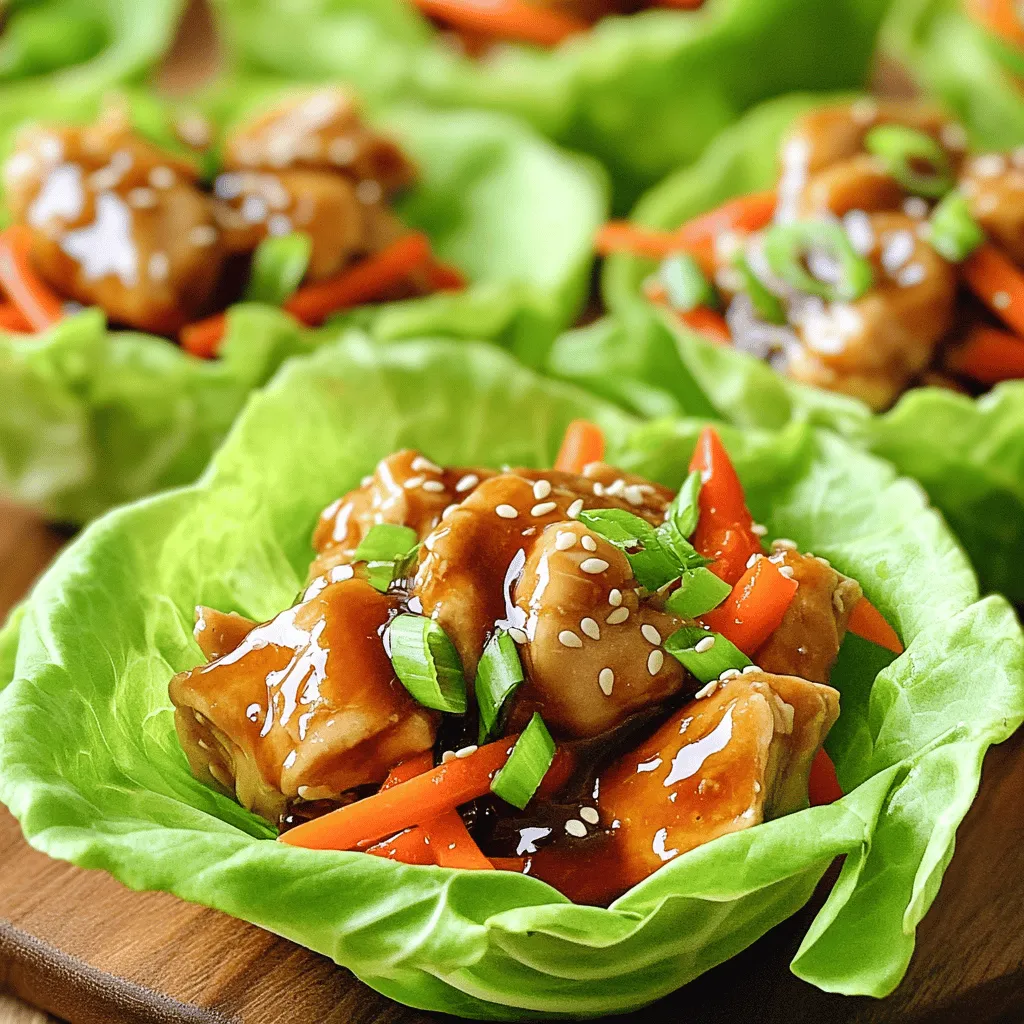
Now you can assemble the lettuce cups. Take a head of butter or iceberg lettuce and gently separate the leaves. These will be your cups. Spoon the teriyaki chicken mixture into each lettuce leaf. Make sure to fill them generously. To finish, sprinkle sesame seeds on top of each filled cup. Enjoy your flavorful and easy meal!
Tips & Tricks
Perfecting Chicken Marinade Techniques
To make the best teriyaki chicken, marinating is key. Use a bowl to mix the diced chicken, teriyaki sauce, salt, and pepper. Make sure every piece is coated. Let it sit for at least 15 minutes. If you have time, marinate for 30 minutes to an hour. This helps the chicken soak up flavors.
Cooking Tips for Tender Chicken
When cooking, keep the heat at medium. If the heat is too high, the chicken can dry out. Cook the chicken for 5-7 minutes. Stir often for even cooking. You want the chicken to be golden brown, not burnt. Add garlic and ginger toward the end for a fresh taste. Don’t cook them for too long, or they will burn.
How to Prepare Lettuce Cups
Choose a head of butter or iceberg lettuce. Rinse the leaves gently under cold water. Pat them dry with a towel. Carefully separate the leaves to keep them whole. These leaves will hold the chicken mixture well. They should be sturdy enough to hold a good amount of filling.
Variations
Alternative Protein Options
If you want to switch up the protein, consider using pork or shrimp. Diced pork tenderloin works well in this dish. Just marinate it the same way as chicken. Cook it for about 6-8 minutes until it’s browned and cooked through. Shrimp is another great choice. Use peeled, deveined shrimp and cook them for about 3-4 minutes. Both options keep the delicious teriyaki flavor.
Vegetarian or Vegan Options
You can easily make this dish vegetarian or vegan. For a vegetarian version, use tofu or tempeh. Press and cube the tofu, then marinate it like the chicken. Cook it until golden brown. For a vegan option, use tempeh instead. It has a nice texture and absorbs flavors well. Add extra veggies like mushrooms or bell peppers for more taste and nutrition.
Flavor Variations and Add-ins
Feel free to get creative with flavors! You can add crushed red pepper for heat or a splash of lime juice for zest. Consider mixing in water chestnuts for crunch or nuts like cashews for a rich taste. Fresh herbs, like cilantro or basil, can also brighten the dish. Experiment with different vegetables to find your favorite combination. The goal is to make it fun and tasty!
Storage Info
How to Store Leftover Teriyaki Chicken
To keep leftover teriyaki chicken fresh, place it in an airtight container. Make sure to cool it down first. Store it in the fridge for up to three days. If you have leftover vegetables, you can store them with the chicken. However, keep the lettuce separate to avoid wilting.
Best Practices for Reheating
When it’s time to reheat, use a skillet for the best results. Heat it on medium-low. Add a splash of water or extra teriyaki sauce to keep it moist. Stir often until the chicken is hot throughout. You can also use the microwave, but cover it to trap steam. This helps keep the chicken juicy.
Freezing Guidelines
If you want to freeze teriyaki chicken, place it in a freezer-safe bag. Remove as much air as you can before sealing. This helps prevent freezer burn. You can freeze it for up to three months. When you’re ready to eat, thaw it overnight in the fridge. Reheat it in a skillet for the best texture.
FAQs
How do I make Teriyaki sauce from scratch?
To make teriyaki sauce from scratch, mix soy sauce, honey, and rice vinegar. Add minced garlic and ginger for extra flavor. Whisk these together in a bowl. Cook the mixture in a saucepan over low heat. Stir until it thickens, which takes about 5 minutes. This sauce is simple and tastes great!
Can I use a different type of lettuce?
Yes, you can use other types of lettuce. Butter lettuce and iceberg lettuce work well for cups. Romaine lettuce also makes a nice option. Just make sure the leaves are large enough to hold the filling. Choose what you like best!
How do I know when the chicken is cooked through?
To check if chicken is cooked, cut a piece in half. The inside should be white, not pink. You can also use a meat thermometer. The chicken should reach 165°F (75°C) to be safe. This ensures your meal is tasty and healthy.
In this blog post, we explored how to make tasty teriyaki chicken lettuce cups. We covered key ingredients, marinating, and cooking chicken to make it juicy. You learned tips for perfecting your marinade and how to assemble the cups neatly. Plus, we discussed fun variations and storage tips for leftovers.
Making teriyaki chicken lettuce cups is easy and fun. Enjoy experimenting with flavors and sharing your tasty meals.


