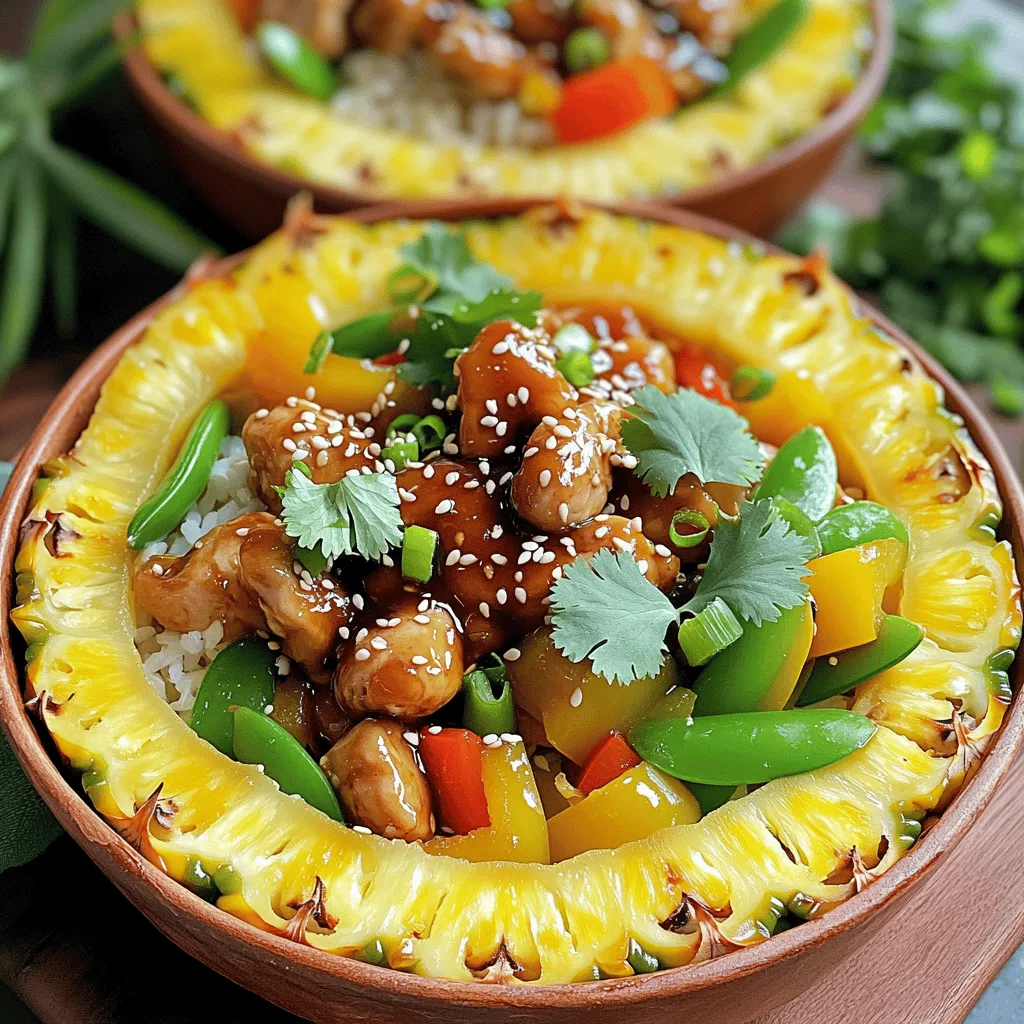
Are you ready to enjoy a tasty and healthy meal? Teriyaki Chicken Pineapple Bowls combine the sweetness of pineapple with savory chicken and fresh veggies. This easy dish is perfect for anyone looking to impress family or friends, even on a busy weeknight. Join me as we explore the simple steps and flavorful tips to make this meal a hit at your table!
Ingredients
Main Ingredients
– 2 boneless, skinless chicken breasts, diced
– 1 cup teriyaki sauce (store-bought or homemade)
– 1 tablespoon olive oil
– 1 cup bell peppers (red, yellow, or green), diced
– 1 cup snap peas, trimmed
– 1 pineapple, halved and cored
– 1 cup jasmine rice (or brown rice)
– 1 tablespoon sesame seeds
– Fresh cilantro, for garnish
– Green onions, sliced, for garnish
– Salt and pepper to taste
The main ingredients in this dish create a bright and tasty meal. You get protein from chicken, sweet and tangy flavors from teriyaki sauce, and crunch from fresh vegetables. The pineapple adds a fun twist, making it visually appealing and delicious.
Substitutions
If you want to change things up, consider these options:
– Use tofu or shrimp instead of chicken for a different protein.
– Look for gluten-free teriyaki sauce if you need it.
– You can try other rice types, like brown rice or quinoa, for variety.
These substitutions help make this dish fit your needs or taste. You can customize it and still enjoy great flavors.
Recommended Tools
You will need a few tools to make this dish easy:
– A skillet or frying pan to cook the chicken and veggies.
– A rice cooker or pot to prepare the rice.
– A knife and cutting board to chop your ingredients.
Having the right tools makes cooking smoother. You can focus on enjoying the process and the meal!
Step-by-Step Instructions
Preparing the Rice
To cook jasmine rice, start by rinsing it under cold water. This helps remove excess starch. Use a ratio of 1 cup of rice to 1.5 cups of water. Bring the water to a boil, then lower the heat. Cover the pot and let it simmer for about 15 minutes. After that, turn off the heat and let it sit for 5 minutes. Fluff the rice with a fork to get the right texture. For perfect rice, avoid lifting the lid while it cooks.
Marinating and Cooking the Chicken
To marinate the chicken, combine the diced chicken with half of the teriyaki sauce in a bowl. Let it sit for at least 15 minutes. This allows the chicken to soak up the flavors. When cooking, heat olive oil in a large skillet over medium heat. Add the marinated chicken and cook for about 5-7 minutes. Ensure the chicken is no longer pink to keep it juicy.
Sautéing the Vegetables
For the vegetables, use the same skillet after cooking the chicken. Add diced bell peppers and snap peas to the pan. Stir-fry for about 3-4 minutes. You want them to be tender but still crisp. Season with a pinch of salt and pepper. This adds flavor and keeps the veggies vibrant.
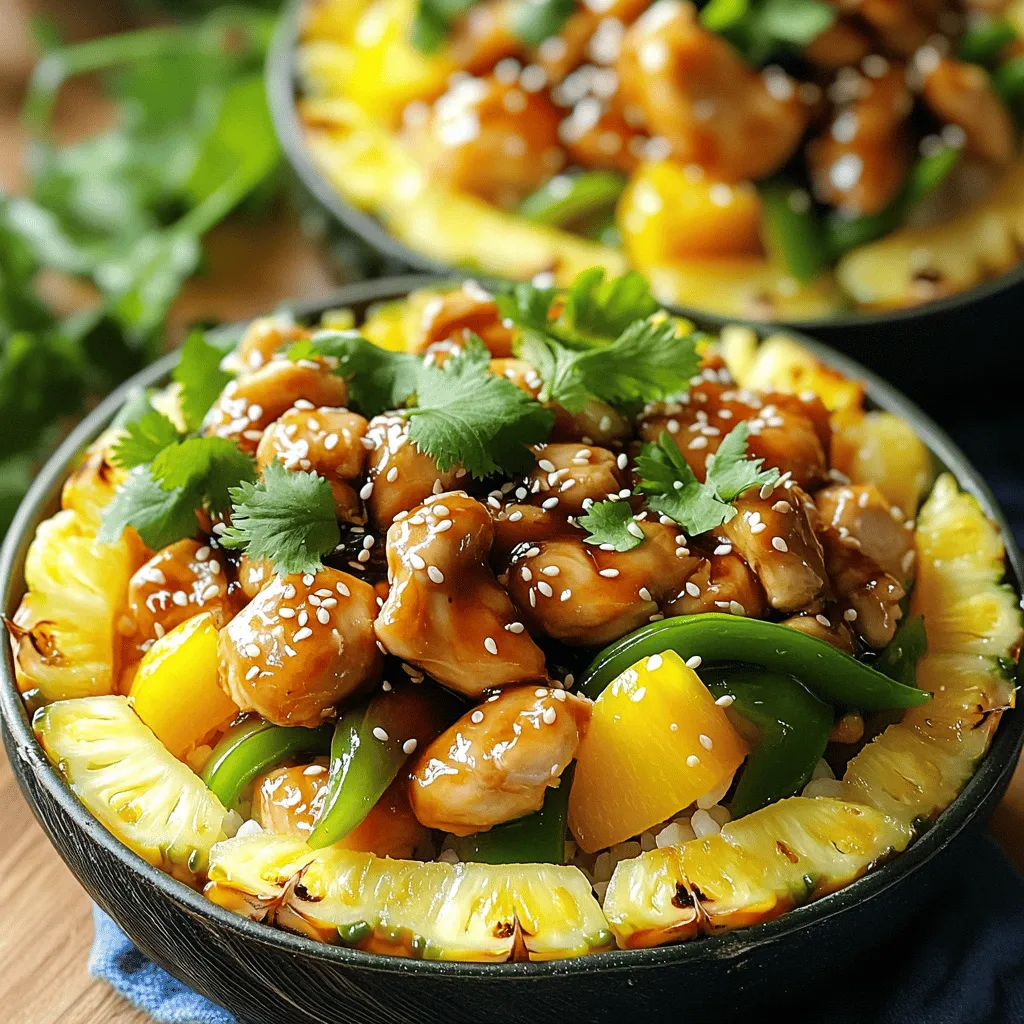
Assembling the Pineapple Bowls
To prepare the pineapple bowls, take the halved pineapples and scoop out the flesh. Leave enough of a border so they can hold the filling. Chop the scooped-out pineapple into small pieces. This adds sweetness to the dish. In each pineapple half, layer the cooked jasmine rice first, then the teriyaki chicken and vegetable mix. Top it off with the chopped pineapple for extra flavor.
Garnishing and Serving
For an appealing presentation, sprinkle sesame seeds over the bowls. Add fresh cilantro and sliced green onions on top. This not only adds color but also enhances the dish’s flavor. Serve immediately for the best taste experience.
Tips & Tricks
Achieving the Best Flavor
To get the best taste, balance sweetness and saltiness. Teriyaki sauce is sweet, but it needs salt to shine. You can taste your sauce before adding it to the chicken. If it tastes too sweet, add a pinch of salt. This helps create a lovely flavor blend.
You can customize teriyaki sauce too. If you want more kick, add a splash of soy sauce or some ginger. For a sweeter note, mix in some honey or brown sugar. This lets you create a sauce that fits your taste.
Meal Prep Tips
Prepping ingredients in advance saves time. Chop your chicken and veggies the night before. Store them in the fridge in separate containers. This way, when it’s time to cook, you just grab and go.
For leftovers, place them in an airtight container. Store in the fridge for up to three days. If you want to keep them longer, freeze them. Just remember to label your containers with dates.
Serving Suggestions
Pair your Teriyaki Chicken Pineapple Bowls with sides or salads. A fresh green salad with a light dressing works well. You can also serve it with steamed veggies for added crunch.
For drinks, try a light iced tea or a fruity mocktail. These options complement the sweet and savory flavors of the dish.
Variations
Different Proteins
You can use different proteins instead of chicken. Pork and beef work well in this dish. If you prefer plant-based options, try tofu or tempeh. Each protein will soak up the teriyaki sauce nicely. You can also use shrimp or salmon for seafood lovers. These options add unique flavors and textures.
Addition of Extra Ingredients
Adding extra ingredients boosts flavor and nutrition. Try incorporating carrots for crunch or broccoli for color. Both cook quickly and add great taste. You can also mix in fruit like mango or avocado. These fruits bring a sweet, creamy twist to the dish. They pair well with the salty teriyaki sauce.
International Twists
Want to spice things up? Add sriracha for a kick of heat. This brings a fun twist to the classic dish. For an Asian fusion, mix in kimchi. The tangy flavors of kimchi add depth and a bit of crunch. These twists make your Teriyaki Chicken Pineapple Bowls even more exciting.
Storage Info
Proper Storage Techniques
To keep your teriyaki chicken pineapple bowls fresh, store them properly. First, let the dish cool down to room temperature. Once cooled, you can place the leftovers in an airtight container. Store it in the fridge for up to three days. If you want to keep it longer, you can freeze the bowls. Just make sure to use freezer-safe containers or bags. They can last for up to three months in the freezer.
How to Reheat
When it’s time to enjoy your leftovers, reheat them carefully. The best way is to use the microwave. Place the bowl in the microwave and cover it with a microwave-safe lid or paper towel. Heat for about 1-2 minutes, stirring halfway through. You can also reheat in a skillet over low heat. This method keeps the chicken moist and the veggies crisp. Avoid cooking it too long to prevent overcooking.
Shelf Life
These bowls have a good shelf life if stored correctly. In the fridge, they stay fresh for about three days. After that, their quality may drop. Check for signs of spoilage. If you see any off smells, discoloration, or mold, it’s best to throw them out. Always trust your senses when deciding if food is still good.
FAQs
How to make homemade teriyaki sauce?
To make homemade teriyaki sauce, you need simple ingredients. Here’s what you need:
– 1/2 cup soy sauce
– 1/4 cup water
– 1/4 cup brown sugar
– 1 tablespoon rice vinegar
– 1 tablespoon cornstarch (optional for thickness)
– 1 teaspoon garlic powder
– 1 teaspoon ginger powder
Mix these ingredients in a pot. Heat over medium heat until it simmers. Stir until the sugar melts and the sauce thickens. This sauce is sweet and savory, perfect for your chicken.
Can I make this dish ahead of time?
Yes, you can prepare this dish ahead of time. Cook the chicken and veggies, then store them in the fridge. Keep the rice separate to prevent it from getting mushy. You can also scoop out the pineapple in advance. When ready to eat, just warm everything up. This makes meal time quick and easy.
Is this recipe gluten-free?
Yes, this recipe can be gluten-free. Use gluten-free soy sauce or tamari instead of regular soy sauce. Check the teriyaki sauce label if buying store-bought. Most rice is gluten-free, so use jasmine or brown rice without worry. This way, everyone can enjoy a tasty meal.
What can I serve with Teriyaki Chicken Pineapple Bowls?
You can serve many sides with these bowls. Here are some great options:
– Steamed broccoli
– Grilled asparagus
– Simple salad with cucumbers and carrots
– Edamame
– Fried rice
These sides add color and flavor to your meal.
Can I use cooked chicken for this recipe?
Yes, you can use cooked chicken. If using leftover chicken, cut it into small pieces. Skip the marinating step. Heat the chicken in the skillet first. Then, add the veggies and teriyaki sauce. Cook until everything is hot. This saves time and keeps your meal easy.
This post covers how to make Teriyaki Chicken Pineapple Bowls. You learned about the key ingredients like chicken, teriyaki sauce, and fresh vegetables. I shared step-by-step cooking tips and tricks to elevate flavor. You also discovered variations and how to store leftovers.
Whether you stick to the classic or explore new flavors, enjoy your meal prep. Making this dish will bring joy to your table and delight your taste buds!


