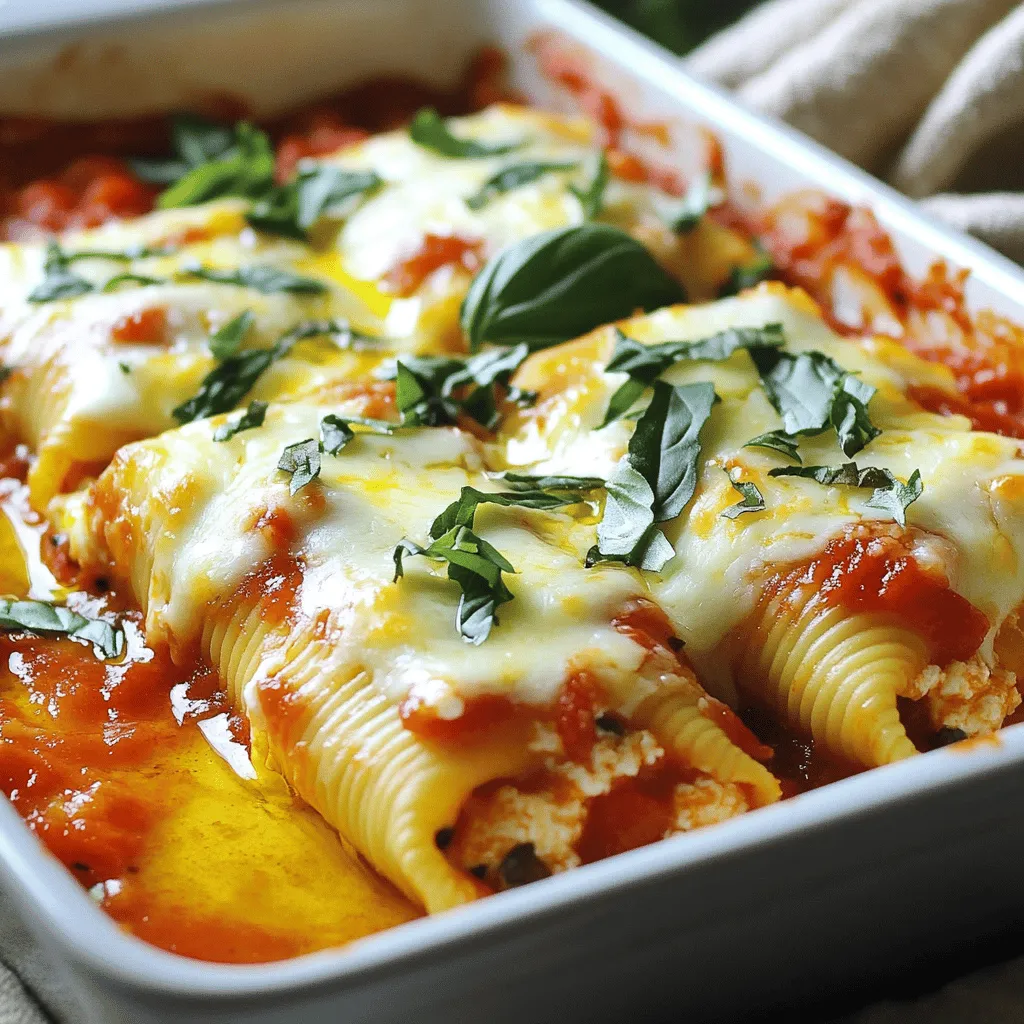
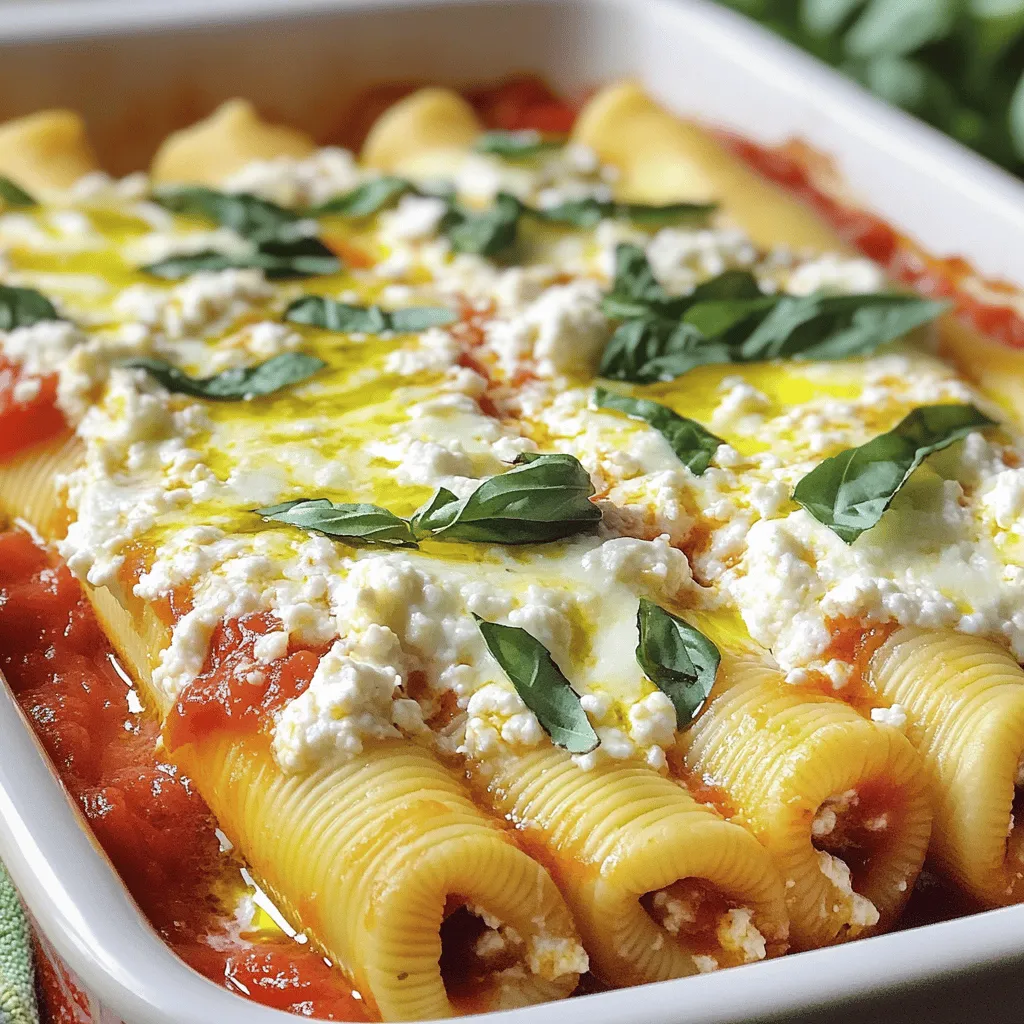
Craving a comforting dish that’s simple to make? Dive into my delightful Three Cheese Manicotti recipe! It’s cheesy, flavorful, and perfect for busy weeknights or special gatherings. With just a few fresh ingredients and easy steps, you can impress your family and friends. Read on to learn how to create this Italian classic that will have everyone asking for seconds! Let’s get cooking!
Ingredients
Detailed List of Ingredients
– 12 manicotti shells
– 1 cup ricotta cheese
– 1 cup mozzarella cheese, shredded
– ½ cup parmesan cheese, grated
– 2 cups marinara sauce (homemade or store-bought)
– 1 egg, beaten
– 1 tablespoon fresh basil, chopped (or 1 teaspoon dried)
– 1 teaspoon garlic powder
– Salt and pepper to taste
– Olive oil for drizzling
– Fresh basil or parsley for garnish
In this recipe, I use three cheeses to create a rich filling. Ricotta, mozzarella, and parmesan blend perfectly. Each cheese adds a unique taste and creaminess that makes every bite delightful.
Key Ingredient Substitutions
If you’re out of mozzarella, try provolone or gouda. These cheeses can give a nice twist. For gluten-free options, look for special manicotti shells made from rice or corn. You can also make your own marinara sauce. Just cook tomatoes, garlic, and herbs together for a fresh flavor.
Importance of Ingredient Quality
Choosing high-quality cheeses is vital. Fresh cheeses melt better and taste richer. For herbs, fresh basil offers more flavor than dried. If you decide to use store-bought marinara, check for natural ingredients. Homemade sauce can really elevate your dish and make it stand out.
Step-by-Step Instructions
Preparation and Cooking Steps
– Preheat your oven to 375°F (190°C).
– Cook the manicotti shells according to the package. Make sure they are al dente. Drain them and set aside to cool. This helps avoid tearing.
– In a bowl, mix ricotta cheese, ¾ cup mozzarella, half of the parmesan, a beaten egg, chopped basil, garlic powder, salt, and pepper. Stir until smooth.
– Use a piping bag or spoon to gently stuff each manicotti shell with your cheese mix. Be careful not to overfill.
– In a 9×13 inch baking dish, spread a thin layer of marinara sauce on the bottom. Arrange the stuffed shells in a single layer on top.
Baking Instructions
– Pour the remaining marinara sauce over the manicotti. Sprinkle the rest of the mozzarella and parmesan cheese on top.
– Drizzle a little olive oil over the dish. This adds flavor and helps prevent sticking.
– Cover the baking dish with aluminum foil. Bake for 25 minutes. After that, remove the foil and bake for an extra 15 minutes, until the cheese is bubbly and golden brown.
Plating and Serving Suggestions
– Let the manicotti cool for about 5 minutes before serving.
– Garnish with fresh basil or parsley for a bright look.
– Serve with a crisp salad or garlic bread for a complete meal. Present it on a nice plate to impress your guests.
Tips & Tricks
Tips for Perfecting Manicotti
– How to avoid tearing the shells: Cook the manicotti shells just until al dente. This keeps them firm. Handle them gently during filling. A little patience goes a long way!
– Managing cheese filling consistency: Mix the filling until smooth. If it is too thick, add a splash of water or extra egg. This helps with stuffing.
– Storing leftover sauce properly: Keep leftover sauce in an airtight container. Store it in the fridge for up to a week. You can also freeze it for longer storage.
Common Mistakes to Avoid
– Overcooking the shells: Keep an eye on the cooking time. Overcooked shells can break easily. Aim for a tender but firm texture.
– Skipping the resting time after baking: Let your manicotti rest for at least five minutes after baking. This helps the flavors settle and makes serving easier.
– Not seasoning the filling adequately: Don’t skip the salt and pepper. Taste your filling before stuffing the shells. Adjust as needed for a balanced flavor.
Enhancing Flavor and Texture
– Adding spices to the filling: Consider adding dried oregano or red pepper flakes to the filling. This gives an extra kick to each bite.
– Using different types of cheeses: Try mixing in goat cheese or feta for more depth. Each cheese adds its own unique flavor.
– Baking covered vs. uncovered: Baking covered keeps the dish moist. Remove the cover for the last few minutes to crisp the cheese on top.
Variations
Traditional Italian Variations
You can find many tasty Italian twists on manicotti. One classic is spinach and ricotta manicotti. The spinach adds color and flavor, making it vibrant and healthy. You can also try meat-filled options. Ground beef or sausage gives a hearty taste. For a Mediterranean touch, add sun-dried tomatoes or olives. These ingredients bring new flavors to your dish.
Dietary Adjustments
If you’re vegan, you can still enjoy this dish. Use plant-based cheeses and skip the egg. You can also make low-carb options. Zucchini or eggplant can replace the pasta shells. For those needing gluten-free meals, look for gluten-free manicotti shells. Many brands offer these, so you can still enjoy this meal.
Regional Style Influences
Southern Italian recipes often focus on fresh, local ingredients. You might see a lot of veggies and herbs in these dishes. Americanized twists usually add more cheese and sauce, making it richer. In some regions, cooks incorporate local flavors. Try adding local veggies or spices to make the dish your own.
Storage Info
Storage Guidelines
To store uncooked manicotti, place the shells in an airtight container. Keep them in the fridge for up to two days. If you want to store leftovers, let them cool first. Then, cover the dish tightly with plastic wrap before placing it in the fridge. You can keep leftovers for about three days. For long-term storage, freeze the stuffed manicotti. Use a freezer-safe dish and wrap it well in foil. It can last up to three months in the freezer.
Reheating Instructions
The best way to reheat manicotti is in the oven. Preheat it to 350°F (175°C). Place the manicotti in an oven-safe dish and cover it with foil. Heat for about 20 minutes. If you want to keep the cheese creamy, avoid the microwave. Microwaving can change the texture of the cheese. To prevent drying out, add a splash of marinara sauce before reheating.
Shelf Life
In the fridge, manicotti lasts for around 3 to 4 days. Check for any off-smells or mold before eating. If you freeze it, use it within three months for the best taste. Signs of spoilage include a sour smell or a change in texture. When stored properly, you can enjoy your delicious manicotti without worry.
FAQs
How to make Three Cheese Manicotti from scratch?
To make Three Cheese Manicotti from scratch, you start with the sauce and filling. For the sauce, use a mix of tomatoes, garlic, and herbs. You can even add a pinch of sugar to balance the flavors. For the filling, combine ricotta, mozzarella, and parmesan. Mix in an egg for binding. Don’t forget to season with salt, pepper, and fresh herbs. Stuff the manicotti shells carefully, then layer them in a baking dish with sauce. Bake until bubbly and golden.
Can I prepare manicotti ahead of time?
Yes, you can prepare manicotti ahead of time. First, cook the shells and let them cool. Fill them with the cheese mixture. Then, place them in a baking dish and cover with sauce. You can store this dish in the fridge for up to 24 hours. When you’re ready, just pop it in the oven. Increase the baking time slightly to ensure it heats through.
What can I serve with manicotti?
Manicotti pairs well with many side dishes. A simple green salad with a light vinaigrette is great. Garlic bread adds a nice crunch and flavor. You might also enjoy steamed vegetables or a fresh Caprese salad. Each of these sides complements the rich flavors of the manicotti.
Is Three Cheese Manicotti suitable for freezing?
Yes, Three Cheese Manicotti is great for freezing. To freeze, assemble the dish without baking it. Wrap the baking dish tightly in plastic wrap, then in foil. Label it with the date. When ready to eat, thaw it in the fridge overnight. Then bake it straight from the fridge, adding a few extra minutes to the bake time.
Where can I buy the best Three Cheese Manicotti?
To find the best Three Cheese Manicotti, check local Italian restaurants. Look for places with good reviews. Some grocery stores also sell fresh or frozen manicotti. Ask your friends for recommendations, too. You might be surprised at what you discover in your area.
How many calories are in Three Cheese Manicotti?
Three Cheese Manicotti typically has about 400-500 calories per serving. This can vary based on the amount of cheese and sauce used. To manage your intake, consider serving it with a side salad. This can help fill you up while keeping the meal balanced.
Manicotti is a simple yet tasty dish made from easy ingredients. We covered how to choose quality items, prepare the dish, and avoid common mistakes. You can customize your manicotti to fit dietary needs or personal tastes. With proper storage, you can enjoy it later. Remember, practice makes perfect. Each time you make it, you’ll learn something new. Enjoy your cooking journey and delight in sharing this delicious dish with others.


