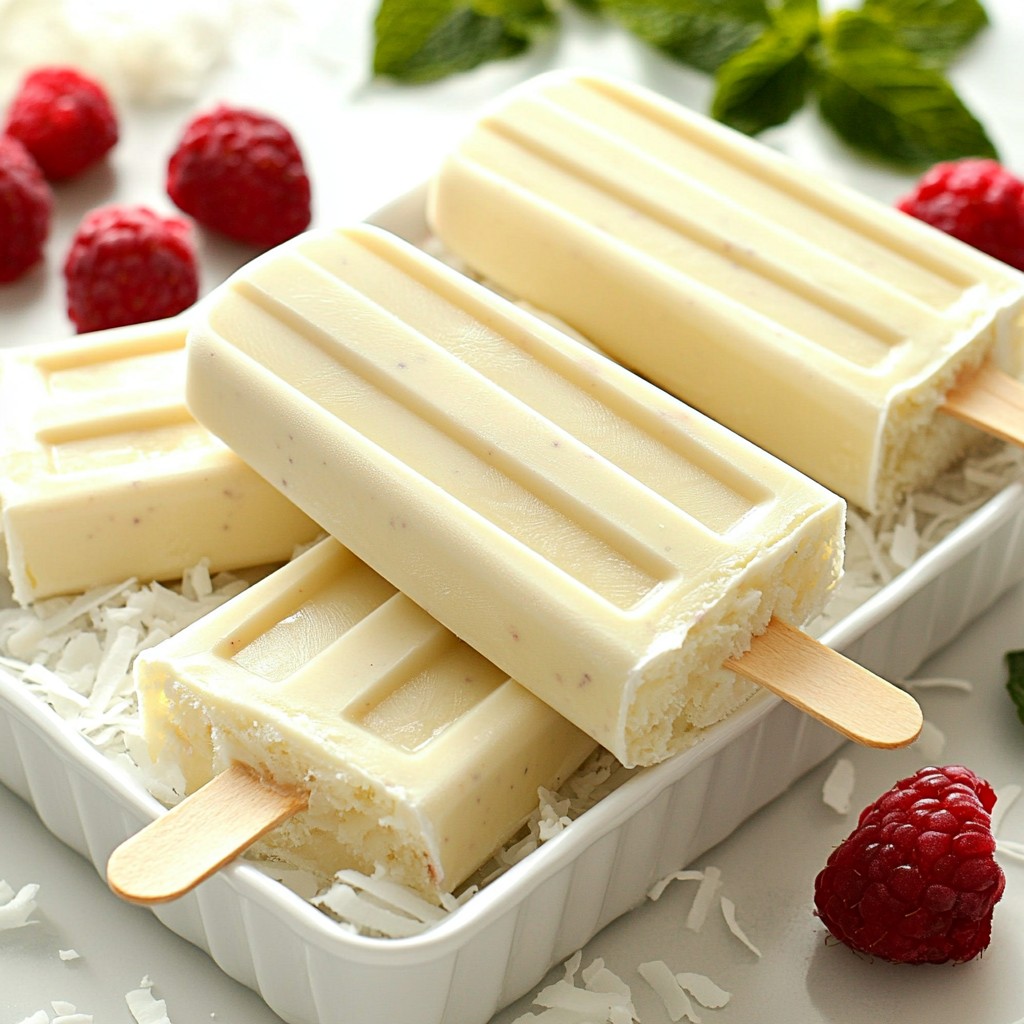
Want a cool treat that’s both tasty and healthy? Try my Vanilla Bean Greek Yogurt Popsicles! These creamy delights are simple to make and use just a few ingredients. Perfect for warm days, they are a sweet way to enjoy yogurt. I’ll guide you on choosing flavors, adjusting sweetness, and even storing leftovers. Let’s dive into how to create this refreshing snack that your whole family will love!
Why I Love This Recipe
- Refreshing Treat: These popsicles are the perfect way to cool down on a hot day, offering a creamy texture and delicious flavor.
- Healthy Ingredients: Made with Greek yogurt and coconut milk, these popsicles are not only tasty but also packed with protein and healthy fats.
- Customizable: You can easily tweak the sweetness or add your favorite toppings, making these popsicles a versatile dessert option.
- Simple to Make: With just a few ingredients and minimal prep time, these popsicles are easy enough for anyone to whip up at home.
Ingredients
List of Ingredients
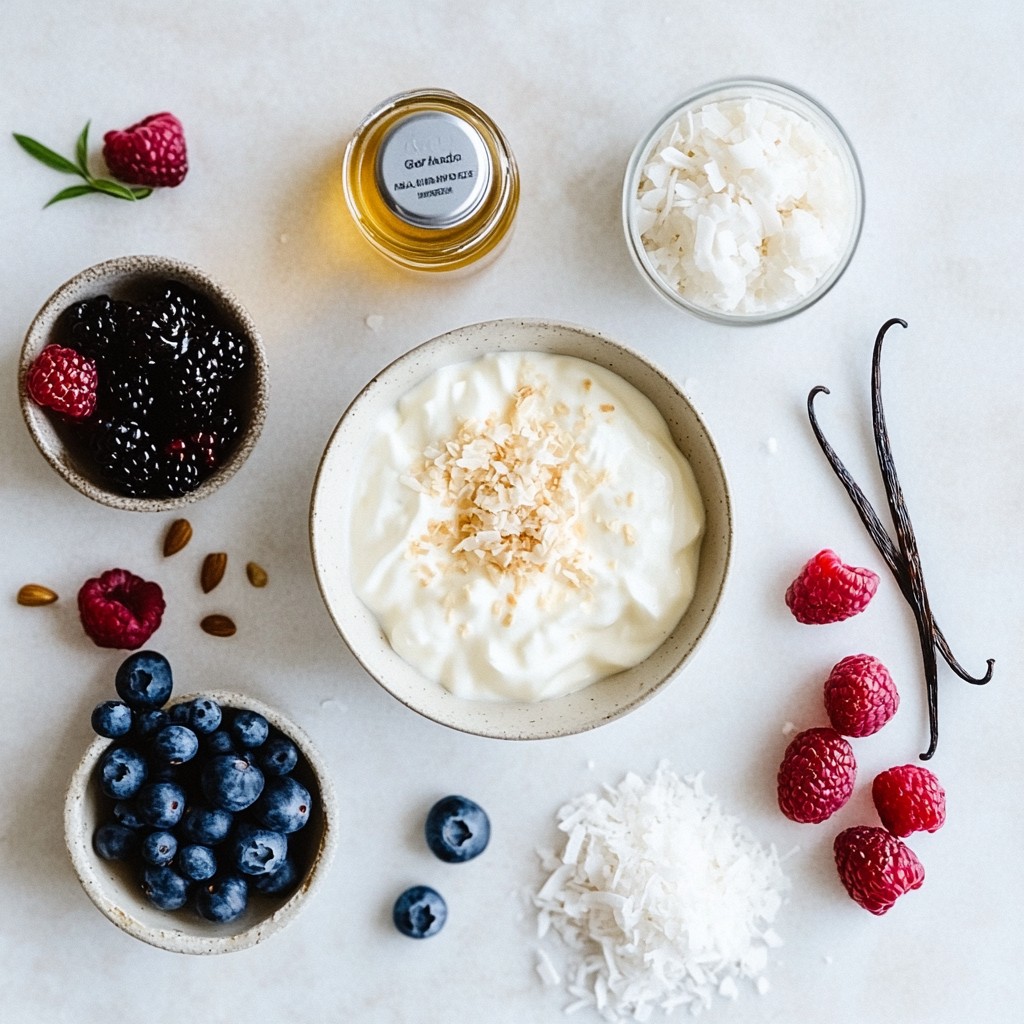
- 2 cups Greek yogurt
- 1 cup coconut milk
- 1/2 cup honey or maple syrup
- 1 vanilla bean (split and seeds scraped out)
- 1 teaspoon pure vanilla extract
- Pinch of sea salt
Optional Toppings
- Shredded coconut
- Chopped nuts
- Fresh berries
Nutritional Information
Each popsicle has about 150 calories. It offers protein, healthy fats, and natural sugars. Greek yogurt provides protein, while coconut milk brings healthy fats. Honey or maple syrup sweetens the mix. Adding toppings can boost fiber and vitamins. Enjoying these popsicles is a fun way to treat yourself!
Step-by-Step Instructions
Preparation of the Yogurt Mixture
To start, gather your ingredients. You need Greek yogurt, coconut milk, honey or maple syrup, and a vanilla bean. Split the vanilla bean and scrape out the seeds. In a mixing bowl, combine all the ingredients. This includes the Greek yogurt, coconut milk, honey or maple syrup, vanilla bean seeds, vanilla extract, and a pinch of sea salt. Whisk everything together until smooth. Taste the mixture. If you want it sweeter, add more honey or maple syrup.
Filling Popsicle Molds
Now it’s time to fill the popsicle molds. Pour the yogurt mixture into the molds, filling them about three-quarters full. Leave space for the popsicles to expand as they freeze. If you like, add toppings like shredded coconut or fresh berries before inserting the sticks. Gently tap the molds on the counter. This helps remove any air bubbles and ensures an even fill.
Freezing and Unmolding
Next, insert the popsicle sticks into the molds. Place them in the freezer for at least four to six hours. This will help them freeze solid. When they are ready, take the molds out of the freezer. To release the popsicles, run warm water over the outside of the molds for a few seconds. Then gently pull the popsicles out. Enjoy your cool and creamy treat!
Tips & Tricks
Adjusting Sweetness Levels
You can easily change the sweetness of your popsicles. Start with 1/2 cup of honey or maple syrup. After mixing, taste the yogurt blend. If it isn’t sweet enough, add more honey or syrup. Mix well after adding. Each person has different tastes, so adjust as you like.
Achieving Creamy Texture
For the best creamy texture, use full-fat Greek yogurt. It gives a rich mouthfeel. Mixing in coconut milk helps too. This blend makes your popsicles smooth and creamy. Whisk the ingredients until there are no lumps. A smooth mix results in better popsicles.
Avoiding Air Bubbles
Air bubbles can ruin the texture of your popsicles. After pouring the mixture into molds, tap them on the counter. This step helps to remove bubbles. Filling the molds only 3/4 full allows space for expansion. This way, your popsicles will freeze evenly.
Pro Tips
- Use High-Quality Ingredients: The flavor of your popsicles will greatly depend on the quality of the yogurt and vanilla bean you use. Opt for organic Greek yogurt and a fresh vanilla bean for the best taste.
- Experiment with Sweetness: Depending on your preference and the tartness of the yogurt, adjust the sweetness to your liking. Taste the mixture before freezing to ensure it’s perfect.
- Layer Your Popsicles: For a fun presentation, layer the yogurt mixture with your optional toppings in the molds. This creates a beautiful striped effect and adds texture.
- Storage Tips: If you have leftover popsicles, wrap them individually in plastic wrap or store them in airtight containers to prevent freezer burn and maintain their flavor.
Variations
Flavor Enhancements (e.g., fruit purees)
To change up the flavor, you can add fruit purees to the yogurt mix. Berries work great. Simply blend your favorite fruit until smooth. Mix the puree into your yogurt base before pouring it into molds. For a fun twist, layer different flavors in your popsicle molds. This gives a beautiful look and taste.
Dairy-Free Alternatives
If you want a dairy-free version, swap Greek yogurt for a plant-based yogurt. Options like almond or coconut yogurt are great. You can still use coconut milk to keep that creamy texture. This way, you enjoy the same delightful popsicle without dairy.
Different Sweeteners
You can use various sweeteners in your popsicles. Honey gives a nice flavor, but maple syrup is sweet and vegan. You could also try agave syrup or stevia. Adjust the amount based on your taste. Always taste the mix first before freezing. You want it just right!
Storage Info
How to Store Popsicles
Store your popsicles in an airtight container. This keeps them fresh and tasty. If you use a popsicle mold, cover it with plastic wrap. This helps prevent ice crystals from forming. Place the container in the freezer for best results.
Shelf Life of Homemade Popsicles
Homemade popsicles can last up to two months in the freezer. After that, they may lose flavor and texture. For the best taste, enjoy your popsicles within four weeks. This way, you will savor their creamy goodness.
Best Practices for Freezing
To freeze your popsicles well, make sure they are fully solid. This usually takes about 4-6 hours. Avoid opening the freezer too often. Each time you do, warm air enters. This can cause your popsicles to melt slightly and refreeze. Enjoy your popsicles on hot days for a refreshing treat!
FAQs
Can I use different flavors of yogurt?
Yes, you can use different flavors of yogurt. Flavored yogurts can add fun tastes. Try strawberry, blueberry, or peach for a twist. Just keep the yogurt's thickness in mind. Greek yogurt gives a creamy texture you might want. If you use regular yogurt, your popsicles may be less thick.
How long do these popsicles take to freeze?
These popsicles take about 4 to 6 hours to freeze. For best results, leave them overnight. This ensures they are fully solid. If you check them too early, they may be soft. Keep in mind that freezer temperatures can vary. Always check the firmness before serving.
What is the best way to serve popsicles?
To serve popsicles, run warm water over the mold for easy removal. This helps loosen them. Hold the stick and gently pull the popsicle out. You can enjoy them right away. If desired, add toppings like berries or nuts for extra flavor. A simple plate or a fun stand works well for serving.
This blog post covered how to make tasty yogurt popsicles. We looked at ingredients, step-by-step instructions, and helpful tips. I shared fun variations and storage advice too. You can switch flavors and sweeteners to fit your taste. With these simple steps, you can create a delicious treat that suits everyone. Enjoy making your own popsicles, and don’t be afraid to experiment with flavors!