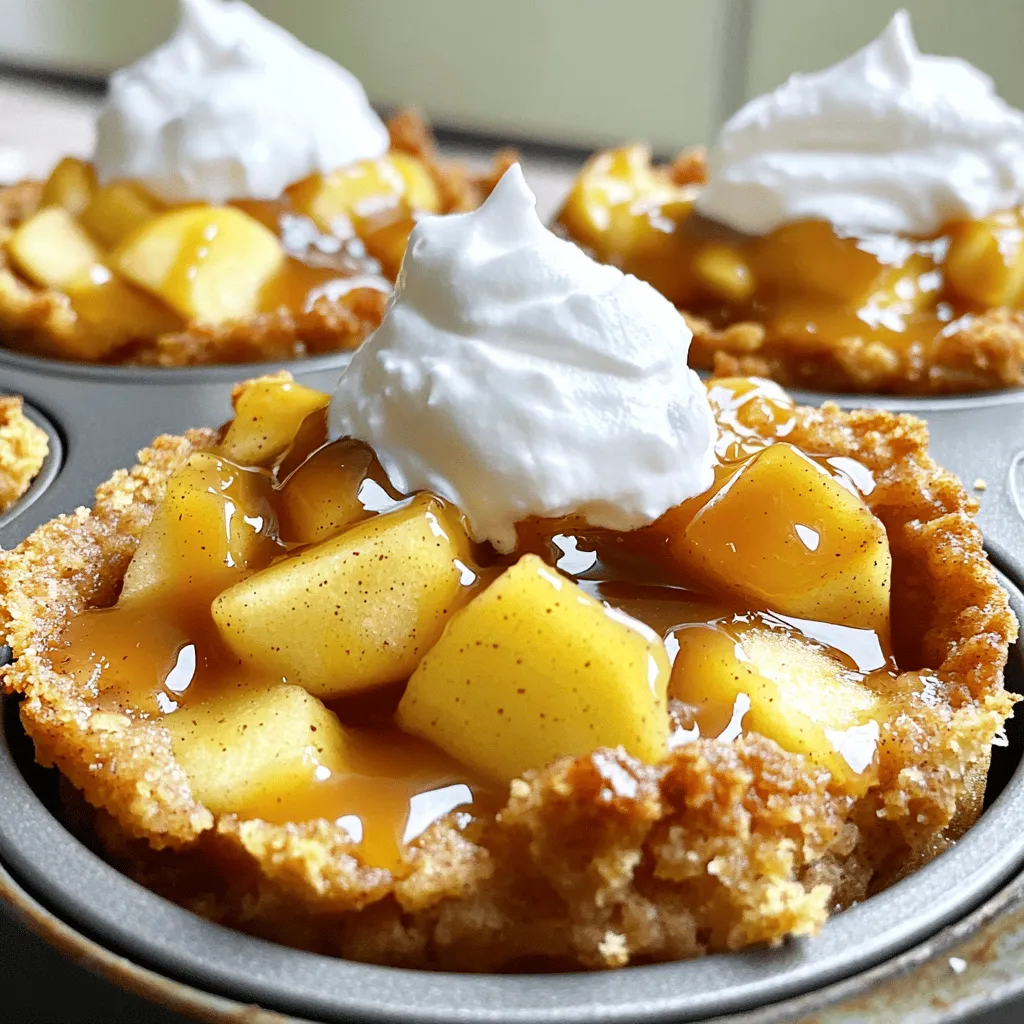
Get ready to indulge in a cozy treat with my Warm Caramel Apple Cinnamon Cobbler Cups! These little desserts are packed with sweet apples, warm spices, and a drizzle of caramel. They’re perfect for any gathering or a comforting night in. In this post, I’ll guide you through each step, share tips for success, and even suggest tasty variations. Let’s dive in and create something delicious together!
Ingredients
Fresh Ingredients Needed
For this recipe, you need fresh apples. I prefer using two large Granny Smith apples. They have a nice tartness that pairs well with sweetness. You will also need one tablespoon of lemon juice. This keeps your apples from browning. Ground cinnamon adds warmth, so grab one teaspoon for that cozy flavor. You’ll also need a quarter cup of brown sugar and half a teaspoon of vanilla extract for sweetening the mix. Lastly, don’t forget one tablespoon of unsalted butter to enhance the taste.
Pantry Staples
Next, let’s cover the pantry staples. You’ll need one cup of all-purpose flour for the base of your cups. Granulated sugar is also a must; you will need half a cup. One tablespoon of baking powder will help your cups rise, and half a teaspoon of salt balances all the flavors. Milk is key too; get one cup of it to make the batter nice and moist.
Optional Toppings
For optional toppings, consider drizzling warm caramel sauce over your cobbler cups. You can use store-bought or homemade. If you want to add a creamy touch, whipped cream is a lovely choice. It pairs well with the warm flavors of the cobbler. Feel free to get creative and add your favorite toppings!
Step-by-Step Instructions
Preparing the Apples
First, grab your two large apples. I like using Granny Smith for their tartness. Peel and core them, then dice into small pieces. Place them in a bowl and add one tablespoon of lemon juice. This keeps the apples fresh. Next, sprinkle one teaspoon of ground cinnamon and a quarter cup of brown sugar over the apples. Add half a teaspoon of vanilla extract for extra flavor. Toss everything together gently. Let the mixture sit while you prepare the batter. This step helps the apples soak up all the yummy flavors.
Mixing the Batter
In a separate bowl, combine one cup of all-purpose flour, half a cup of granulated sugar, one tablespoon of baking powder, and half a teaspoon of salt. Mix these dry ingredients well. Now, pour in one cup of milk and add one tablespoon of melted unsalted butter. Stir gently until everything is just combined. Be careful not to overmix; we want a nice, soft batter.
Assembling the Cups
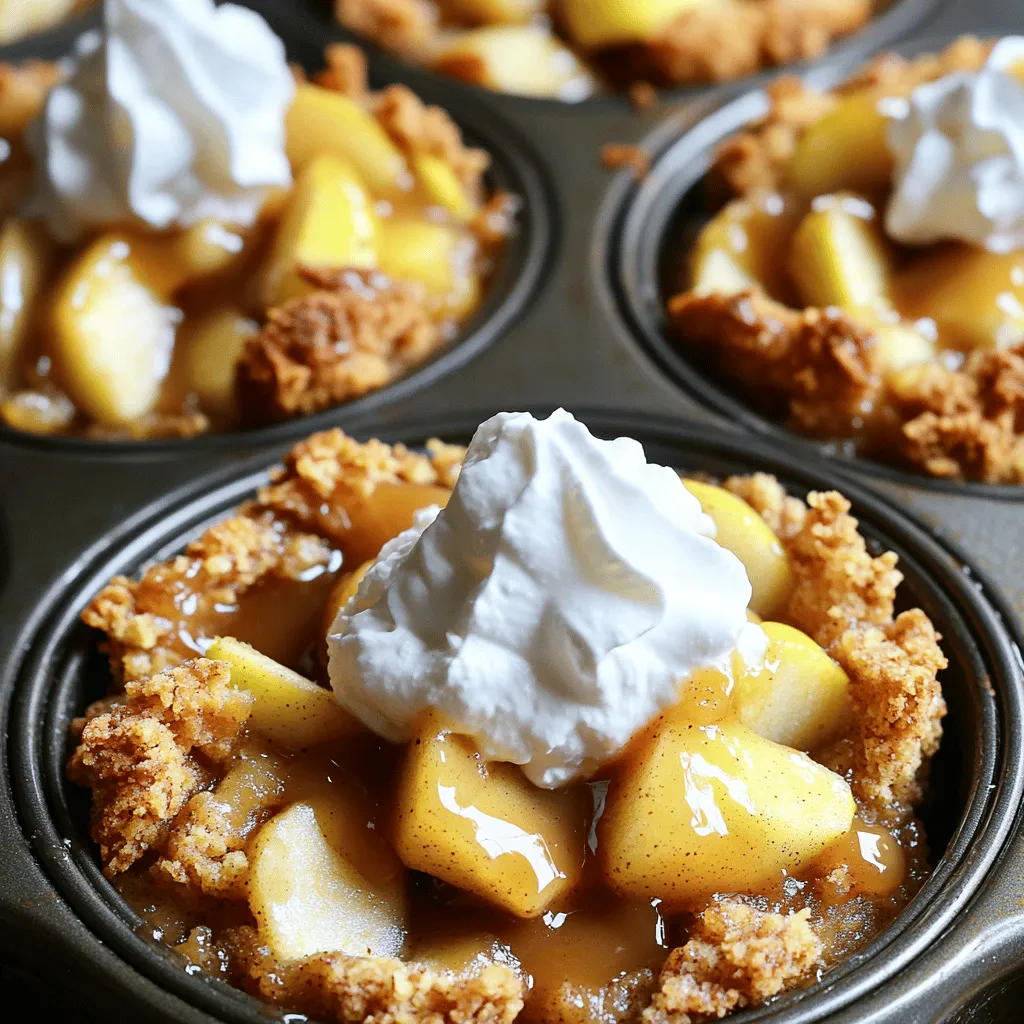
Take your greased muffin tin and start layering. Spoon about one tablespoon of batter into the bottom of each muffin cup. This forms a base. Next, add a generous spoonful of your cinnamon apple mixture on top of the batter. Make sure to spread it evenly. Finally, divide the remaining batter over the apple mixture, covering the apples completely. This will help keep them moist while baking.
Baking Instructions
Now, it’s time to bake! Place the muffin tin in your preheated oven at 350°F (175°C). Bake for 20 to 25 minutes. You know they are done when the tops are golden brown. Insert a toothpick into the center; it should come out clean. Once baked, let the cups cool in the tin for about five minutes. Carefully remove them and place them on a wire rack. Drizzle warm caramel sauce over each cobbler cup before serving. If you want to treat yourself, top with whipped cream!
Tips & Tricks
Serving Suggestions
These warm caramel apple cinnamon cobbler cups shine at any gathering. Serve them fresh out of the oven for a cozy dessert. A drizzle of caramel sauce adds extra flavor. Top with whipped cream for a creamy finish. Pair them with vanilla ice cream for a delightful contrast. You can even serve them at breakfast with a hot cup of coffee or tea.
How to Make the Cobbler Cups Even Better
To enhance the flavor, try using a mix of apples. Honeycrisp and Fuji add sweetness. For a crunch, fold in chopped nuts like walnuts or pecans into the apple mix. A dash of nutmeg can add warmth. If you like a spicy kick, consider adding a pinch of ground ginger. These small tweaks can make a big difference in taste.
Common Mistakes to Avoid
One common mistake is overmixing the batter. This can make the cups tough and chewy. Mix until just combined for a light texture. Also, don’t skip greasing the muffin tin. This helps the cups release easily after baking. Ensure your apples are diced evenly for consistent cooking. Lastly, watch the baking time closely to avoid overbaking.
Variations
Substituting Different Fruits
You can swap out apples for other fruits in this recipe. Pears work well too. They add a sweet, juicy bite. You can use berries for a tart twist. Blueberries and raspberries add great color and flavor. Peaches are also a good choice. They give a nice, soft texture. Just make sure to adjust the sugar if the fruit is very sweet.
Gluten-Free and Dairy-Free Options
To make this recipe gluten-free, use a gluten-free flour blend. Most blends work well in baking. For dairy-free options, substitute milk with almond or oat milk. Use coconut oil instead of butter for a dairy-free fat. This keeps the flavor rich and delicious. Your cobbler cups will still turn out great!
Flavor Additions (Nuts, Spices)
You can add nuts for extra crunch. Chopped walnuts or pecans really enhance the taste. If you like spices, try adding nutmeg or ginger. They bring warmth to the flavor profile. A pinch of sea salt can also boost sweetness. Try mixing in some vanilla or almond extract for more depth. Each addition gives a unique twist to your cobbler cups.
Storage Info
How to Store Leftovers
To keep your leftover cobbler cups fresh, let them cool completely. Place them in an airtight container. You can store them in the fridge for up to three days. This helps keep the flavors nice without losing their taste.
Reheating Instructions
When you’re ready to enjoy your cobbler cups again, preheat your oven to 350°F (175°C). Place the cups on a baking sheet. Cover them with foil to avoid over-browning. Heat for about 10-15 minutes. If you prefer the microwave, heat them for 30 seconds to 1 minute. Check if they’re warm enough before serving.
Freezing for Later Use
If you want to save some for later, freezing works well. Wrap each cobbler cup in plastic wrap. Then, place them in a freezer-safe bag. They will stay good for about two months. When you want to eat them, thaw overnight in the fridge. Then, reheat as mentioned above. Enjoying these treats later is just as good as fresh!
FAQs
Can I use other apple varieties for this recipe?
Yes, you can use other apples! While Granny Smith apples work well, feel free to try Fuji, Honeycrisp, or Braeburn apples. These varieties add their unique flavor and sweetness. Each type will give the cobbler cups a different taste. Just keep in mind the tartness and sweetness of the apples you choose.
How do I make homemade caramel sauce?
Making homemade caramel sauce is easy. You need sugar, butter, and cream. Start by melting one cup of sugar over medium heat in a saucepan. Stir until it turns golden brown. Then, add 6 tablespoons of butter and mix until melted. Next, pour in half a cup of heavy cream, stirring well. Let it cool before using. This sauce adds a rich flavor to your cobbler cups!
What’s the best way to serve these cobbler cups?
Serve the cobbler cups warm. Drizzle them with warm caramel sauce for a treat. You can also add whipped cream on top for extra creaminess. They look great on a dessert table, too. Pair with coffee or tea for a delightful end to any meal.
How can I adjust the sweetness of the cups?
To adjust sweetness, you can change the sugar amounts. Use less brown sugar if you want them less sweet. If you prefer sweeter cups, add more sugar or caramel sauce. Remember, the apples also add natural sweetness. Always taste the apple mix before baking to find your perfect balance!
This blog post covered the ingredients, steps, and tips for making delicious apple cobbler cups. You learned about fresh ingredients, pantry staples, and toppings. I shared key steps like preparing apples and baking instructions. You got useful tips and tricks, plus creative variations for different diets.
Remember, experimenting can lead to new favorites. Enjoy baking and sharing these tasty cups!


