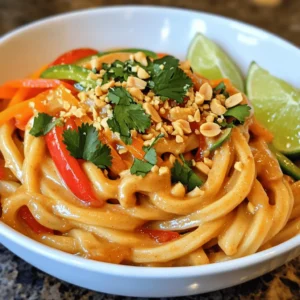
Chili Garlic Peanut Udon Noodles Quick and Tasty Meal
Looking for a quick and tasty meal that packs a punch? Chili Garlic Peanut Udon Noodles are your answer. With a handful of simple ingredients, you can whip up a flavorful dish in no time. This recipe combines creamy peanut butter and spicy chili paste for a kick that will tantalize your taste buds. Join me as we explore this easy, satisfying noodle dish that everyone will love!
Ingredients
Main Ingredients
– 200g udon noodles
– 3 tablespoons peanut butter
– 2 tablespoons soy sauce
– 1 tablespoon chili paste
– 2 cloves garlic, minced
Additional Ingredients
– 1 tablespoon sesame oil
– 1 teaspoon grated ginger
– 2 green onions, chopped
– 1 bell pepper, thinly sliced
– 1 carrot, julienned
Garnishing Ingredients
– 1/4 cup roasted peanuts, crushed
– Fresh cilantro
– Lime wedges
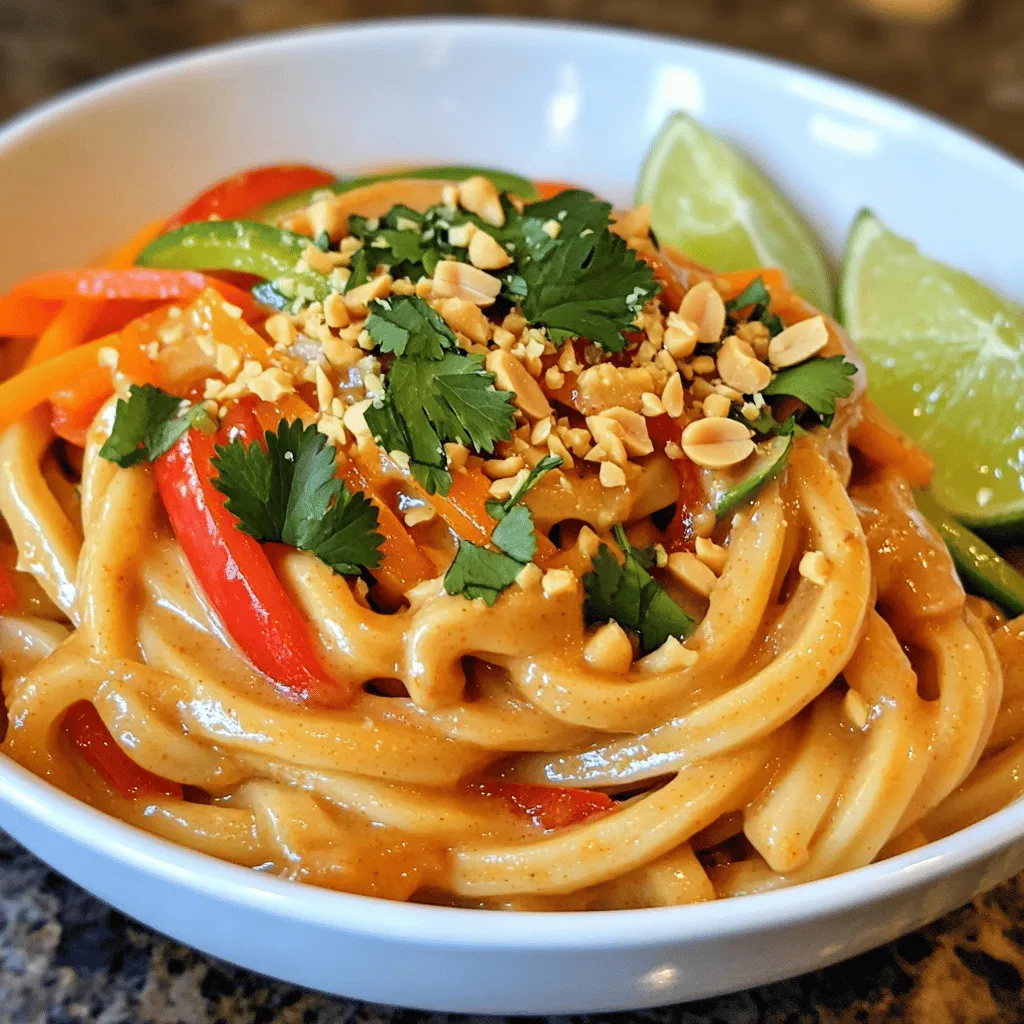
When I make Chili Garlic Peanut Udon Noodles, I love how simple the ingredients are. Udon noodles are thick and chewy, giving a perfect base. Peanut butter adds a rich, creamy touch. Soy sauce brings a salty kick, while chili paste gives it heat. Minced garlic adds a lovely aroma.
I also use sesame oil for a nutty flavor and grated ginger for some zing. Fresh vegetables like bell pepper and carrot add color and crunch. The green onions give a fresh finish.
For garnishing, crushed roasted peanuts add a nice crunch. Fresh cilantro offers a bright pop, and lime wedges let you add a tangy twist. This dish is not only tasty but also fun to make!
Step-by-Step Instructions
Cooking the Noodles
To make the chili garlic peanut udon noodles, start by bringing a large pot of salted water to a boil. Once it’s bubbling, add 200g of udon noodles. Cook them for about 8 to 10 minutes, based on the package instructions. After cooking, drain the noodles and rinse them under cold water. This stops the cooking and keeps them from sticking.
Preparing the Sauce
Next, you’ll whip up a tasty sauce. In a small bowl, whisk together 3 tablespoons of peanut butter, 2 tablespoons of soy sauce, 1 tablespoon of chili paste, 2 cloves of minced garlic, 1 tablespoon of sesame oil, and 1 teaspoon of grated ginger. Keep whisking until the sauce is smooth. If it feels too thick, add a tablespoon of warm water to thin it out.
Sautéing the Vegetables
Now, grab a large skillet or wok. Heat a splash of oil over medium-high heat. Add 1 thinly sliced bell pepper and 1 julienned carrot. Stir-fry these for about 3 to 4 minutes. You want them to be just tender but still crisp.
Combining Ingredients
Once your veggies are ready, it’s time to mix everything. Add the cooked udon noodles to the skillet with the sautéed vegetables. Pour the sauce over the noodles. Toss everything together well. Make sure the noodles and vegetables get coated evenly in sauce. Stir-fry for an additional 2 to 3 minutes until everything is heated through.
Finishing Touches
Take the skillet off the heat. Stir in 2 chopped green onions and 1/4 cup of crushed roasted peanuts. Save a bit of peanuts for later. Toss the mixture gently to combine all the flavors.
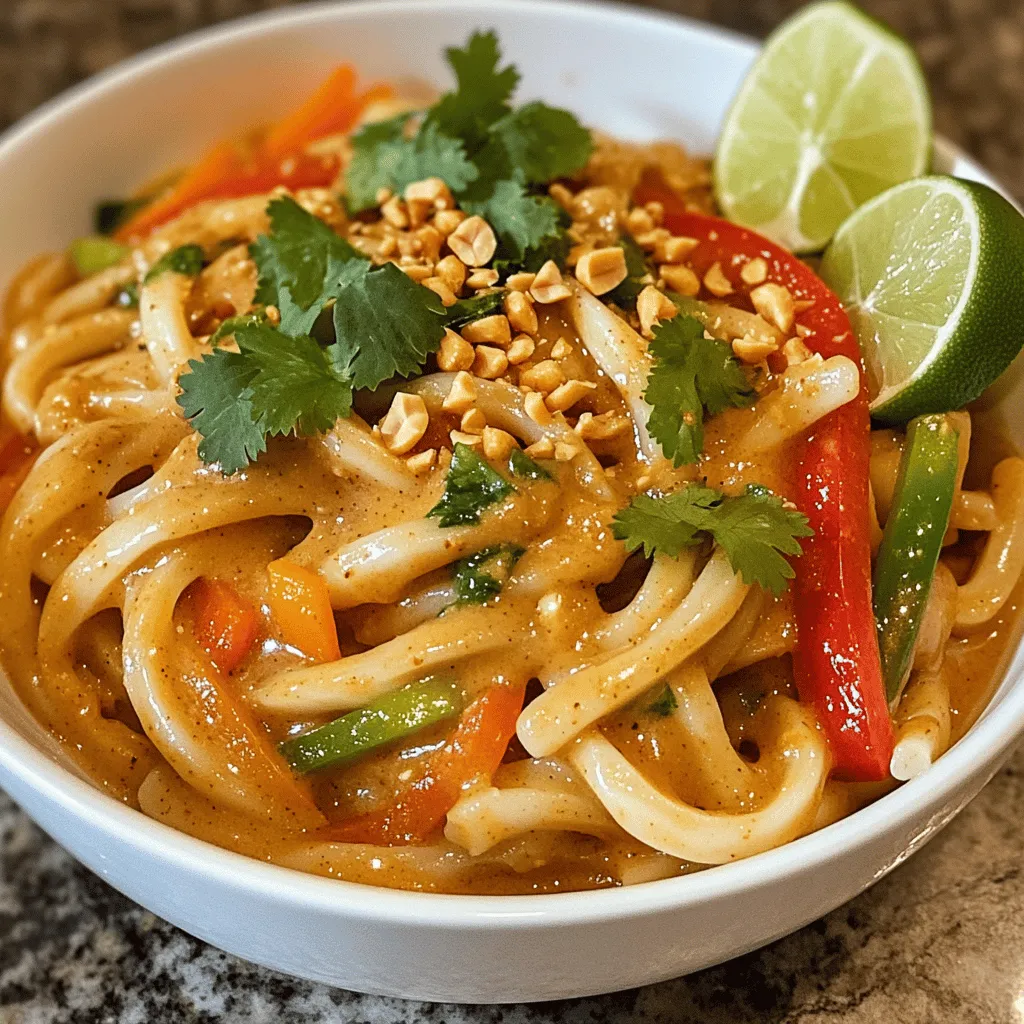
Serving the Dish
Now comes the fun part—serving! Plate the noodles in bowls. Garnish each serving with fresh cilantro and a sprinkle of the reserved crushed peanuts. Add lime wedges on the side for a zesty finish. Enjoy your meal!
Tips & Tricks
Perfecting the Sauce
To make the sauce just right, you can adjust the spice level. If you like more heat, add extra chili paste. For a milder taste, use less. You can also swap peanut butter for other nut butters, like almond or cashew. These will change the flavor but still taste great.
Cooking Udon Noodles
To avoid overcooking, watch the timer carefully. Udon noodles usually cook for about 8-10 minutes. Rinse the noodles in cold water after draining. This stops cooking and keeps them firm. Cooling them makes sure they don’t stick together later.
Storage Tips
For leftovers, store the noodles in an airtight container. This keeps them fresh. You can keep them in the fridge for up to three days. When reheating, use a splash of water or broth. This helps bring back moisture and flavor. Heat gently on the stove for best results.
Variations
Vegetarian Variations
You can easily make this dish vegetarian.
– Adding tofu: Firm tofu works great. Cut it into cubes and pan-fry until golden. Add it to the noodles for protein and texture.
– Using more vegetables: Add your favorite veggies. Broccoli, snap peas, or bok choy all taste great. More colors on your plate mean more nutrients!
Protein Add-Ins
If you want extra protein, here are some tasty options.
– Chicken or beef options: Slice cooked chicken or beef and toss it in. These meats soak up the sauce well and add heartiness.
– Shrimp variation: Shrimp is another great choice. Cook them quickly in the skillet. They add a nice touch of sweetness.
Gluten-Free Adaptation
Need a gluten-free version? No problem!
– Alternative noodles to use: Try rice noodles or zucchini noodles. They both work well and keep the dish light.
– Adjusting soy sauce: Use tamari instead of soy sauce. It’s gluten-free and still brings that savory flavor.
Nutritional Information
Calories and Macronutrients
This dish is hearty and satisfying. Each serving has about 600 calories. Here’s the breakdown per serving:
– Protein: 20g
– Carbohydrates: 70g
– Fat: 25g
These values can change based on your ingredients and portion sizes.
Health Benefits
Chili garlic peanut udon noodles offer many health perks. Udon noodles are made from wheat and are a good source of carbs. They provide energy for your daily activities. The peanut butter adds healthy fats and protein. Garlic is great for your immune system. Bell peppers and carrots add vitamins A and C, which help keep your skin healthy.
Dietary Considerations
If you have allergies, this dish has peanuts, soy, and wheat. You should avoid it if you’re allergic to any of these. For a vegan option, use a plant-based peanut butter and soy sauce. This dish can easily fit into a vegan diet with simple swaps.
FAQs
What are udon noodles?
Udon noodles are thick and chewy Japanese noodles made from wheat flour. They have a smooth texture that pairs well with many sauces. Udon comes from Japan, where it has a long history. You can find them in many dishes, from soups to stir-fries. These noodles soak up flavors well, making them perfect for this recipe.
Can I use another type of noodle?
Yes, you can use other noodles if you like. Here are some good substitutes:
– Soba noodles
– Rice noodles
– Spaghetti
– Egg noodles
Each option brings its own taste and texture. Adjust the cooking time as needed for different noodles.
How spicy is this dish?
This dish can be as spicy as you want! The chili paste gives it heat, but you can adjust it. If you prefer less spice, use less chili paste. You could also add some sugar or honey to balance the heat. For more spice, add extra chili paste or some chili flakes.
Can it be made ahead of time?
Yes, you can prepare this meal ahead of time. For meal prep:
– Cook the noodles and store them in the fridge.
– Make the sauce and keep it in a separate container.
– Chop the veggies and store them too.
When you’re ready to eat, just combine everything and reheat. Enjoy your quick and tasty meal!
This recipe covers key ingredients, step-by-step instructions, and useful tips for making udon noodles at home. You learned how to cook the noodles, prepare a tasty sauce, and sauté fresh veggies. Remember, you can make this dish your own by adding proteins or more vegetables. The nutritional facts highlight its health benefits, making it a great meal choice. Enjoy experimenting with flavors and variations for a dish that suits you perfectly!