Skip to content
About
Contact
Cookie Policy
Copyright Policy
Disclaimer
Search
Home
Dinner
Appetizer
Desserts
Drinks
About
Contact
Privacy Policy
Toggle Menu
Home
/
Dinner
Dinner
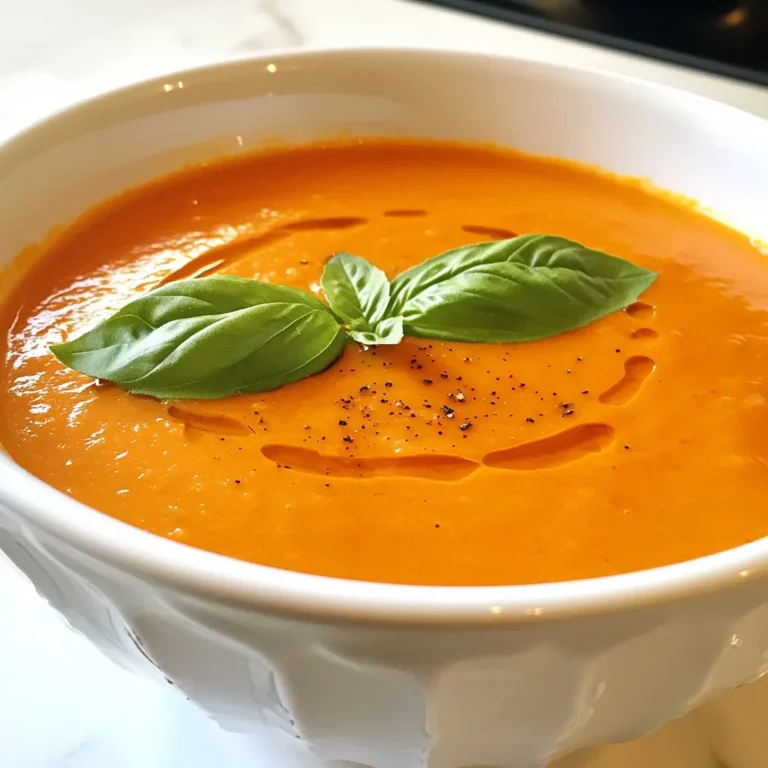
Creamy Roasted Red Pepper Soup Flavorful and Simple
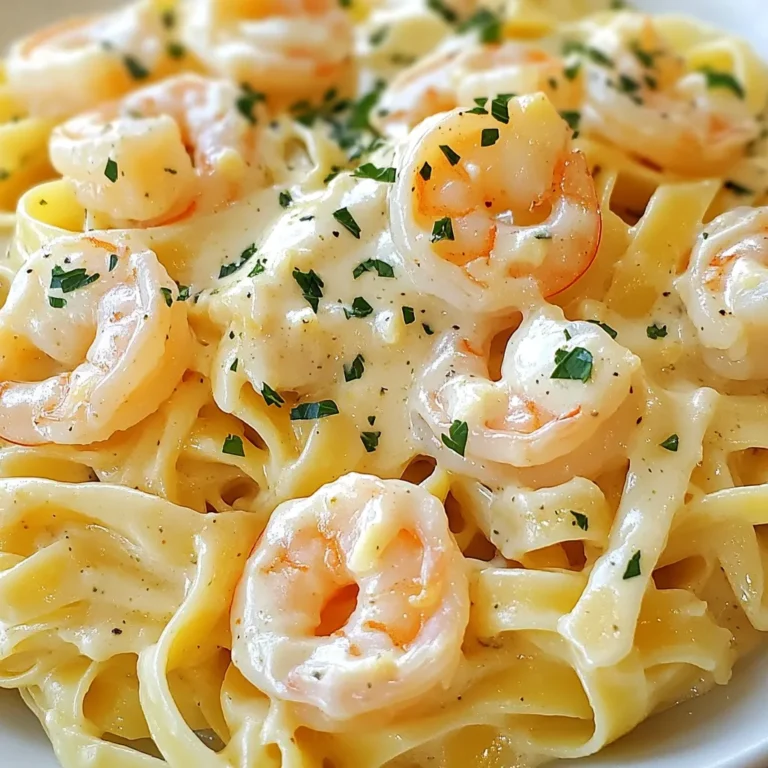
Creamy Garlic Shrimp Alfredo Simple and Tasty Recipe
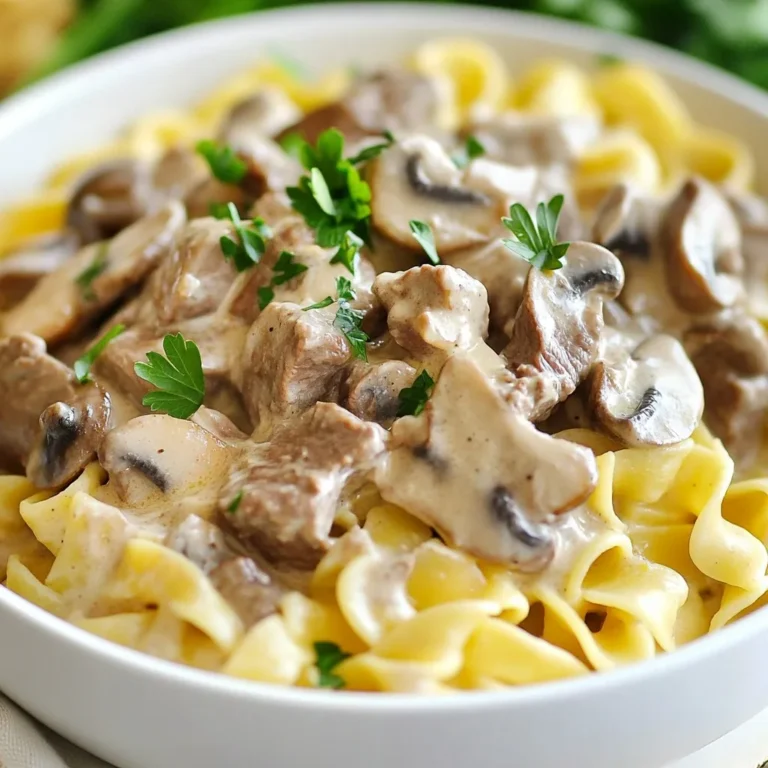
One-Pot Creamy Beef Stroganoff Easy Comfort Food Dish
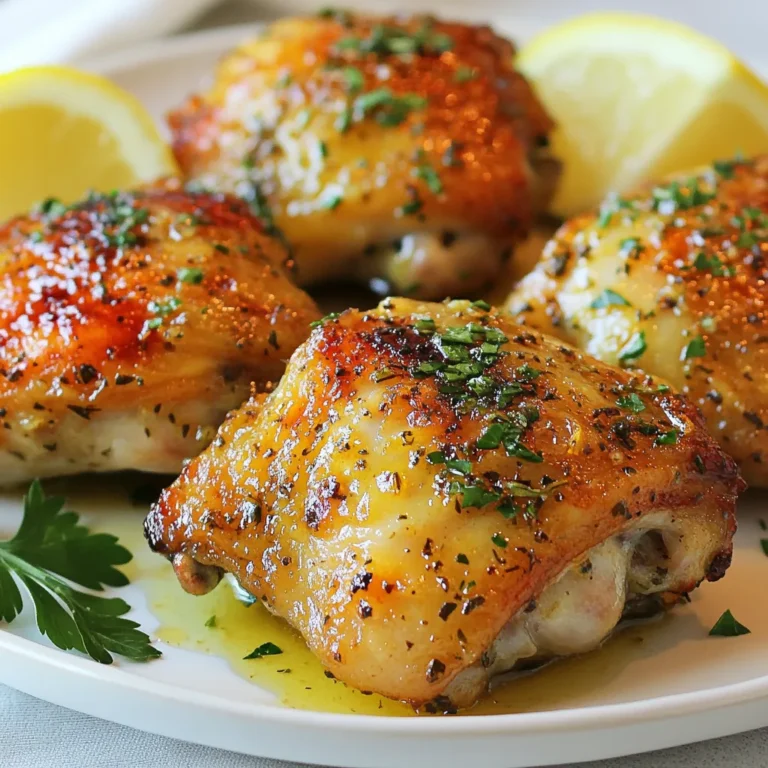
Garlic Herb Butter Chicken Thighs Savory Dinner Delight
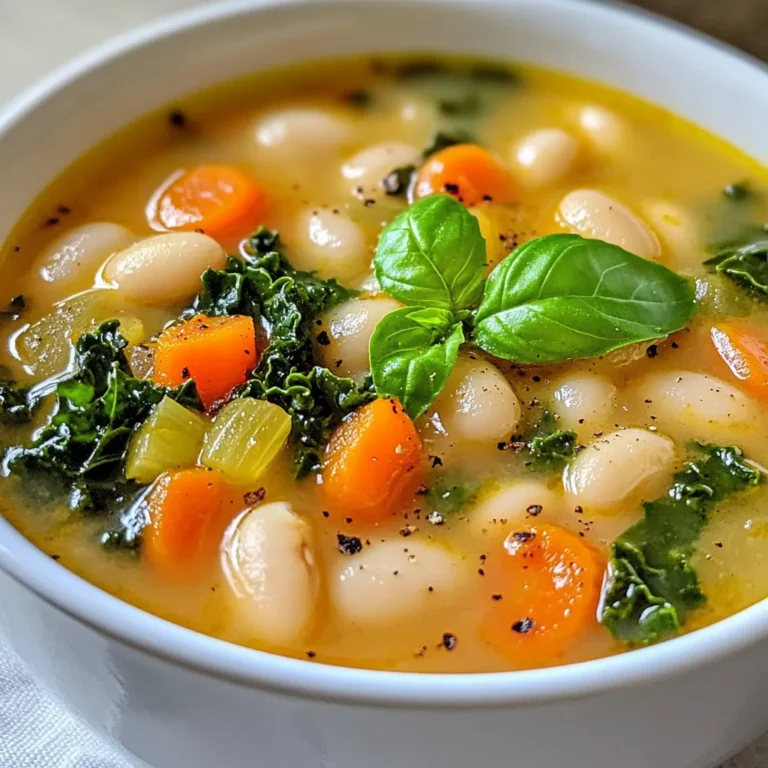
Tuscan White Bean Soup Simple and Flavorful Dish
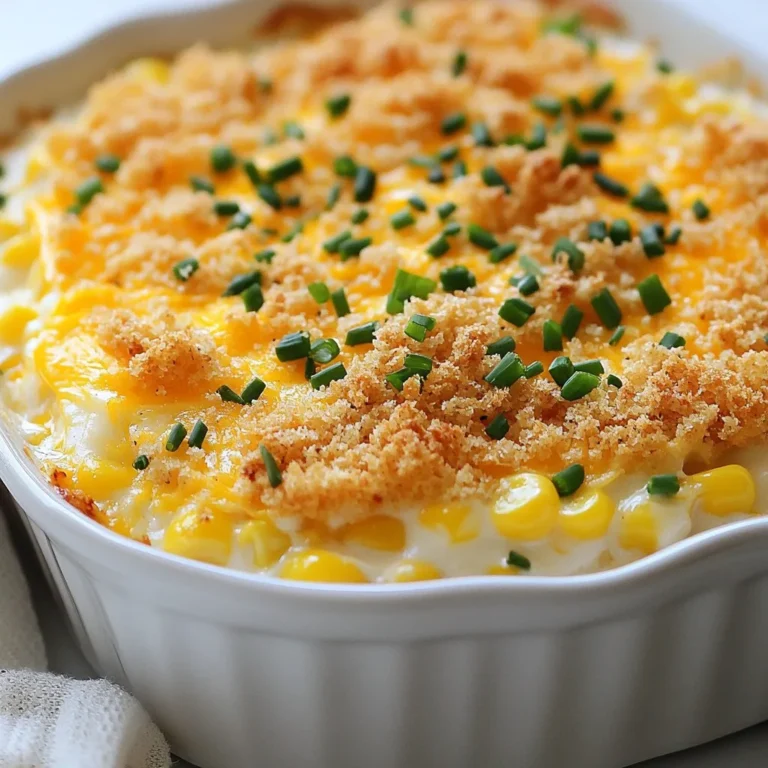
Creamed Corn Casserole Simple and Tasty Dish
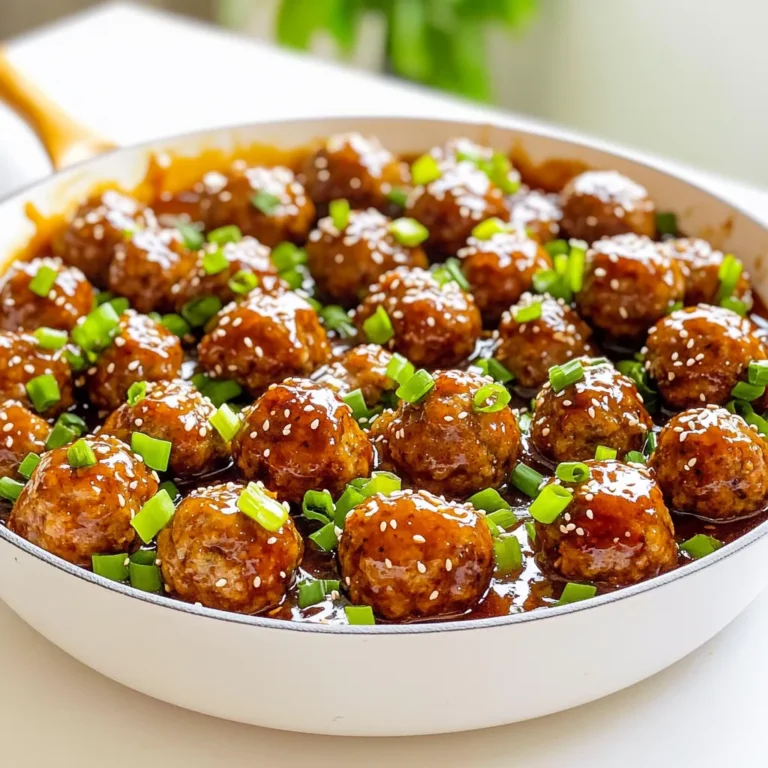
Honey Garlic Meatball Skillet Simple and Tasty Dish
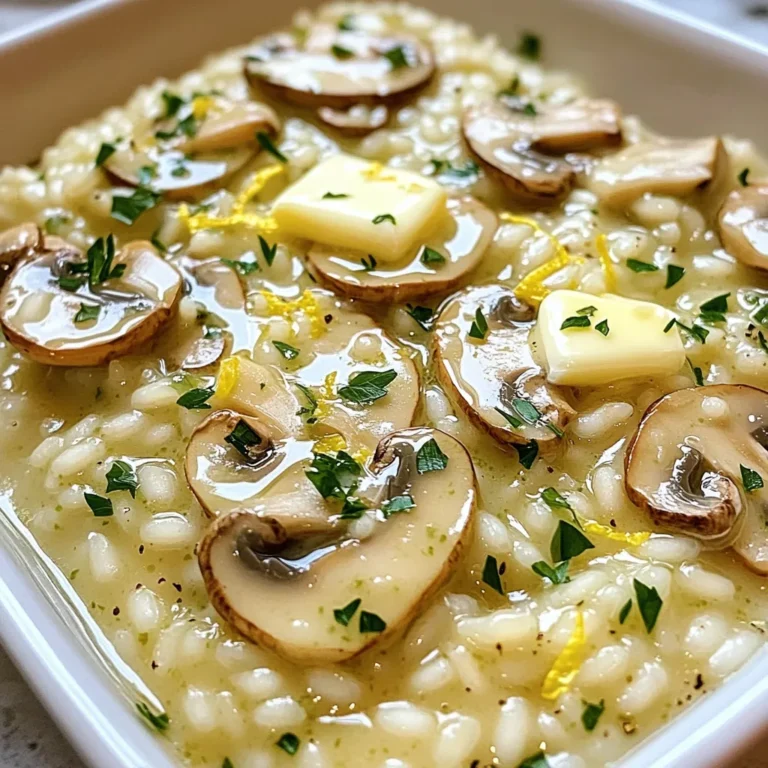
Garlic Butter Mushroom Risotto Creamy and Flavorful Dish
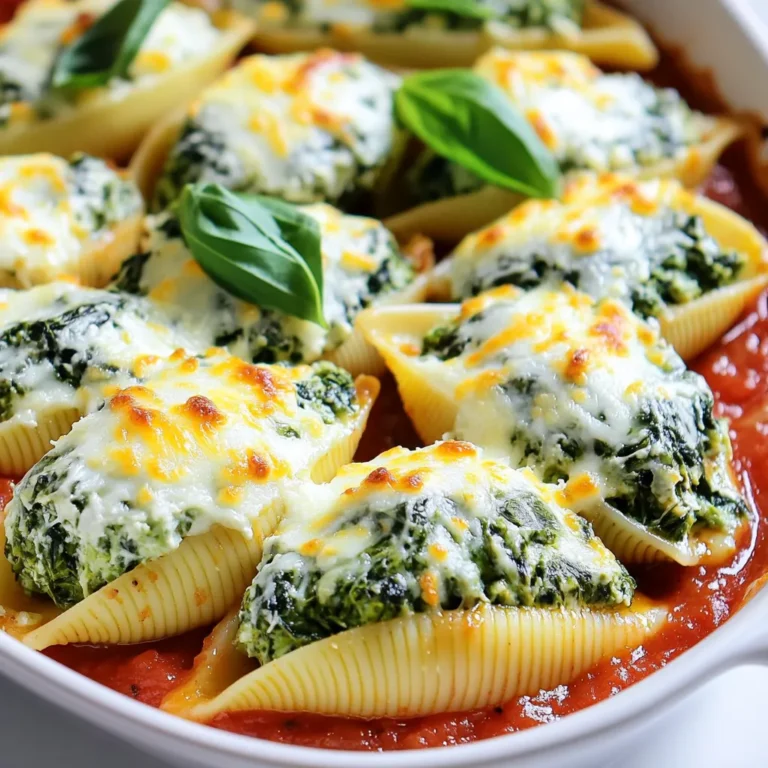
Cheesy Spinach Stuffed Shells Flavorful Family Dinner
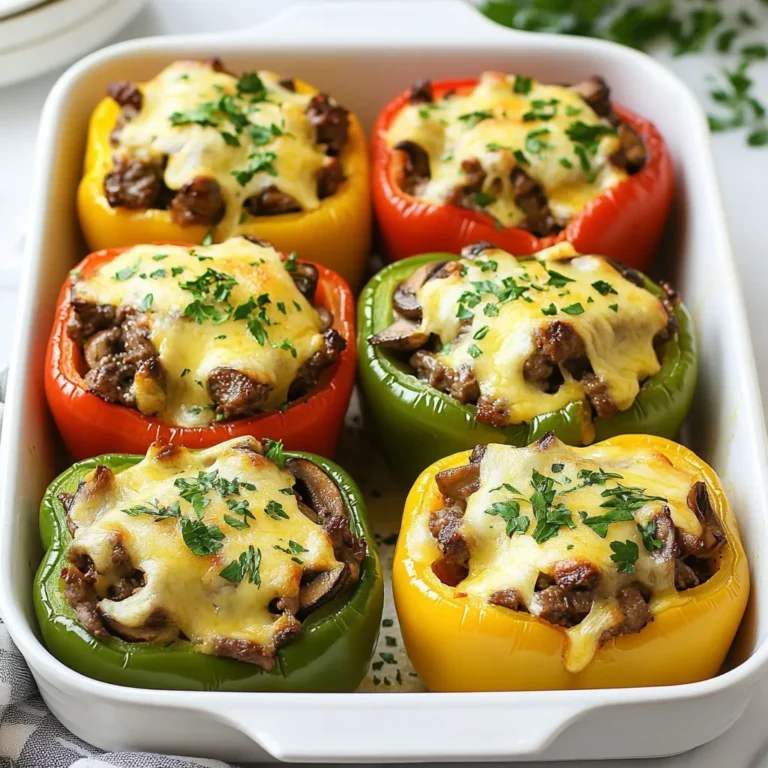
Philly Cheesesteak Stuffed Peppers Flavorful Dinner Idea
Page navigation
1
2
3
…
57
Next Page
Next
Home
Dinner
Appetizer
Desserts
Drinks
About
Contact
Privacy Policy
Toggle Menu Close
Search for:
Search