
No Bake Chocolate Peanut Butter Protein Cups Delight
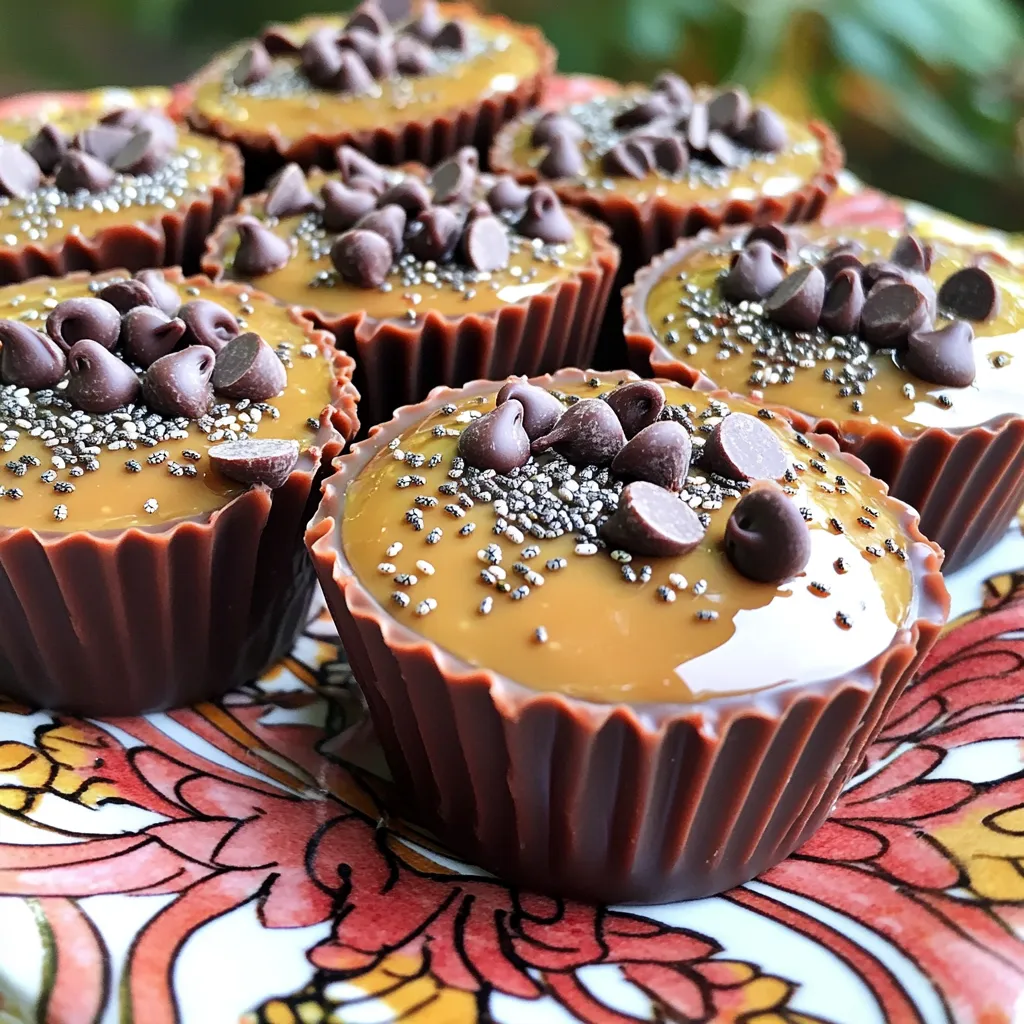
Craving a sweet treat packed with protein? You’ll love these No Bake Chocolate Peanut Butter Protein Cups! They’re simple to make, healthy, and perfect for a quick snack. I’ll show you how to whip them up using tasty ingredients like natural peanut butter, rolled oats, and dark chocolate chips. Let’s dive in and satisfy that sweet tooth while fueling your day!
Ingredients
To make the No Bake Chocolate Peanut Butter Protein Cups, you need these simple ingredients:
– 1 cup natural peanut butter
– 1 cup rolled oats
– 1/2 cup protein powder (chocolate or vanilla flavor)
– 1/4 cup honey or maple syrup
– 1/4 cup dark chocolate chips
– 1/4 cup chia seeds
– 1 teaspoon vanilla extract
– Pinch of salt
These ingredients create a tasty and healthy snack. Natural peanut butter gives a rich flavor. Rolled oats add texture and fiber. Protein powder boosts the protein content. Honey or maple syrup sweetens the mix. Dark chocolate chips add a touch of indulgence. Chia seeds provide healthy fats and crunch. Vanilla extract enhances the overall taste. A pinch of salt balances the sweetness and deepens the flavor.
Ensure you use high-quality ingredients for the best taste. Each ingredient plays a key role in making these protein cups both delicious and nutritious. You can mix and match flavors too!
Step-by-Step Instructions
Preparation Steps
Mixing Wet Ingredients
Start by taking a medium bowl. Add 1 cup of natural peanut butter. Pour in 1/4 cup of honey or maple syrup. Add 1 teaspoon of vanilla extract. Mix these wet ingredients well until they blend together smoothly.
Incorporating Dry Ingredients
Next, add 1 cup of rolled oats, 1/2 cup of protein powder, and 1/4 cup of chia seeds to the bowl. Sprinkle in a pinch of salt for flavor. Stir everything together. Make sure all dry ingredients mix in fully. This step helps create a tasty base for your cups.
Folding in Chocolate Chips
Once the dry ingredients are mixed in, gently fold in 1/4 cup of dark chocolate chips. Use a spatula to keep the chips intact. This ensures each bite has that rich chocolate taste.
Filling the Muffin Tin
Line your muffin tin with cupcake liners. Scoop the mixture into each liner. Fill them about 3/4 full. This allows space for the mixture to set without overflowing.
Compacting the Mixture
After filling the liners, press down firmly on each cup. Compacting the mixture helps it hold its shape. This step is key for a good texture.
Setting in the Refrigerator
Finally, place the muffin tin in the refrigerator. Let the cups set for about 30 minutes. This cooling time helps them firm up nicely. Once they are set, you can easily remove them from the liners. Store any leftovers in an airtight container in the fridge.
Tips & Tricks
Best Practices for Mixing
Achieving the Right Consistency
To get the best texture, mix the wet and dry ingredients well. Start with peanut butter, honey, and vanilla in one bowl. Stir until smooth. Then, add rolled oats, protein powder, chia seeds, and salt. It should be thick but still easy to mix. If it’s too dry, add a little more peanut butter or honey.
Ensuring Even Distribution of Ingredients
When you mix, make sure all parts blend together. This helps each cup taste the same. After mixing the dry ingredients into the wet ones, fold in the dark chocolate chips last. This keeps the chocolate pieces whole and well spread. Take your time to make sure everything is well combined.
Presentation Tips
Garnishing Ideas
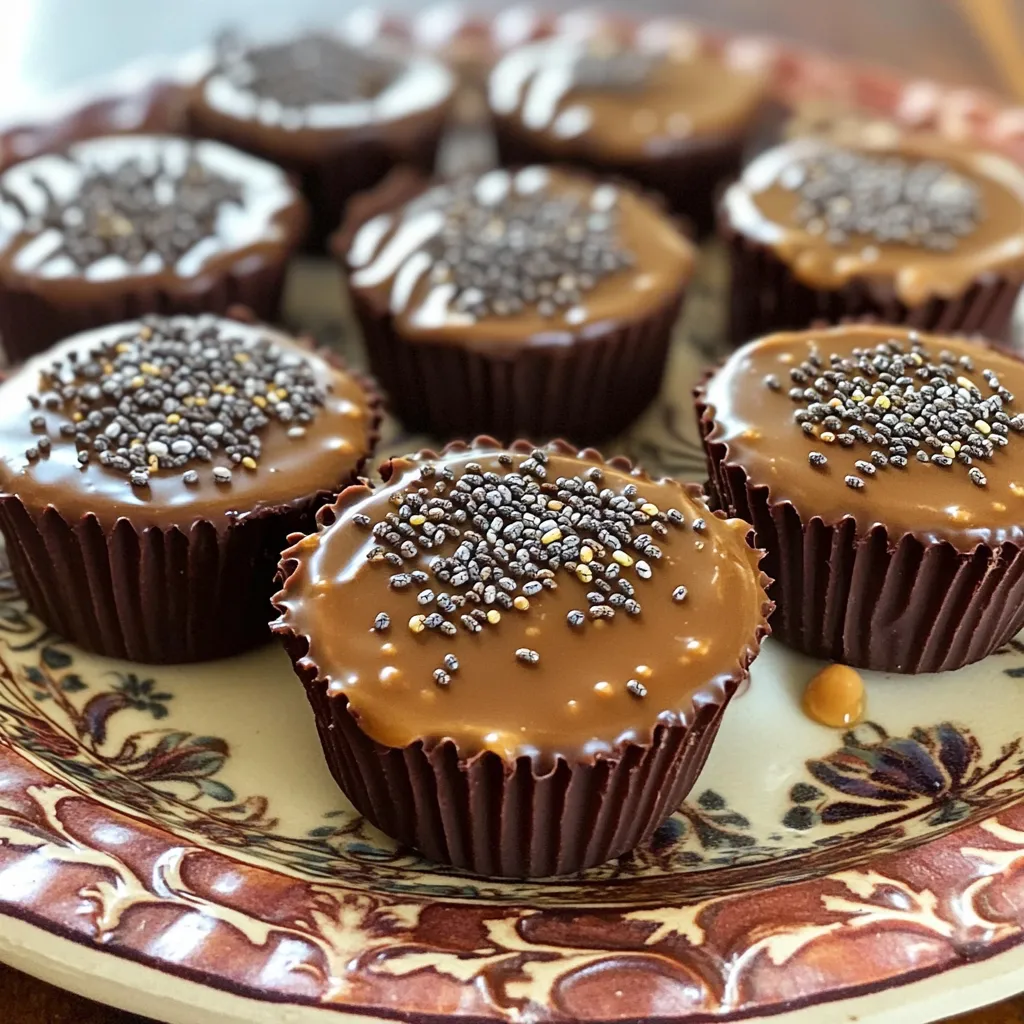
To make your protein cups look special, add a little flair. A sprinkle of chia seeds on top gives a nice crunch. For a richer look, drizzle melted dark chocolate over each cup. You can also add a few whole chocolate chips on top for extra appeal.
Serving Suggestions
Serve your protein cups on a pretty plate. You could pair them with fresh fruit like strawberries or banana slices. This adds color and freshness to the dish. For a fun twist, consider serving them with a side of yogurt for dipping!
Variations
Flavor Variations
You can switch up the flavor of these protein cups easily. First, try using different types of peanut butter. Crunchy peanut butter gives a nice texture. Smooth peanut butter makes a creamier cup. Both options taste great!
Next, consider your sweetener. You can use honey or maple syrup, but agave syrup works too. If you want less sugar, try stevia. This sweetener has no calories and adds good flavor.
Ingredient Substitutions
If you don’t have protein powder, you can use oatmeal or nut flour instead. These options still give you a good texture and taste. They will change the protein level, but the cups will still be yummy.
For a vegan version, use plant-based protein powder. Swap honey for maple syrup or agave syrup. These changes keep the recipe vegan and still delicious.
Storage Info
How to Store
To keep your No Bake Chocolate Peanut Butter Protein Cups fresh, use an airtight container. This helps to lock in flavor and moisture. Make sure the container is clean and dry before adding the cups. Place parchment paper between layers if you stack them. This prevents sticking and makes for easy serving later.
For best results, store them in the fridge. The cool temperature helps them stay firm and tasty. Take them out only when you’re ready to enjoy a treat.
Shelf Life
These protein cups can last about one week in the fridge. After this time, they may lose some freshness. Always check for any change in smell or texture before eating.
If you want to store them longer, consider freezing them. They freeze well for up to three months. To freeze, place the cups in a single layer on a baking sheet. Once frozen, transfer them to an airtight container or freezer bag. This way, you can enjoy them later, just like fresh!
FAQs
Can I use creamy or crunchy peanut butter?
Yes, you can choose either creamy or crunchy peanut butter. I like creamy for a smooth texture. Crunchy adds a nice bite, making it fun. Both options work well in this recipe.
How can I make these protein cups vegan?
To make these cups vegan, switch out the honey for maple syrup. Use a plant-based protein powder too. This way, you keep all the flavor without any animal products.
What can I substitute for honey or maple syrup?
If you need a different sweetener, try agave syrup or brown rice syrup. Both will add sweetness without changing the taste much. You can also use stevia for a low-calorie option.
How many cups does this recipe make?
This recipe makes 12 protein cups. Each cup is a tasty treat packed with protein. Perfect for a quick snack or energy boost.
Are these protein cups gluten-free?
Yes, these protein cups are gluten-free! Use certified gluten-free oats to ensure they fit your diet. This makes them a great option for everyone.
You now have a clear path to making tasty protein cups. We covered all the steps, from choosing quality ingredients to storing your treats. Remember, you can switch ingredients for your taste or needs. This recipe is both simple and flexible, letting you experiment with flavors. Enjoy these delicious cups as a healthy snack or a post-workout boost. With the right mix of ingredients and storage, you’ll keep them fresh and ready to eat. Try making these soon; you won’t regret it!


 for more details. To start, gather your ingredients. You'll need rolled oats, almond milk, apples, maple syrup, and spices. Preheat your oven to 350°F (175°C). Grease a 9x9-inch baking dish with cooking spray. In a large bowl, mix the oats, almond milk, maple syrup, vanilla, baking powder, cinnamon, nutmeg, and salt together. Stir until everything is blended. Now, fold in the diced apples and any nuts or dried fruit you want. Pour this mix into the baking dish. Spread it out evenly. Baking time is key. Bake for 30 to 35 minutes. Look for a golden top. A toothpick should come out clean from the center. If you want a softer texture, add more almond milk. For a firmer bake, use less. This recipe works well with different nuts or fruits, too. Feel free to experiment and find your own perfect texture. Once your bake is out of the oven, let it cool for about 10 minutes. This helps it set up nicely. Cut it into squares. I love to serve it warm with a drizzle of maple syrup and a sprinkle of cinnamon. You can also add yogurt or ice cream for a sweet touch. Try this recipe for a comforting breakfast or snack. For the full details, check the full recipe. To get a creamy texture in your cinnamon apple oatmeal bake, use rolled oats. They soak up the liquid well. Almond milk adds a nice creaminess too. If you want it richer, use full-fat milk. Mixing the wet ingredients first helps everything blend nicely. Stir until everything is combined, but don’t overmix. For even cooking, spread the oatmeal mixture evenly in your baking dish. Make sure your oven is preheated to the right temperature. This helps your bake cook through evenly. Check it a few minutes before the timer goes off. If the top looks golden brown, it’s likely done. A toothpick should come out clean when inserted. You can store any leftovers in an airtight container. Keep them in the fridge for up to five days. To reheat, place a square in the microwave for about 30 seconds. You can add a splash of milk to keep it moist. For a warm treat, you might also bake it for 10 minutes at 350°F. Enjoy your cinnamon apple oatmeal bake any time! For the full recipe, check above. {{image_2}} You can switch up the apples for other fruits. Pears work well and add a sweet touch. You can also use berries, like blueberries or raspberries. These fruits add a nice color and flavor. Feel free to experiment with bananas too. Just slice them and mix them in. Each fruit brings its unique taste, making this dish fun and fresh. If you want a nut-free version, skip the walnuts. You can replace almond milk with oat or soy milk. This keeps the recipe vegan and delicious. You might also add seeds, like sunflower or pumpkin seeds. They add crunch without nuts. Enjoy your creamy bake while keeping it allergy-friendly. Besides cinnamon, you can use other spices. Cardamom adds a floral note that is lovely. Ginger gives a spicy kick that pairs well with apples. You can even add a bit of cocoa powder for a chocolatey twist. Mixing in these flavors can change the whole dish. It allows you to find your perfect blend that excites your taste buds. For the full recipe, check out the details above. Cinnamon Apple Oatmeal Bake is both tasty and healthy. Each serving has about 200 calories. This dish offers a good mix of macronutrients. You get around 6 grams of protein, 4 grams of fat, and 38 grams of carbs. The oats are the main source of carbs, giving you energy for your day. The nuts add healthy fats and protein. Using almond milk helps keep the calories low. The ingredients in this bake are full of health benefits. - Oats: They are great for heart health and digestion. Oats can help lower cholesterol levels. - Apples: They add fiber and vitamins. Eating apples can help keep your heart healthy. - Walnuts: They are high in omega-3 fatty acids. This helps reduce inflammation in the body. - Cinnamon: It may help regulate blood sugar levels. Plus, it gives a warm flavor that brightens the dish. These ingredients make this oatmeal bake a smart choice for breakfast or a snack. This recipe serves about 6 to 8 people. It is easy to adjust the serving sizes. If you want a smaller portion, cut the bake into squares. Each square can be a healthy snack or breakfast. If you have leftovers, store them in an airtight container. Reheat in the microwave for a quick meal. With its balanced nutrients, you can enjoy this dish any time of the day. For the full recipe, check out the details above. Yes, you can make Cinnamon Apple Oatmeal Bake ahead of time. Prepare your mixture and place it in the baking dish. Cover it with plastic wrap and store it in the fridge. You can bake it the next day. This makes for an easy breakfast on busy mornings. To store leftovers, let the bake cool completely. Cut it into squares and place them in an airtight container. You can keep it in the fridge for up to five days. To reheat, simply place a square in the microwave for about 30 to 45 seconds. You can also warm it in the oven at 350°F for around 10 minutes. You can serve this oatmeal bake with a drizzle of maple syrup. A sprinkle of cinnamon adds great flavor, too. For extra creaminess, add a dollop of yogurt on top. A scoop of ice cream makes it a treat! You can also pair it with fresh fruit for a colorful plate. For the complete recipe, check out the Full Recipe. Cinnamon Apple Oatmeal Bake is easy to make and full of flavor. We covered key ingredients, preparation steps, and cooling methods to get it just right. I shared tips for a creamy texture and cooking evenly. Plus, you learned fun variations and storage advice. Embrace your creativity in the kitchen. This dish is versatile and healthy, making it a great choice for any meal. Enjoy exploring different flavors and combinations. Happy baking!](https://dailydishly.com/wp-content/uploads/2025/06/ad0fc4db-106a-47e6-9ea2-42d3ddbbc125-768x768.webp)

