Skip to content
About
Contact
Cookie Policy
Copyright Policy
Disclaimer
Search
Home
Dinner
Appetizer
Desserts
Drinks
About
Contact
Privacy Policy
Toggle Menu
Home
/
Dinner
- Page 11
Dinner
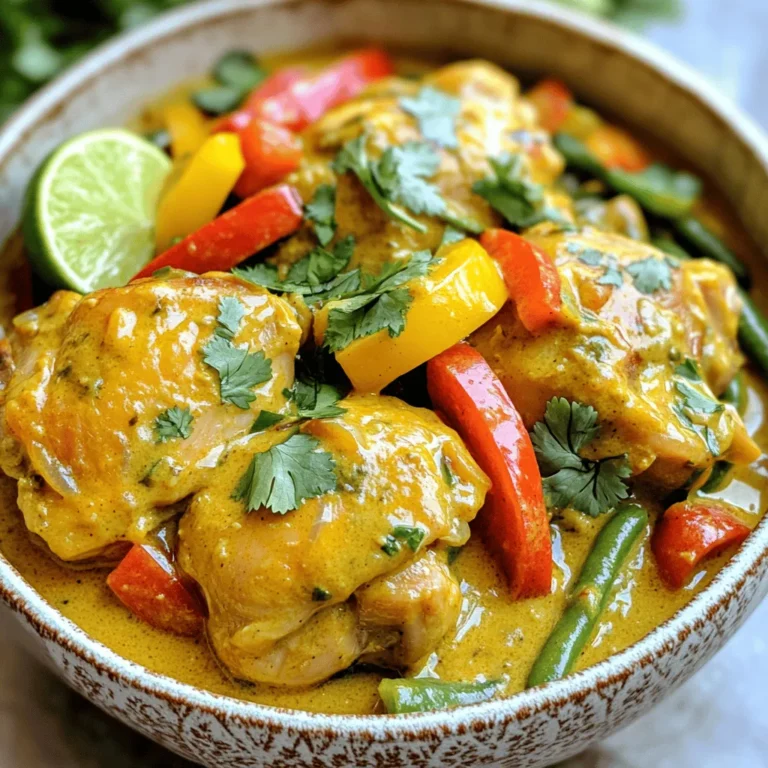
Slow Cooker Coconut Curry Chicken Flavorful and Easy
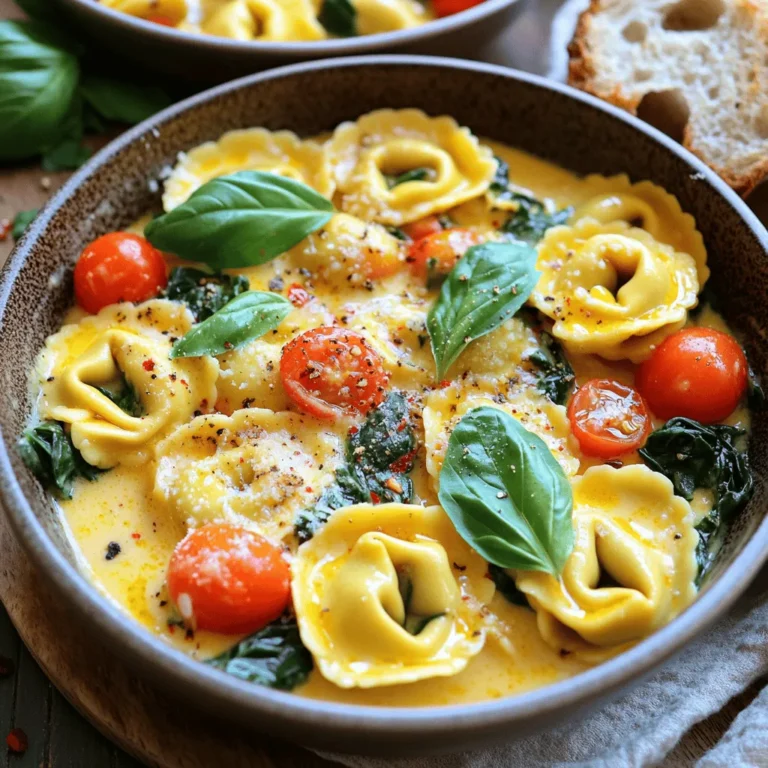
Tuscan Tortellini Skillet Simple and Satisfying Meal
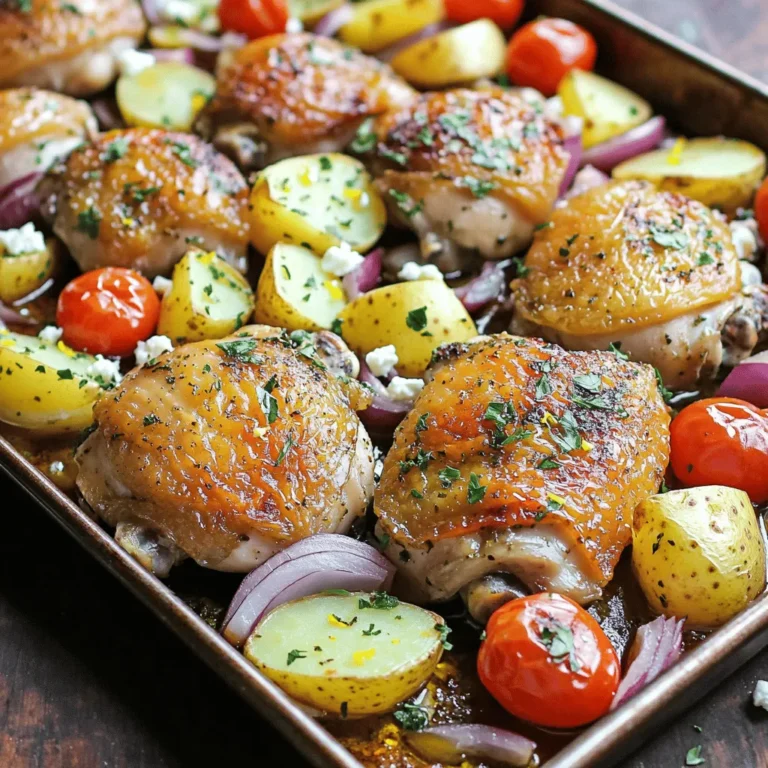
Sheet Pan Greek Chicken & Potatoes Flavorful Meal
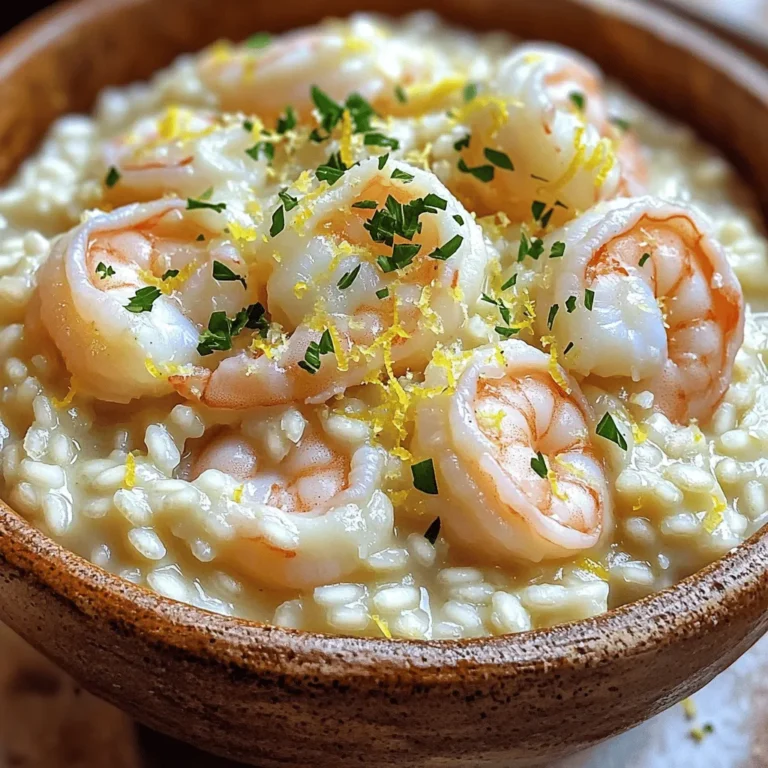
Creamy Garlic Shrimp Risotto Rich and Flavorful Dish
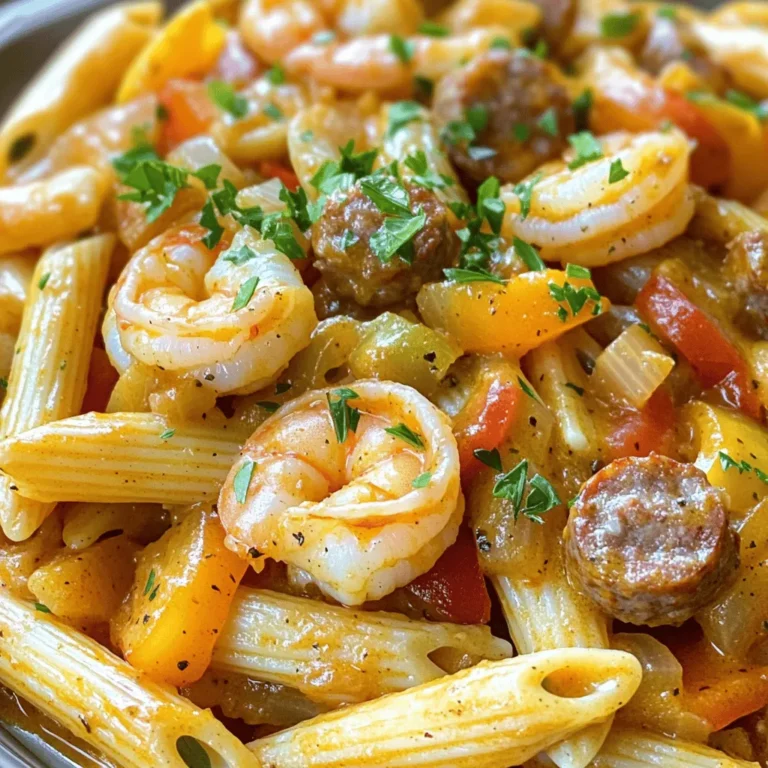
One-Pot Cajun Shrimp and Sausage Pasta Delight
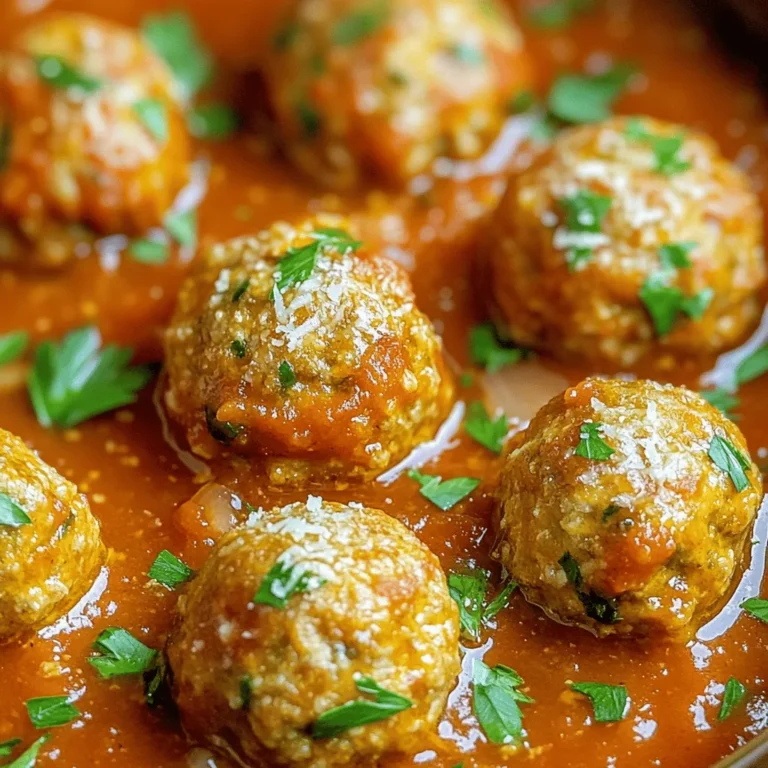
Slow Cooker Pumpkin Turkey Meatballs Savory Delight
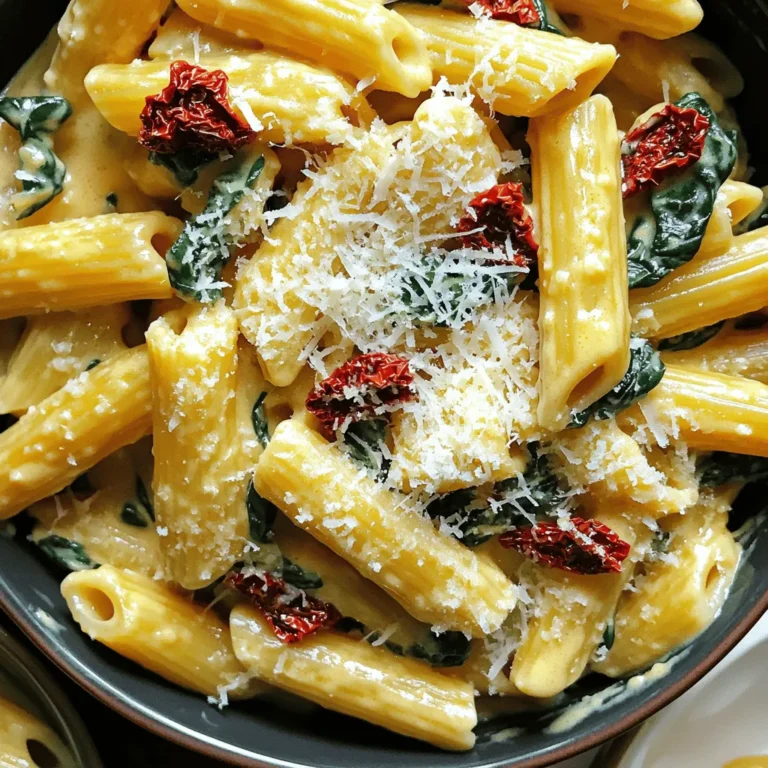
Creamy Sun-Dried Tomato Spinach Pasta One Pot Delight
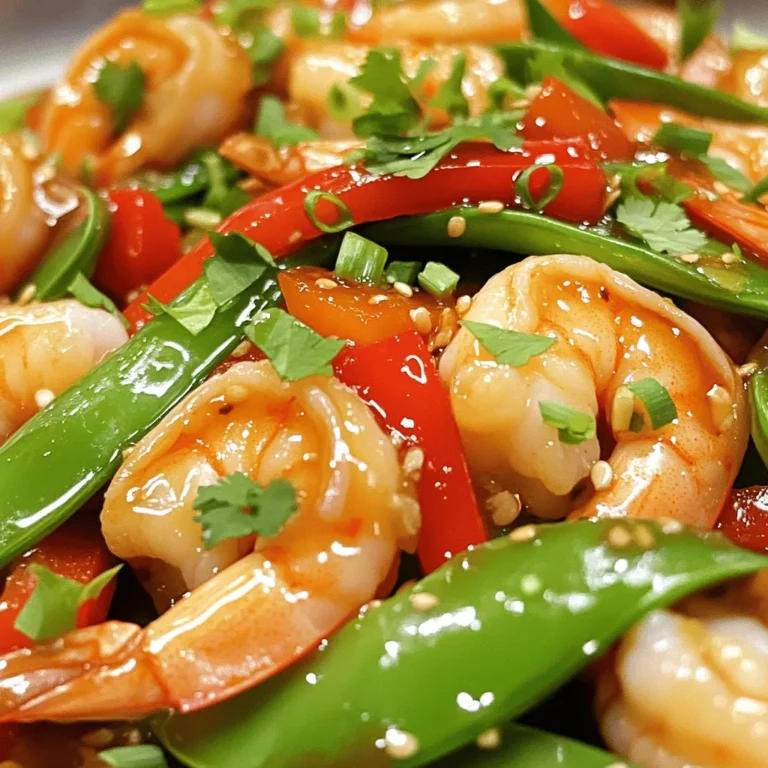
Mongolian Shrimp Better Than Takeout Delightful Dish
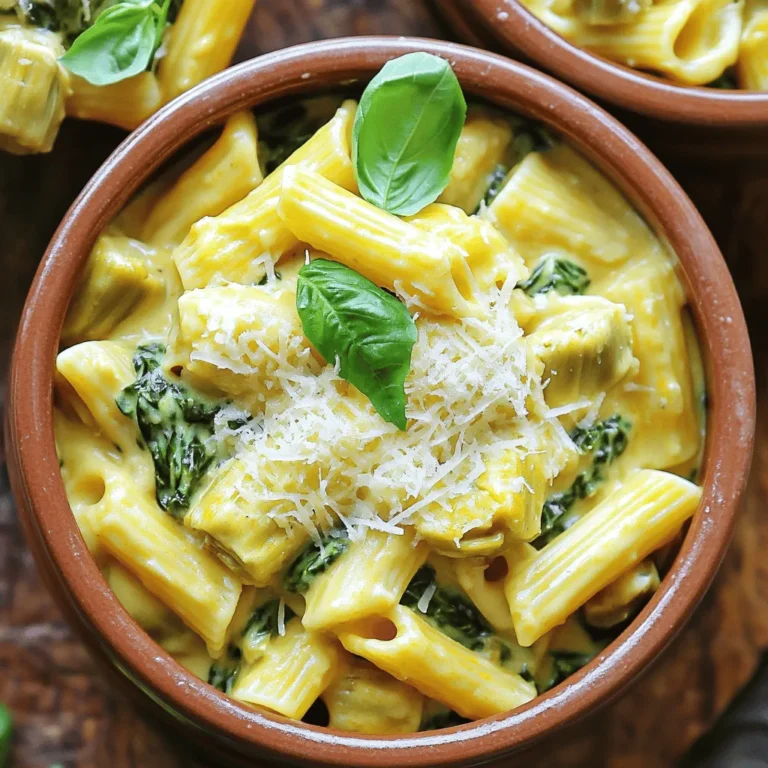
Slow Cooker Cheesy Spinach Artichoke Pasta Delight
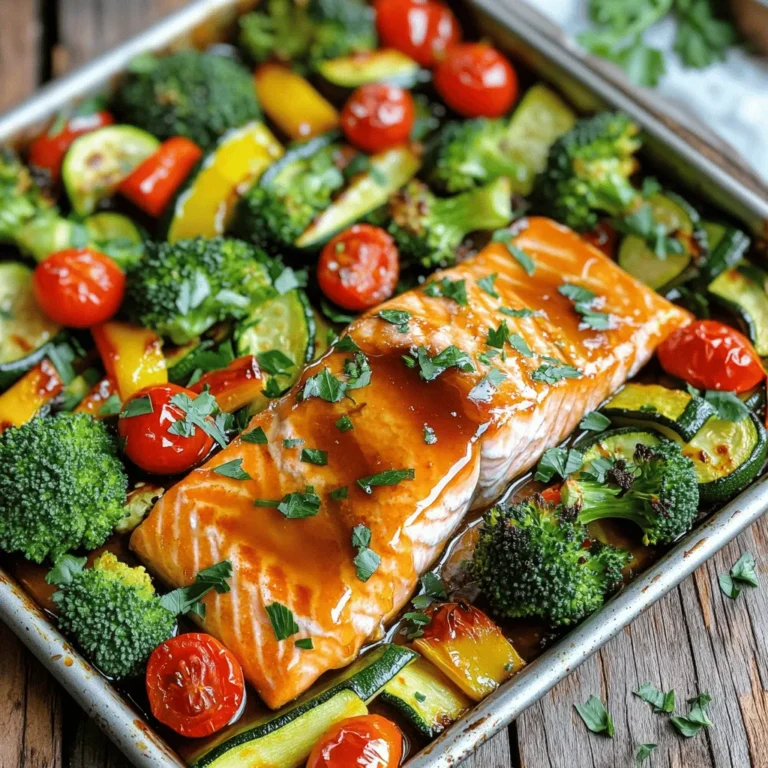
Sheet-Pan Honey Garlic Salmon with Roasted Veggies
Page navigation
Previous Page
Previous
1
…
9
10
11
12
13
…
44
Next Page
Next
Home
Dinner
Appetizer
Desserts
Drinks
About
Contact
Privacy Policy
Toggle Menu Close
Search for:
Search