No-Churn Mint Chocolate Chip Ice Cream Delight
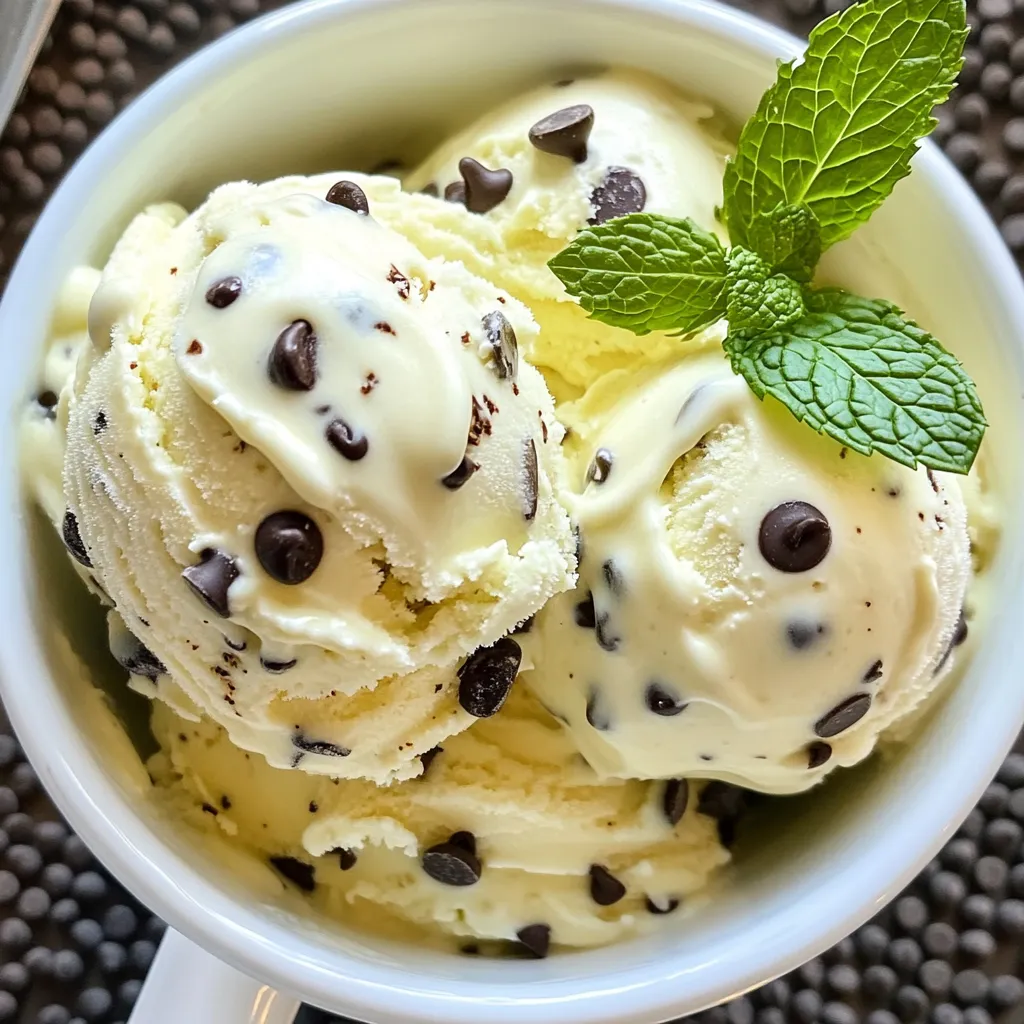
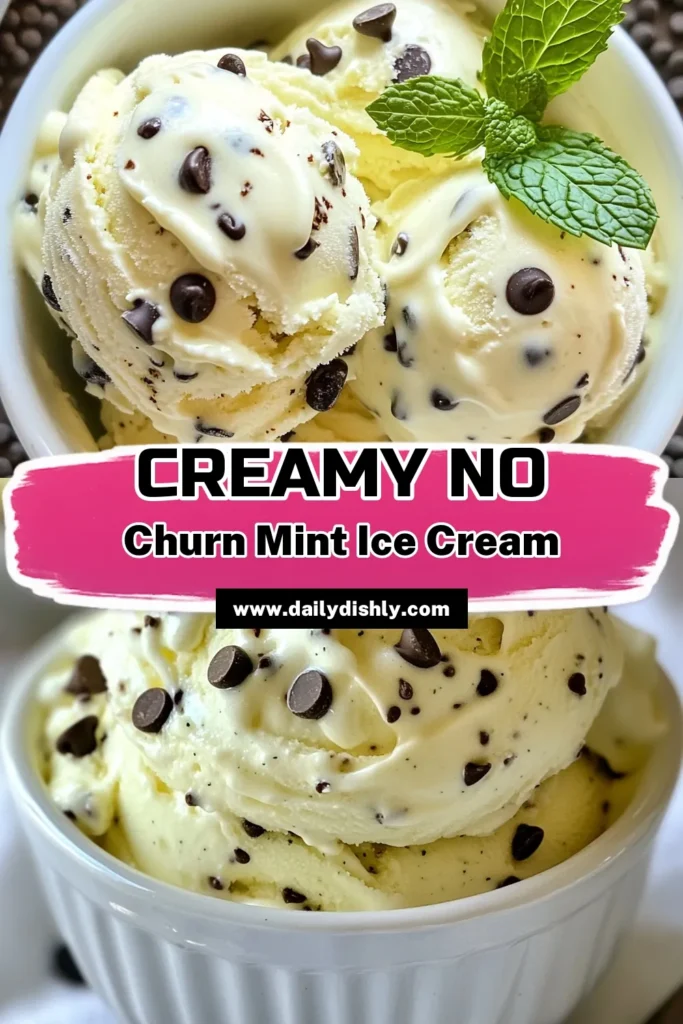
Are you ready to make a refreshing No-Churn Mint Chocolate Chip Ice Cream? This easy recipe lets you skip the ice cream maker and still enjoy a creamy treat. You only need a few simple ingredients to whip up this delightful dessert. Whether it’s a hot summer day or a cozy evening, this ice cream will satisfy your cravings. Let’s get started on making this minty delight!
Why I Love This Recipe
- Easy to Make: This no-churn recipe requires minimal effort and no ice cream machine, making it accessible for everyone.
- Refreshing Flavor: The combination of mint and chocolate is a classic favorite, perfect for cooling off on a hot day.
- Customizable: You can easily adjust the sweetness or add your favorite mix-ins, making it a versatile treat.
- Perfect for Gatherings: This recipe yields enough servings to delight your friends and family, making it ideal for parties.
Ingredients
List of Ingredients for No-Churn Mint Chocolate Chip Ice Cream
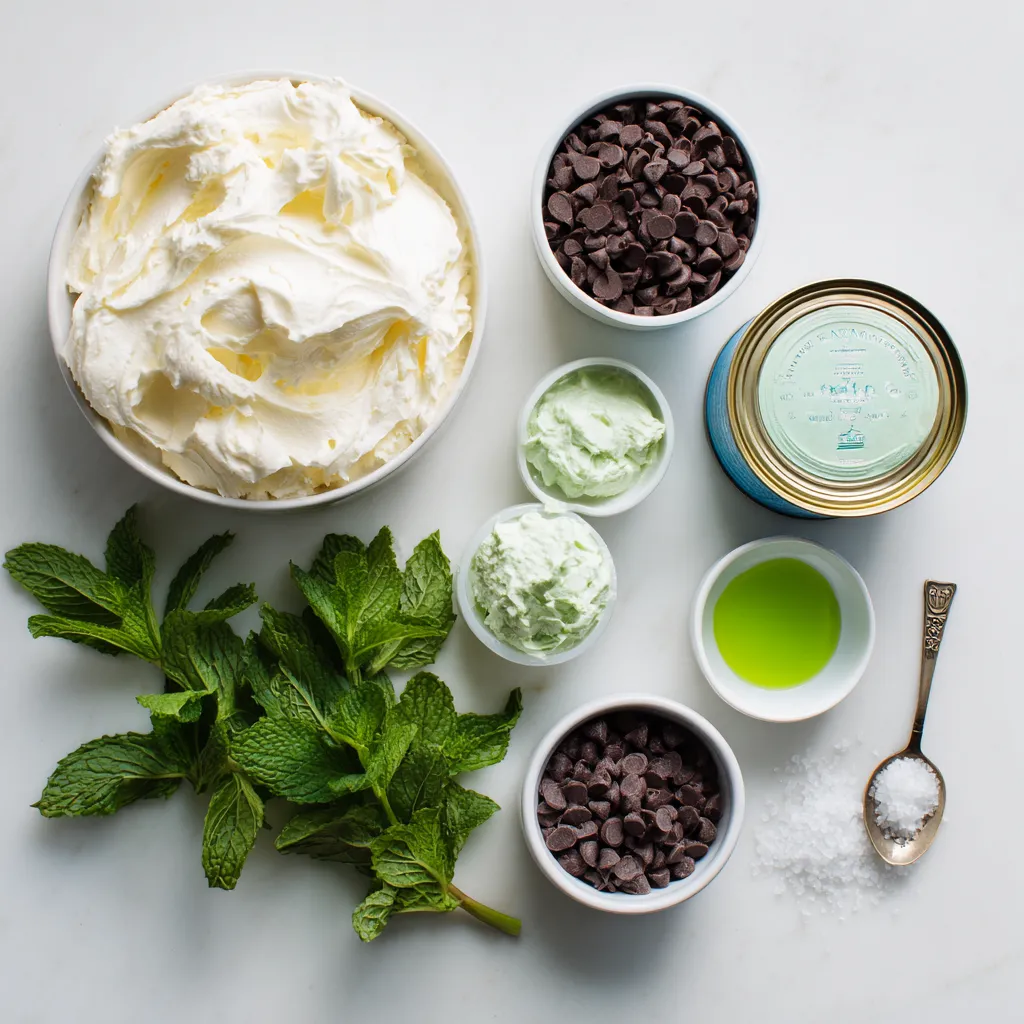
To whip up a delightful batch of no-churn mint chocolate chip ice cream, gather these key ingredients:
– 2 cups heavy whipping cream
– 1 can (14 oz) sweetened condensed milk
– 1 teaspoon peppermint extract
– A few drops of green food coloring (optional)
– 1 cup chocolate chips (dark or semi-sweet)
– Pinch of salt
These simple items make a rich and creamy treat. The heavy cream gives it a smooth texture. The sweetened condensed milk adds sweetness and creaminess. Mint extract brings the refreshing flavor, while chocolate chips provide a lovely crunch.
Measuring Tips for Accurate Ingredient Quantities
To ensure your ice cream turns out perfect, measure your ingredients carefully. Here are some tips:
– Use a liquid measuring cup for heavy cream. Fill it to the 2-cup mark.
– For sweetened condensed milk, use a can opener and pour it into a bowl.
– A teaspoon is great for measuring the peppermint extract. Avoid spilling it to keep the flavor right.
– If using food coloring, add a tiny drop. You can always add more later.
Accurate measuring helps balance flavors and textures in your ice cream.
Ingredient Substitutions and Alternatives
You can tweak the ingredients to fit your taste or needs. Here are some options:
– Heavy whipping cream: Try coconut cream for a dairy-free version.
– Sweetened condensed milk: Use a homemade version made with coconut milk and sugar.
– Peppermint extract: Swap it for vanilla extract or almond extract for a different flavor.
– Chocolate chips: You can use white chocolate chips or even chopped nuts for crunch.
These alternatives keep the spirit of the recipe while allowing you to customize your ice cream. Enjoy experimenting!
Step-by-Step Instructions
Preparation of Whipped Cream
First, grab a large mixing bowl. Pour in 2 cups of heavy whipping cream. Use an electric mixer on medium-high speed. Whip the cream for 3-5 minutes. The cream should form stiff peaks. This step adds air and volume. The whipped cream makes the ice cream fluffy and light.
Mixing the Condensed Milk and Flavorings
Next, take a separate bowl. Add 1 can of sweetened condensed milk. Mix in 1 teaspoon of peppermint extract. If you want a fun color, add a few drops of green food coloring. Finally, add a pinch of salt. Stir until all ingredients blend well. This mixture will give your ice cream its sweet and minty taste.
Combining Mixtures and Freezing Instructions
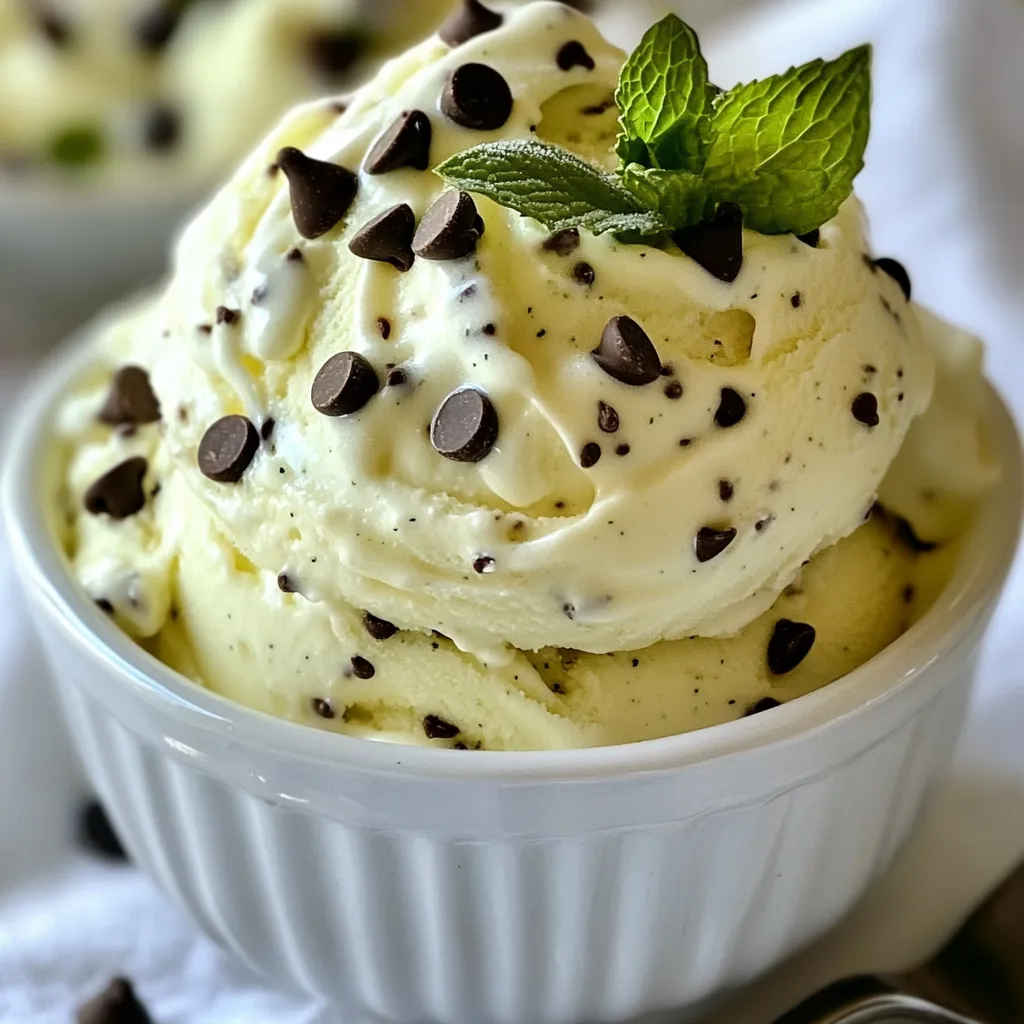
Now, it’s time to combine the mixtures. Gently fold the whipped cream into the condensed milk mixture. Use a spatula and be careful not to deflate the whipped cream. Once mixed, fold in 1 cup of chocolate chips. Save a few for a topping later. Pour the ice cream mixture into a freezer-safe container. Smooth the top with your spatula. Sprinkle the reserved chocolate chips on top. Cover the container tightly and freeze for at least 6 hours. Your ice cream needs to set completely. Enjoy your mint chocolate chip delight!
Tips & Tricks
Tips for Creating the Perfect Whipped Cream
To make great whipped cream, use cold heavy cream. Chill your mixing bowl too. This helps it whip up faster. Start mixing on low speed, then increase to medium-high. Whip until you see stiff peaks. Be careful not to over-whip. If you do, it can turn into butter!
Common Mistakes to Avoid
One common mistake is not chilling your tools. Warm bowls or cream can lead to flat whipped cream. Another mistake is mixing too fast. This can cause splatter. Always fold gently when adding whipped cream to the other mix. This keeps the air in, making your ice cream light and fluffy.
Enhancing Flavor and Texture
Want to boost flavor? Try adding a pinch of sea salt to the whipped cream. This will enhance the sweet taste. You can also add a splash of vanilla extract for depth. For texture, use mini chocolate chips instead of regular ones. They mix in better and give you a nice crunch.
Pro Tips
- Chill Your Equipment: For a creamier texture, chill your mixing bowl and beaters in the freezer for about 15 minutes before whipping the cream. This helps the cream whip faster and increases volume.
- Use Quality Chocolate Chips: Opt for high-quality dark or semi-sweet chocolate chips to enhance the flavor of your ice cream. They will melt beautifully and provide a richer taste.
- Customize Your Mint Flavor: Feel free to adjust the amount of peppermint extract to suit your taste preferences. Start with a teaspoon and add more if you want a stronger mint flavor.
- Prevent Ice Crystals: To avoid ice crystals forming in your ice cream, make sure to store it in an airtight container. This helps maintain a smooth texture as it freezes.
Variations
Other Flavor Ideas for No-Churn Ice Cream
You can have fun with flavors in no-churn ice cream. Try using vanilla extract instead of peppermint. You could also mix in fresh fruits like strawberries or mangoes. For a spicy twist, add a dash of cinnamon. Each flavor brings its own joy, making ice cream a fun creation.
Using Different Types of Chocolate
Chocolate types can change the taste of your ice cream. Dark chocolate gives a rich, bold flavor. Semi-sweet chocolate is sweet but not too much. You could even use white chocolate for a creamy treat. Each type of chocolate offers something special. Mix and match to find your favorite combo.
Dairy-Free or Vegan Alternatives
Making dairy-free ice cream is easy! Use coconut cream instead of heavy cream. You can also choose almond milk or oat milk. For sweetening, use maple syrup or agave nectar. These swaps keep your dessert creamy and tasty. Everyone can enjoy this mint chocolate chip delight!
Storage Info
Best Practices for Freezing Ice Cream
To keep your no-churn mint chocolate chip ice cream fresh, follow these tips:
– Use a freezer-safe container with a tight lid.
– Make sure to smooth the top before sealing. This helps reduce ice crystals.
– Avoid opening the freezer too often. This keeps the ice cream at a steady temperature.
– If you have space, place the container in the back of the freezer. This spot stays coldest.
How to Re-Use Containers for Storage
You can re-use old containers for your ice cream. Here’s how:
– Clean the container thoroughly. Make sure it is free from any old food or odors.
– Label the container with the date and contents. This way, you won’t forget what’s inside.
– If the container has a lid, ensure it fits tightly. If not, cover it well with plastic wrap.
Shelf Life and Storage Recommendations
No-churn mint chocolate chip ice cream can last a while if stored right:
– In the freezer, it stays good for about 2-3 weeks.
– For best taste, eat it within the first week.
– If you notice ice crystals forming, it may have been opened too much. This can affect the texture.
– Always check for off smells or tastes before serving. If it seems off, it’s best to toss it.
FAQs
Can I use a different extract instead of peppermint?
Yes, you can! Almond extract or vanilla extract works well too. Each will give a unique flavor. If you prefer fruity flavors, try using orange or lemon extract. Just remember to use the same amount as the peppermint. This keeps the flavor balanced.
How long does it take to freeze this ice cream?
It takes at least 6 hours to freeze. For the best texture, freeze it overnight. This gives the ice cream time to set fully. If you want to scoop it sooner, check after 6 hours. It should be firm but still creamy.
Can I add mix-ins to the ice cream?
Absolutely! You can add crushed cookies, nuts, or even fruit. Just fold them in gently. Make sure to keep some chocolate chips aside for topping. Mix-ins add fun flavors and textures. You can get creative with what you like!
You learned how to make no-churn mint chocolate chip ice cream from scratch. We covered ingredients, measuring tips, and flavors. You saw the steps for whipping cream and mixing everything together. I shared tips for the best results, common mistakes, and fun variations. Finally, we discussed storage for keeping your ice cream fresh.
Enjoying this simple treat can make your day special. I hope you feel ready to make your own delicious ice cream at hom
No-Churn Mint Chocolate Chip Ice Cream
Ingredients
- 2 cups heavy whipping cream
- 1 can sweetened condensed milk
- 1 teaspoon peppermint extract
- a few drops green food coloring (optional)
- 1 cup chocolate chips (dark or semi-sweet)
- a pinch salt
Instructions
- In a large mixing bowl, whip the heavy cream with an electric mixer on medium-high speed until stiff peaks form. This should take about 3-5 minutes.
- In a separate bowl, combine the sweetened condensed milk, peppermint extract, and a pinch of salt. If using, add green food coloring to achieve your desired minty hue. Mix until well combined.
- Gently fold the whipped cream into the condensed milk mixture using a spatula, being careful not to deflate the whipped cream.
- Once fully incorporated, fold in the chocolate chips, reserving a few for topping if desired.
- Pour the mixture into a freezer-safe container, smoothing the top with a spatula.
- Sprinkle the reserved chocolate chips on top as a garnish.
- Cover the container with a lid or wrap tightly with plastic wrap, and freeze for at least 6 hours or until completely set.
![- Apples: You need 3 medium-sized apples. I like using Fuji or Honeycrisp for their sweet flavor and crisp texture. These apples dry well and taste great as chips. - Coconut Sugar: This sugar adds a mild caramel flavor. You can swap it for brown sugar if you prefer. Both options work well in this recipe. - Lemon Juice: This ingredient helps keep the apples from turning brown. It also adds a nice zing that brightens the flavor. - Sea Salt: Just a pinch of sea salt enhances the sweetness of the apples. It balances the flavors perfectly. Using these simple ingredients, you can make a tasty snack. You can find the full recipe mentioned earlier for more details. First, preheat your oven to 200°F (95°C). Line two baking sheets with parchment paper. This step helps your apple chips bake evenly and prevents sticking. Next, wash and dry your apples. I like to use Fuji or Honeycrisp for their sweetness. After that, core the apples and slice them into thin rings, about 1/8 inch thick. A mandoline works wonders here. It makes your slices uniform, which is key for even baking. Now it's time to mix some flavors! In a large mixing bowl, toss the apple slices with 1 teaspoon of lemon juice. This step stops the apples from browning. It adds a nice flavor too. In another bowl, combine 2 teaspoons of ground cinnamon, 1 tablespoon of coconut sugar, and a pinch of sea salt. This cinnamon-sugar mix gives your apple chips that sweet, spicy kick. Arrange the apple slices in a single layer on your baking sheets. Make sure they don’t overlap. This helps them become crispy. Bake your apple slices for about 2 hours. Flip them halfway through to ensure even crispness. Keep a close eye on them so they don’t burn. Once they look dried and crispy, take them out of the oven. Let them cool on the baking sheets for a few minutes. After cooling, store your apple chips in an airtight container at room temperature. They should stay fresh for up to a week. Follow the [Full Recipe] for exact measurements and more details! To get those perfect, crunchy apple chips, watch your baking time closely. Bake at 200°F for about two hours. Flip the slices halfway to promote even drying. Start checking them after 90 minutes. They should look dry and crisp. To achieve even drying, slice your apples uniformly. A mandoline works best for this. Ensure the slices are about 1/8 inch thick. This thickness helps them cook evenly. Also, spread the apple slices in a single layer on your baking sheets. Avoid overlapping. This will help air circulate around each slice. Want to jazz up your apple chips? Try adding other spices! Nutmeg and cardamom can bring warm flavors. You can mix in these spices with your cinnamon-sugar blend. If you want a different sweetness, think about using maple syrup. Just drizzle a little on the apple slices before baking. This adds a nice touch and a unique flavor. Get creative with how you serve your apple chips! You can present them in a lovely bowl or on a snack platter. Pair them with nut butter or yogurt for dipping. This adds a fun twist to your snack. For a special touch, sprinkle some extra cinnamon on top before serving. It not only looks nice but also boosts the flavor. Enjoy your crispy, homemade snack! For the full recipe, check out the [Full Recipe]. {{image_2}} You can change the taste of your apple chips with just a few tweaks. One fun idea is to add pumpkin spice for fall. This spice blend gives your chips a warm, cozy flavor. Just mix in a teaspoon of pumpkin spice with your cinnamon-sugar mix. You can also try infusing your apple chips with vanilla or almond extracts. This adds a lovely aroma and taste. Just a few drops in the lemon juice mixture can transform your chips into a delightful treat. Using a dehydrator is a great way to make apple chips. First, slice your apples as you would for baking. Then, place the slices in a single layer on the dehydrator trays. Set the temperature to 135°F (57°C) for about six to eight hours. Dehydrating has some big advantages over baking. It helps preserve more nutrients and can give you a crunchier texture. Plus, you don’t need to monitor them as closely as in the oven. Different apples can change the taste of your chips. I recommend using Fuji or Honeycrisp apples. They have the right balance of sweet and tart. But feel free to try Granny Smith or Gala apples for a different flavor. You can also adjust the sweetness or spice levels to fit your taste. If you like it sweeter, add more coconut sugar. For a spicier kick, increase the cinnamon or add some nutmeg. Personalize your apple chips to make them just right for you! To keep your apple chips crispy, store them in an airtight container. This prevents moisture from getting in and ruining their crunch. Glass jars or plastic containers work well. Make sure the chips are completely cool before sealing the container. If you stack them, add parchment paper between layers to avoid sticking. At room temperature, your apple chips can stay fresh for about a week. If you want to keep them longer, consider freezing them. Place the cooled chips in a freezer-safe bag. They can last for up to three months in the freezer. Just remember to let them thaw at room temperature before enjoying. You can tell if your apple chips are no longer good by checking for a few signs. If they feel soft or chewy, they have absorbed moisture. If you see any mold or unusual spots, it’s best to toss them out. Lastly, if they smell off or stale, don’t eat them. Always trust your senses when it comes to food freshness. I suggest using Fuji or Honeycrisp apples for the best flavor. These apples are sweet and crisp. They hold their shape well during baking. Other good options are Granny Smith or Gala apples. Granny Smith adds a nice tartness, while Gala is sweet and tender. Always choose fresh apples for the best results. Yes, you can! A dehydrator is a great choice for making apple chips. It allows for low, even heat. This method keeps the apples crispy without baking. An air fryer works too; it can make them crisp in less time. Just set it to a low temperature and check them often. Lemon juice is a common method, but there are others. Soaking apple slices in a saltwater solution also helps. Rinse the slices after soaking to remove excess salt. You can also use a mixture of vinegar and water. This adds flavor and keeps the color bright. Lastly, try adding cinnamon right after slicing; it works wonders! In this blog post, we explored how to make delicious homemade apple chips. We covered the key ingredients, including the best types of apples and sweeteners. I shared step-by-step instructions for preparing and baking the apples to crisp perfection. We also looked at tips for enhancing flavors and creative serving ideas. Finally, I discussed variations and the best ways to store your chips. Making these apple chips is simple and fun, and they offer a tasty, healthy snack option. Enjoy your crispy creations with family and friends!](https://dailydishly.com/wp-content/uploads/2025/06/97958b33-10d0-4297-bc13-9eb6a092a9d8-768x768.webp)